
Pro Tips from Joshua Rhys
COUPLE SHOOTS
With couple shoots, pre wedding shoots or engagement shoots, you will always get the chance to experiment and expand your skills in real time with a couple, and most couples will be more than accepting for you to try anything new out to enhance your abilities and your techniques.
If you have a certain idea that you want to put in practise, use this as an opportunity to try those things out, sharpen your techniques, build confidence and potentially implement these new methods at a wedding.
Feel free to use this guide as a resource to improve your photography, and feel free to add your input in the comment section below if you have any tips of your own.
here are my top 6 tips for experimentation during couple shoots that will improve your photography skills technically, and generate fantastic looking images with emotion and feeling.


Tip No1
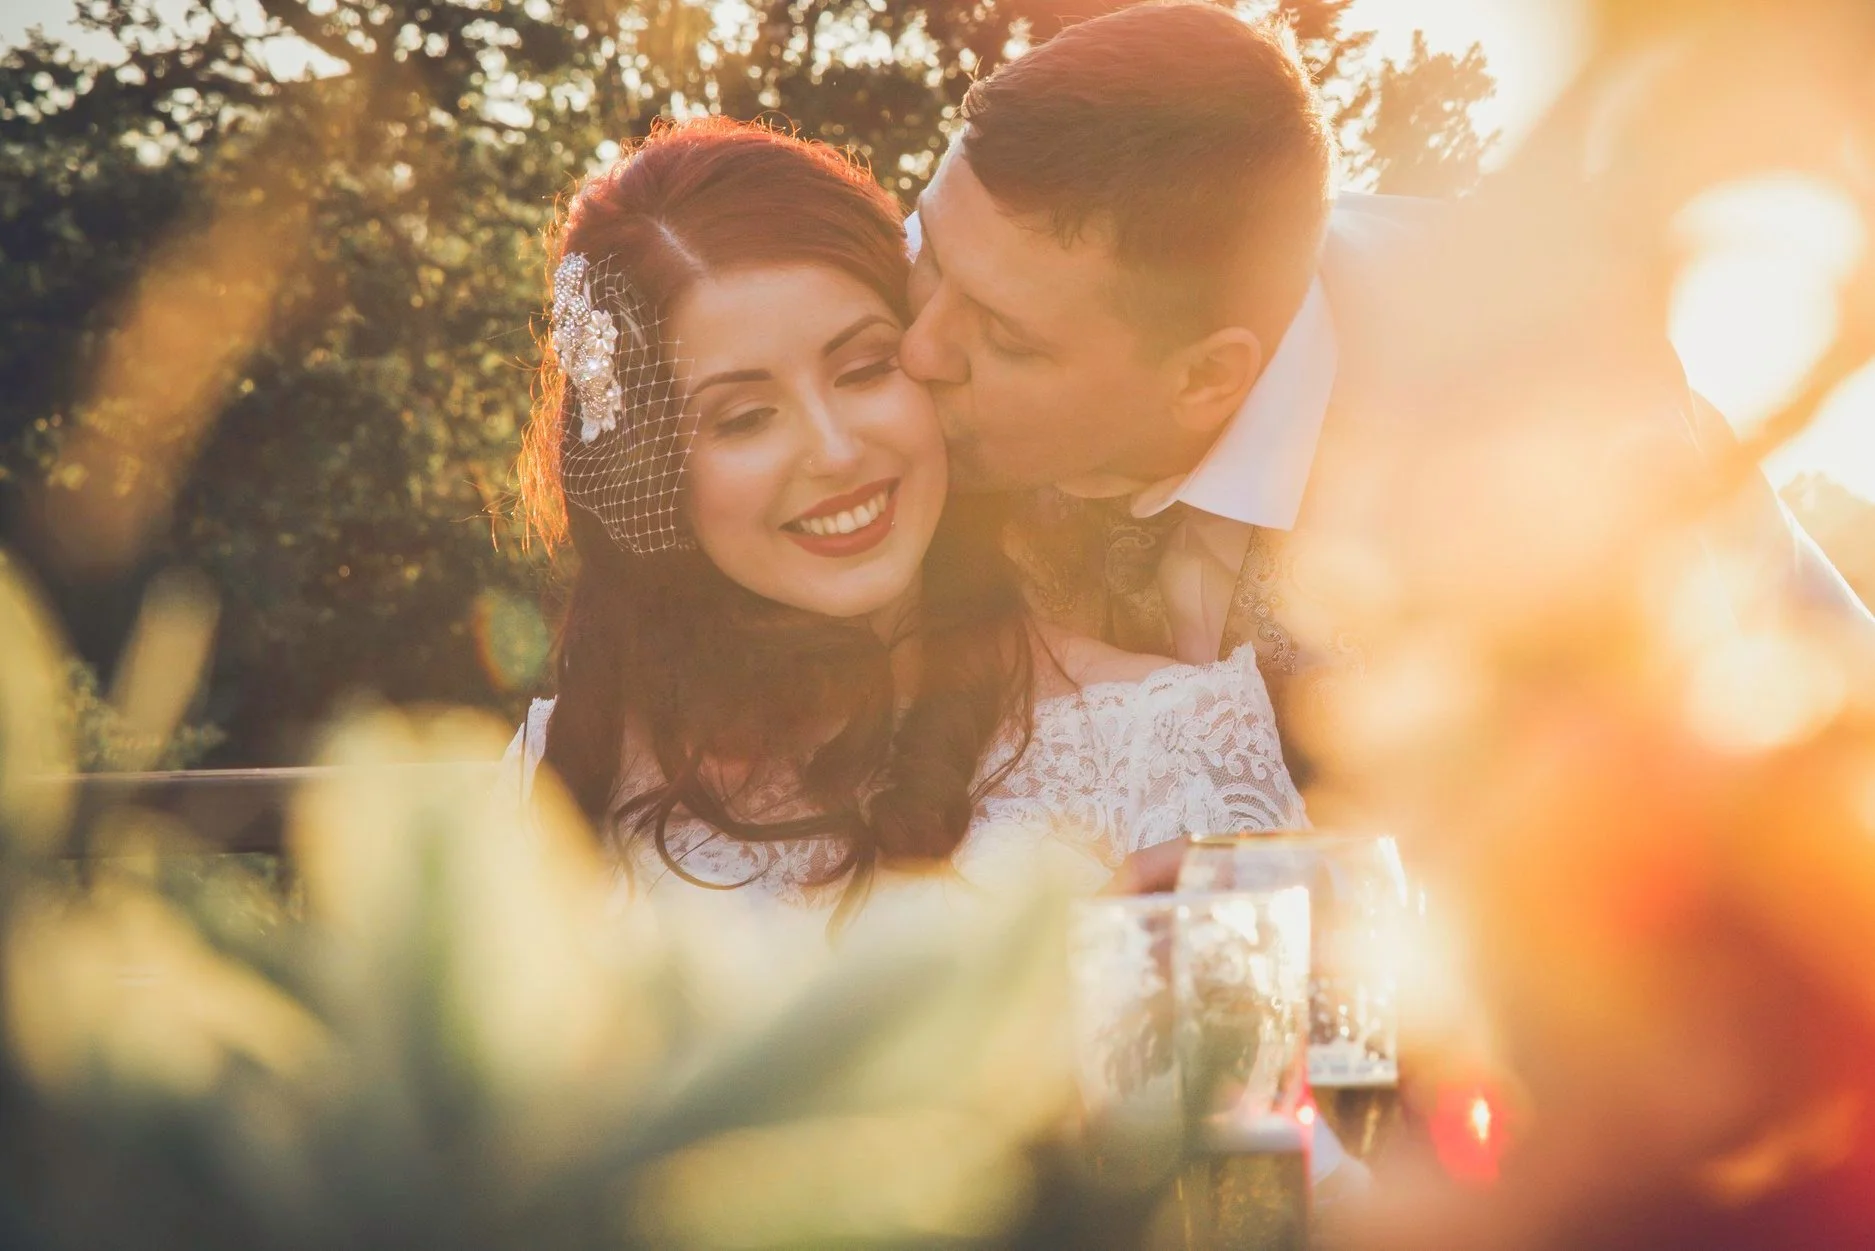
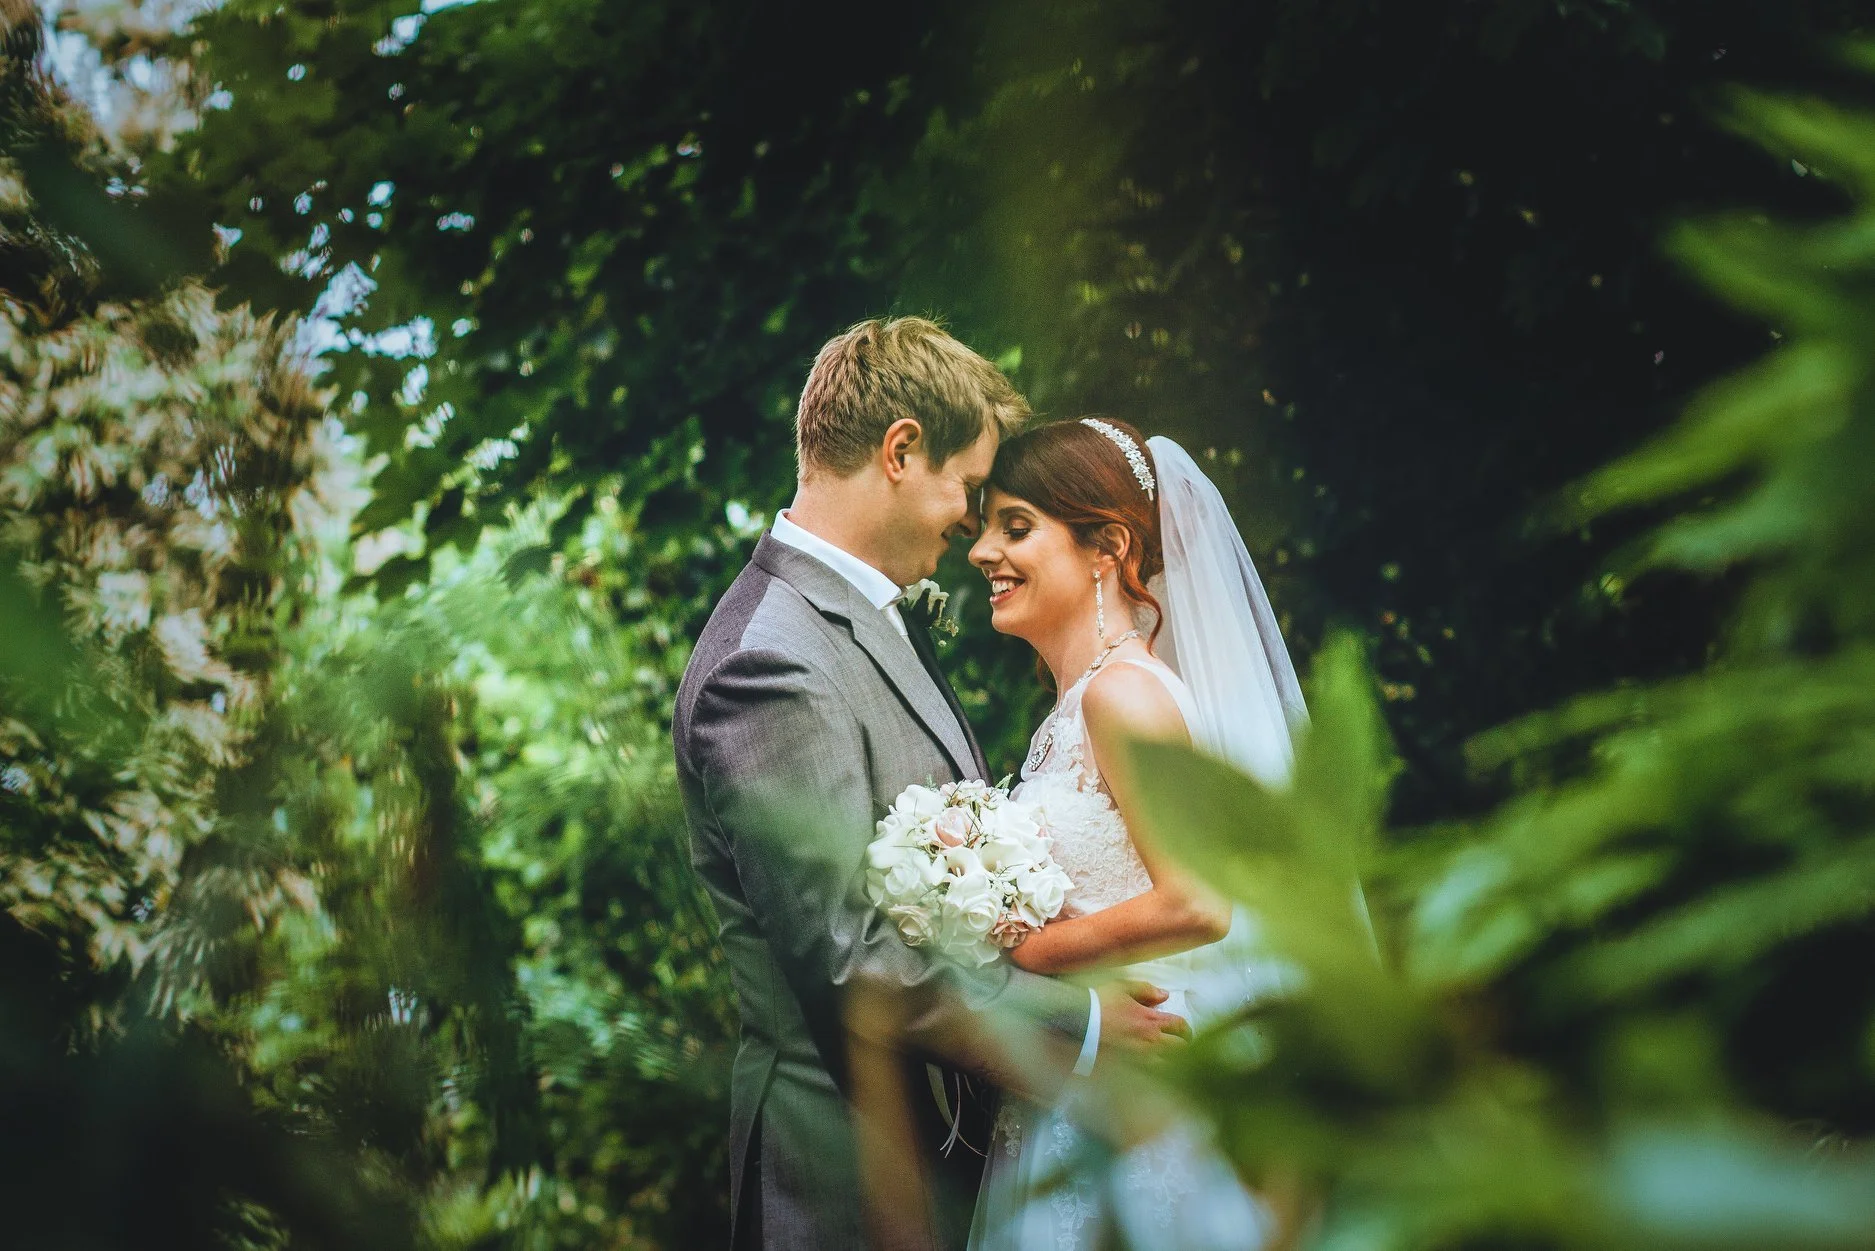
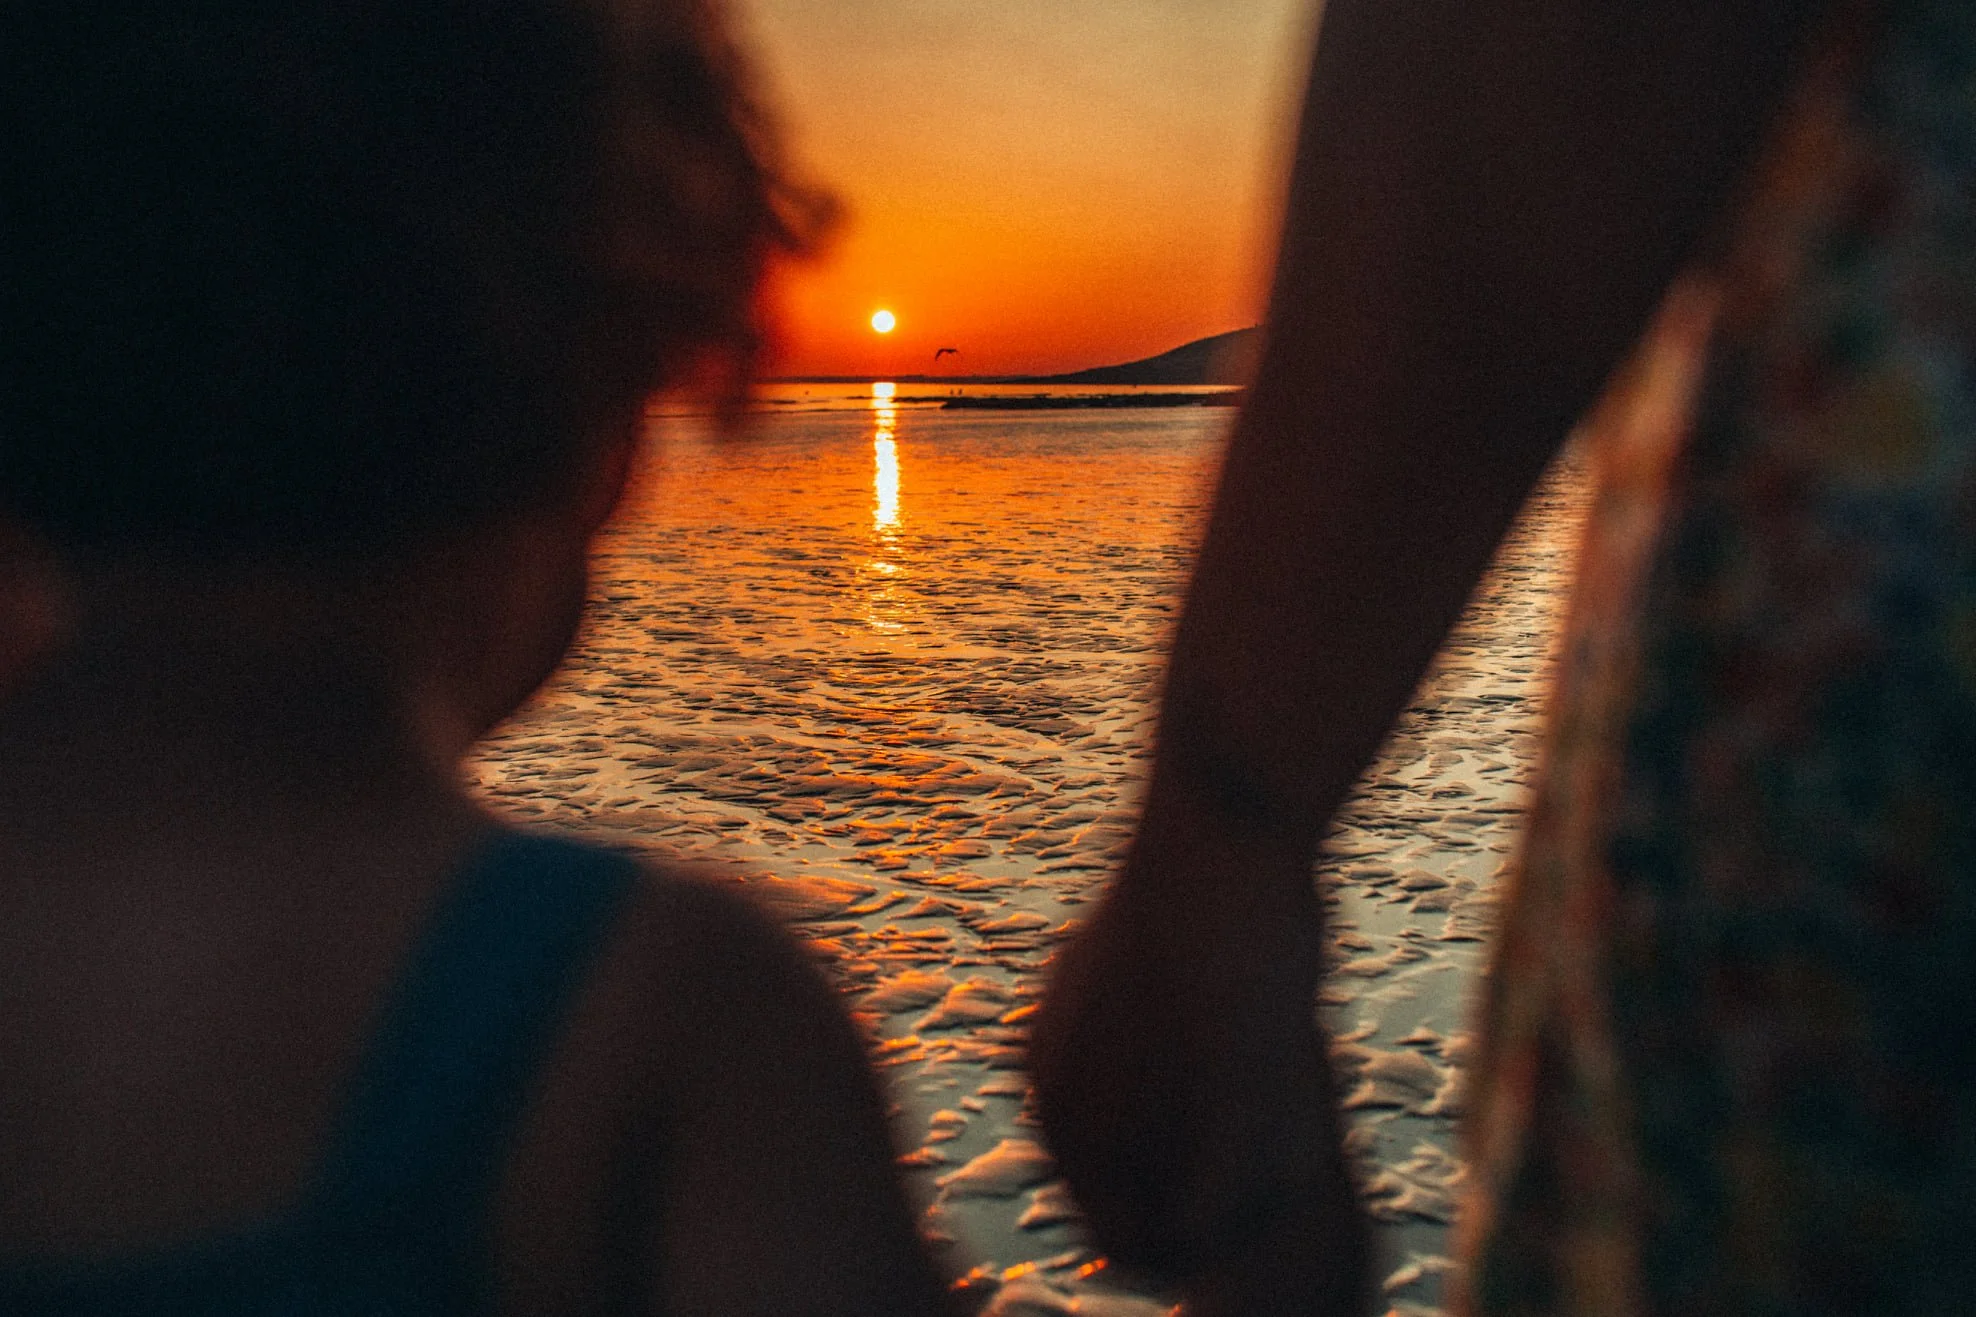
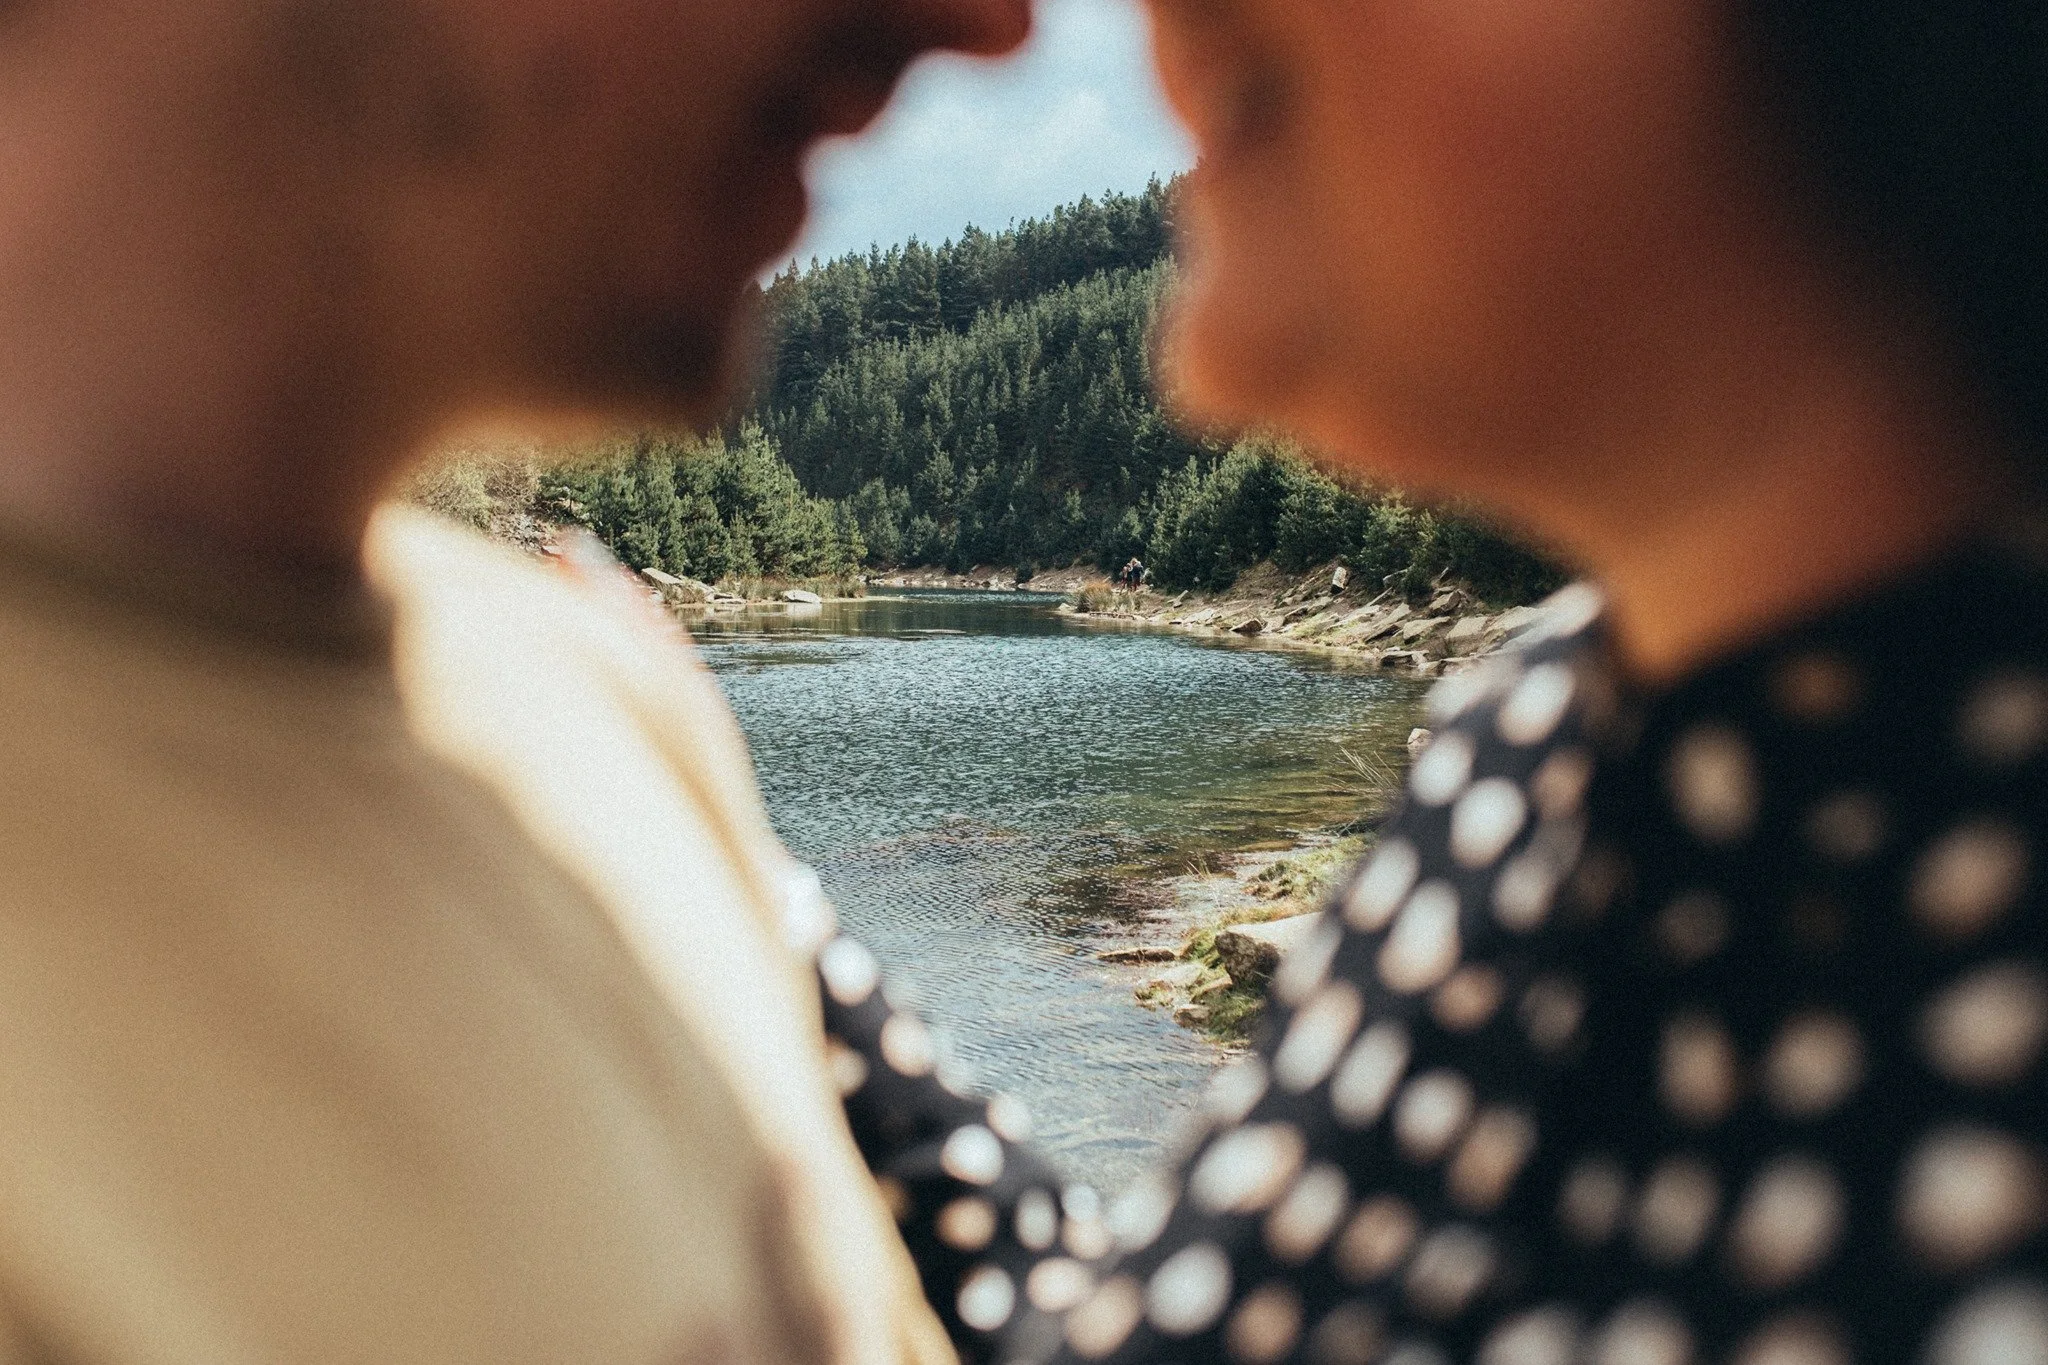
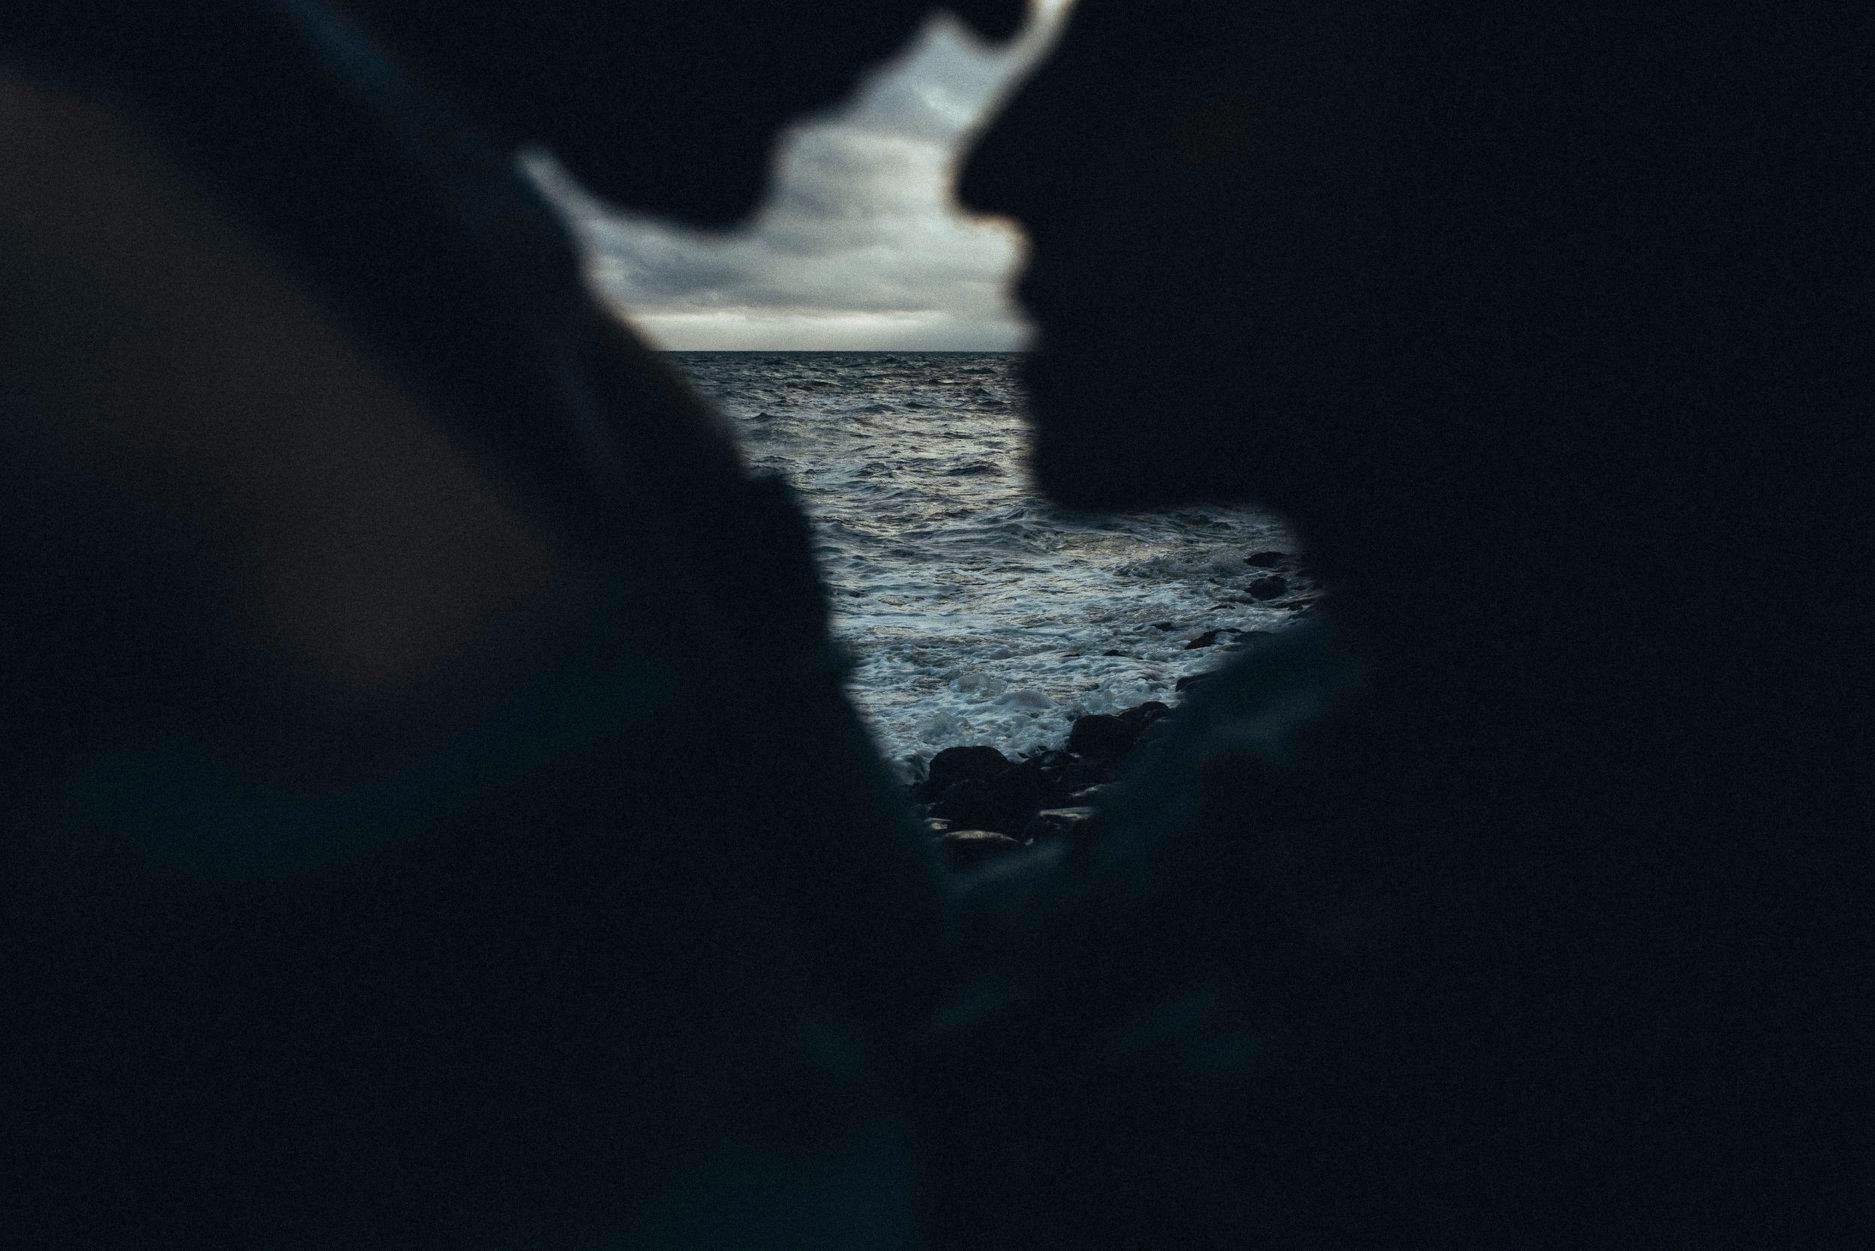
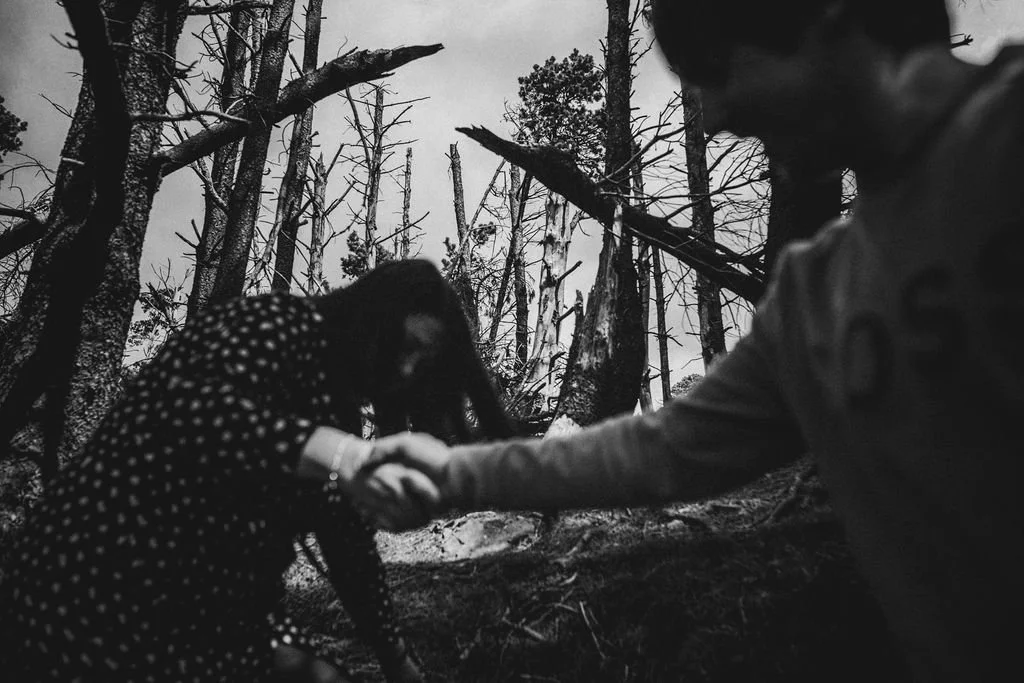
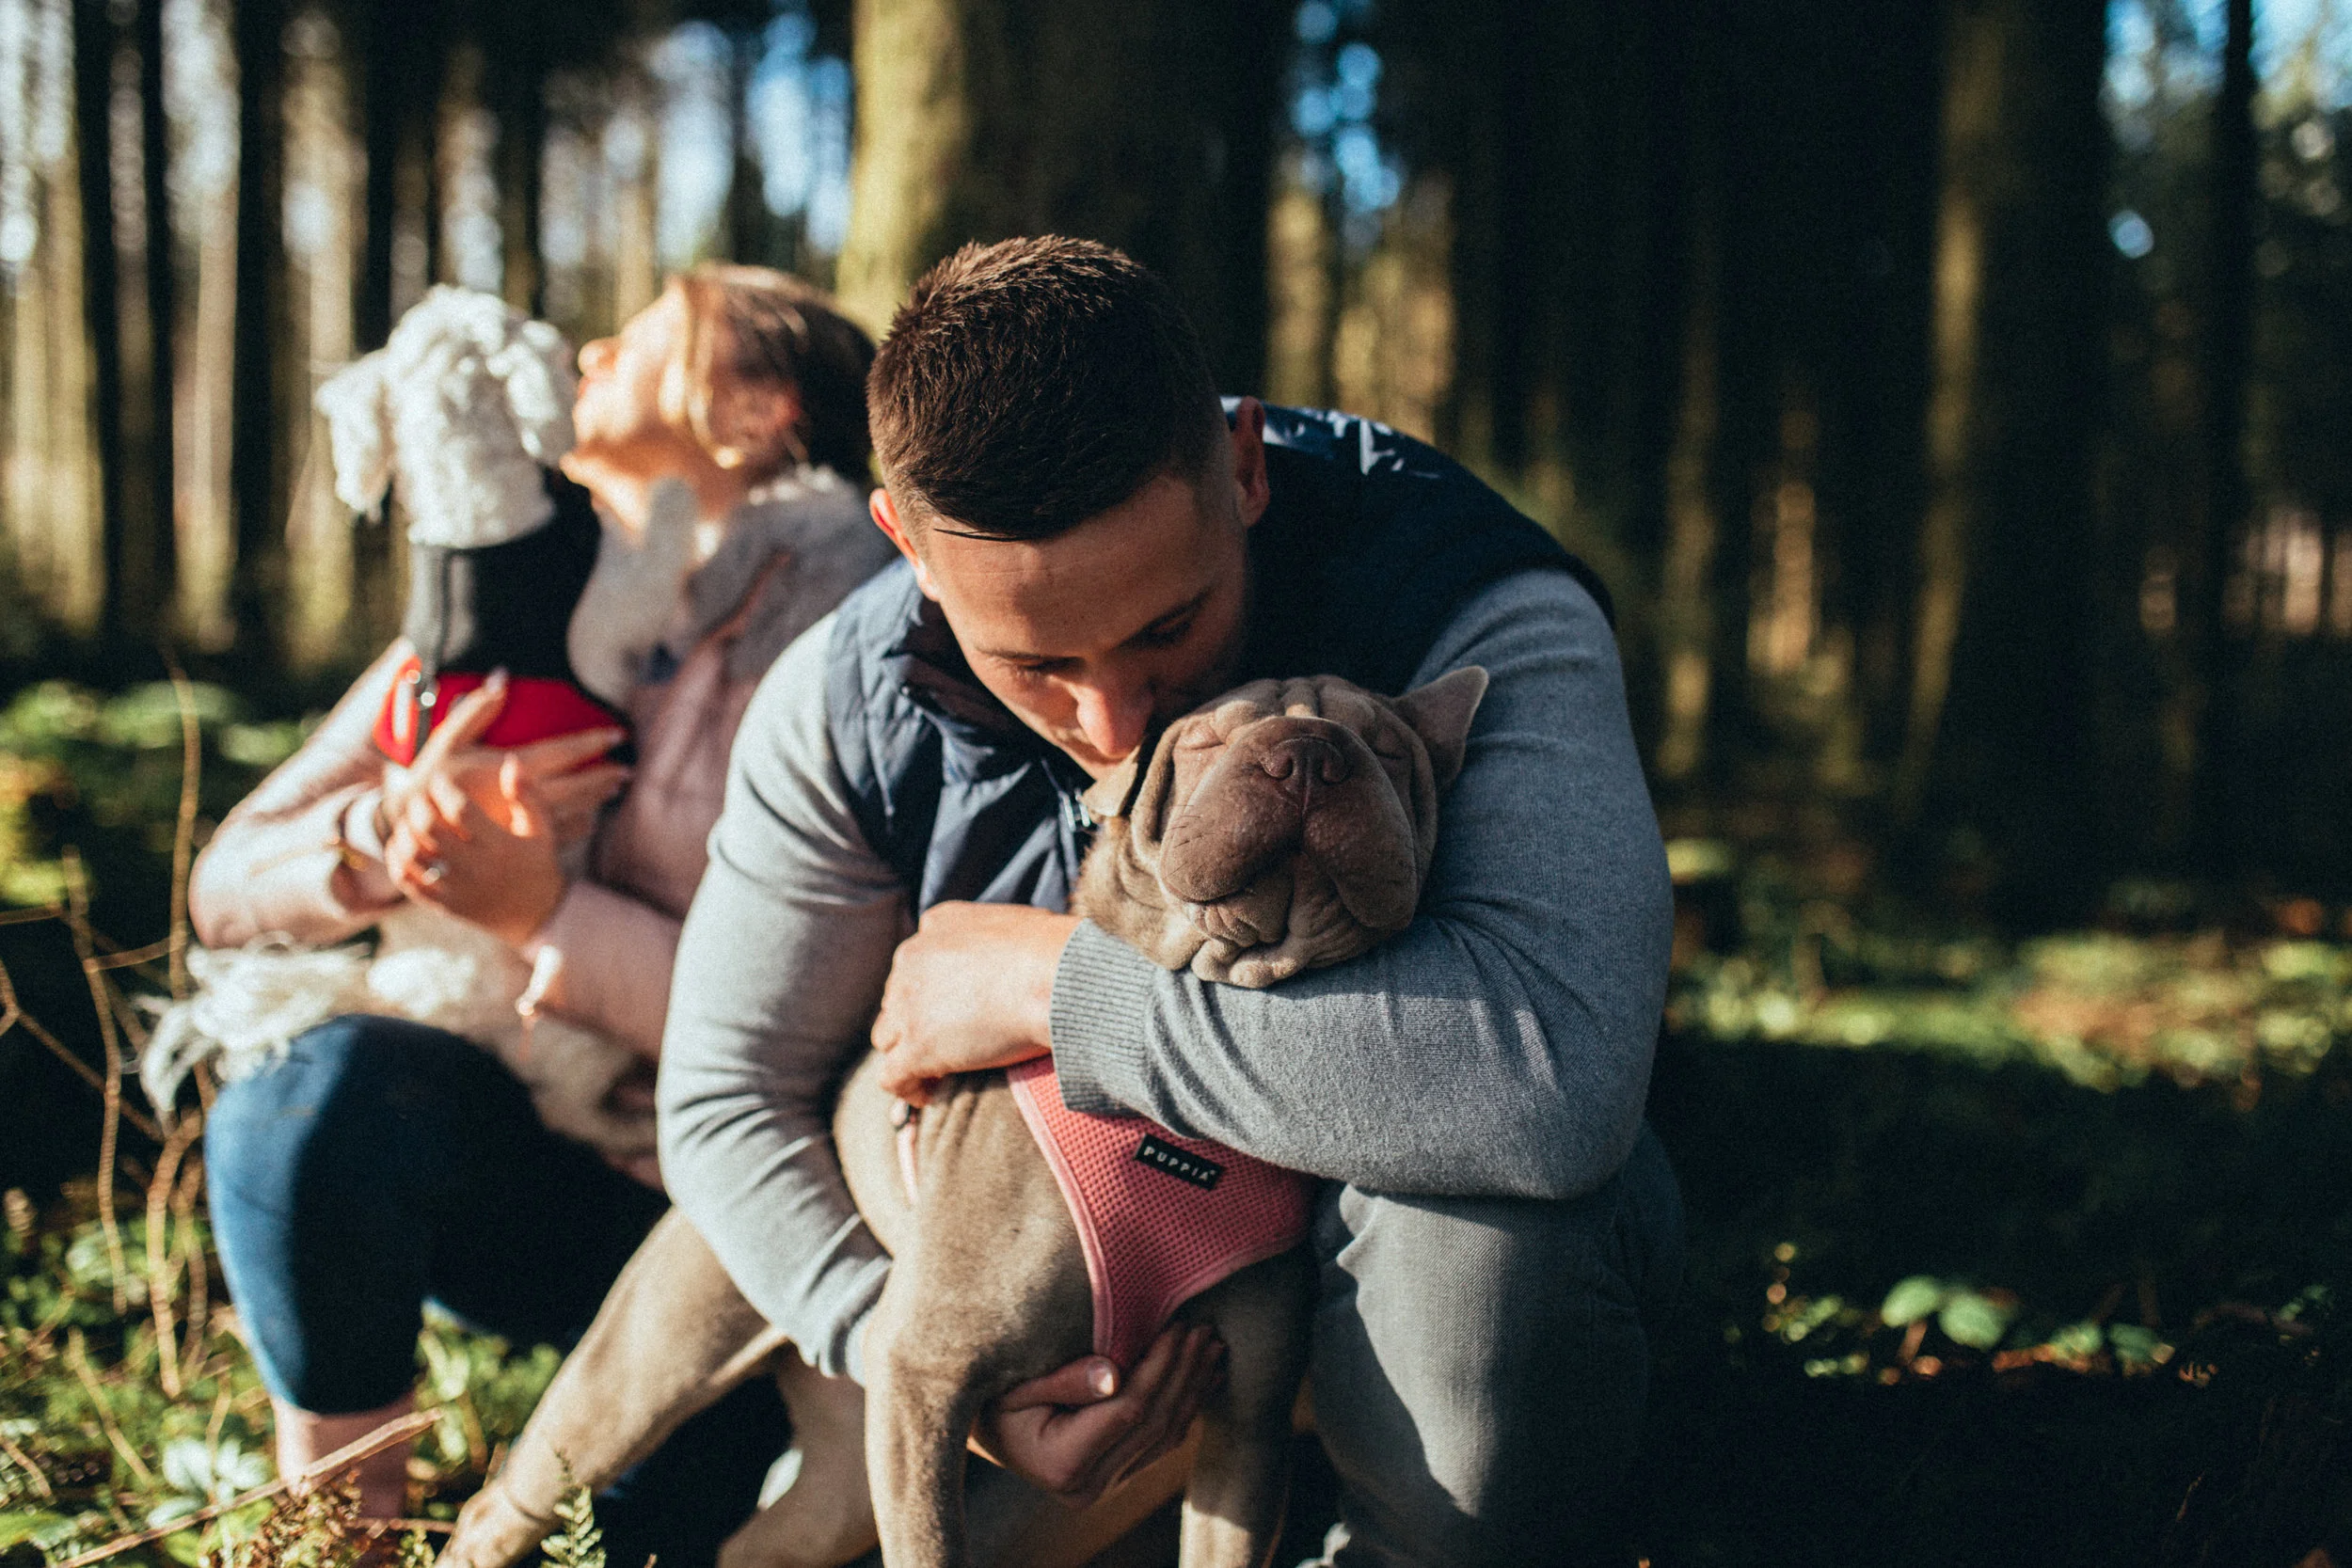
Shoot through objects, wether that’s foliage for interesting bokeh, or prisms or interesting glass/prisms to refract light and create aesthetic flares.
Don’t be afraid to grab what’s around you. A few interesting coloured flowers, leaves or plants can make for a superb bokeh effect, and a simple prism from some rounded sea glass can also add dramatic effects to your shoots.
I find the use of of an 85mm or above for some slightly more distant couple portraits using this bokeh technique can add beautiful framing around your couple.


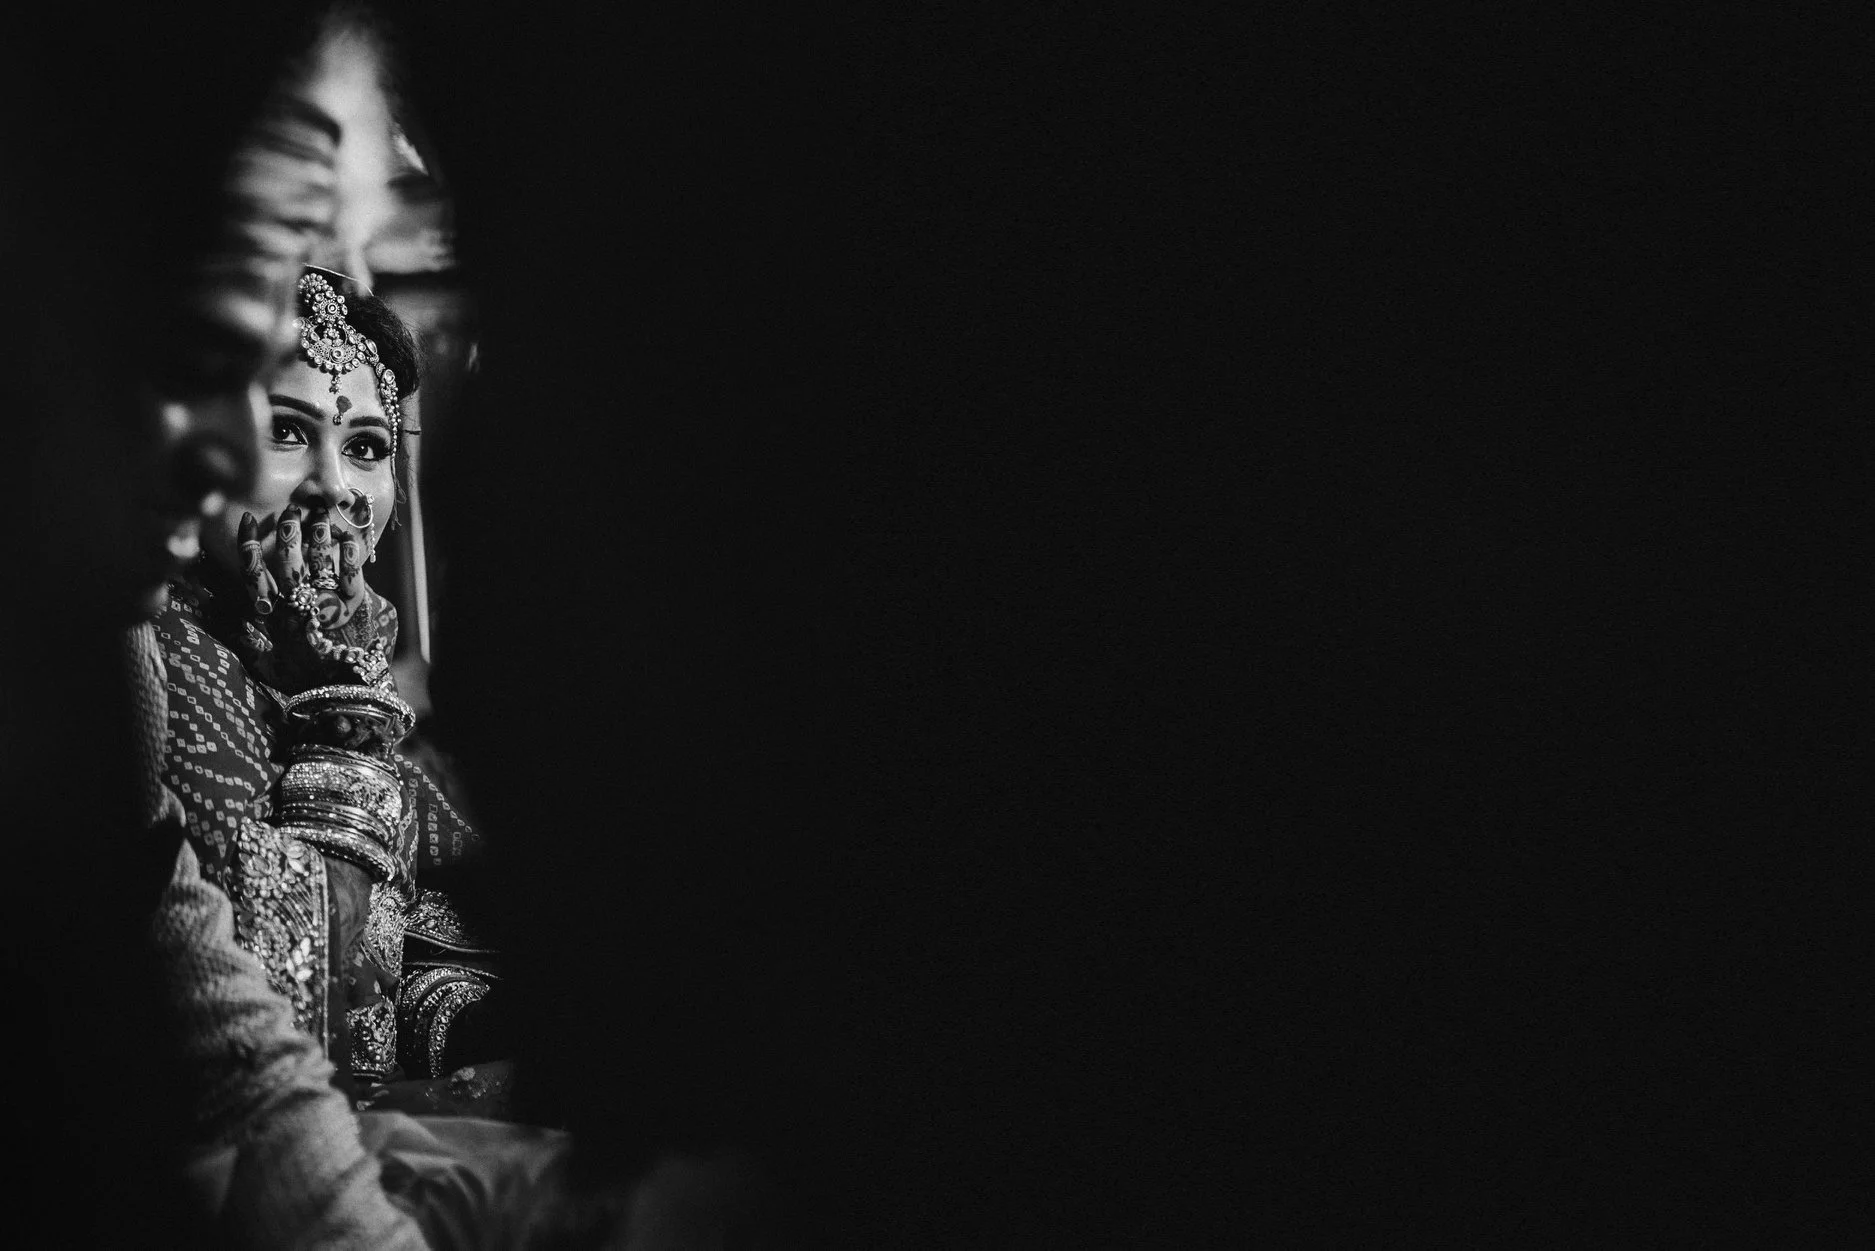
Tip No2
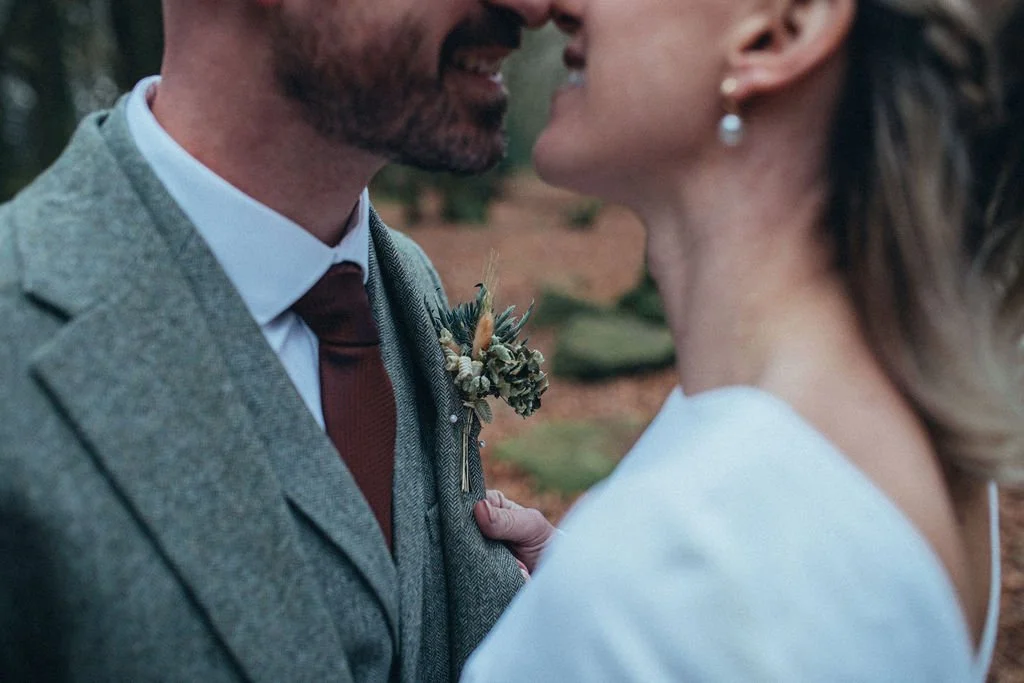
Using a variety of angles, lenses, and focal lengths to add more drama and intimacy to your shots.
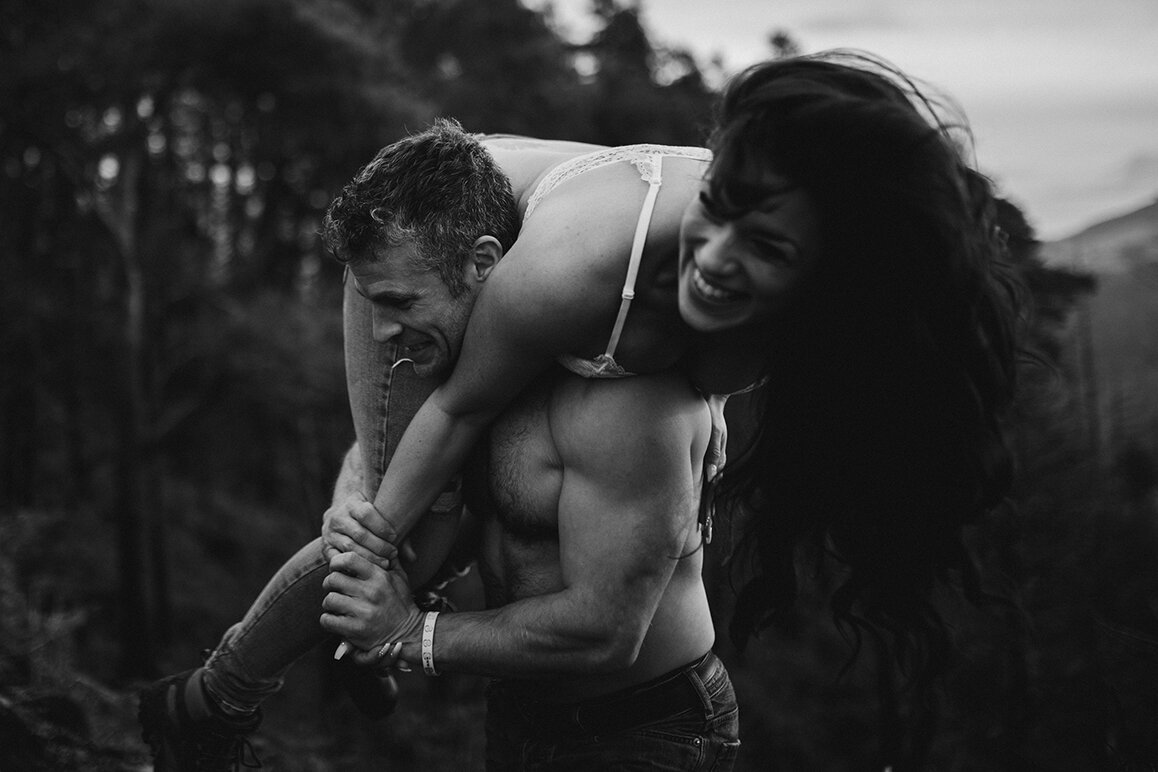
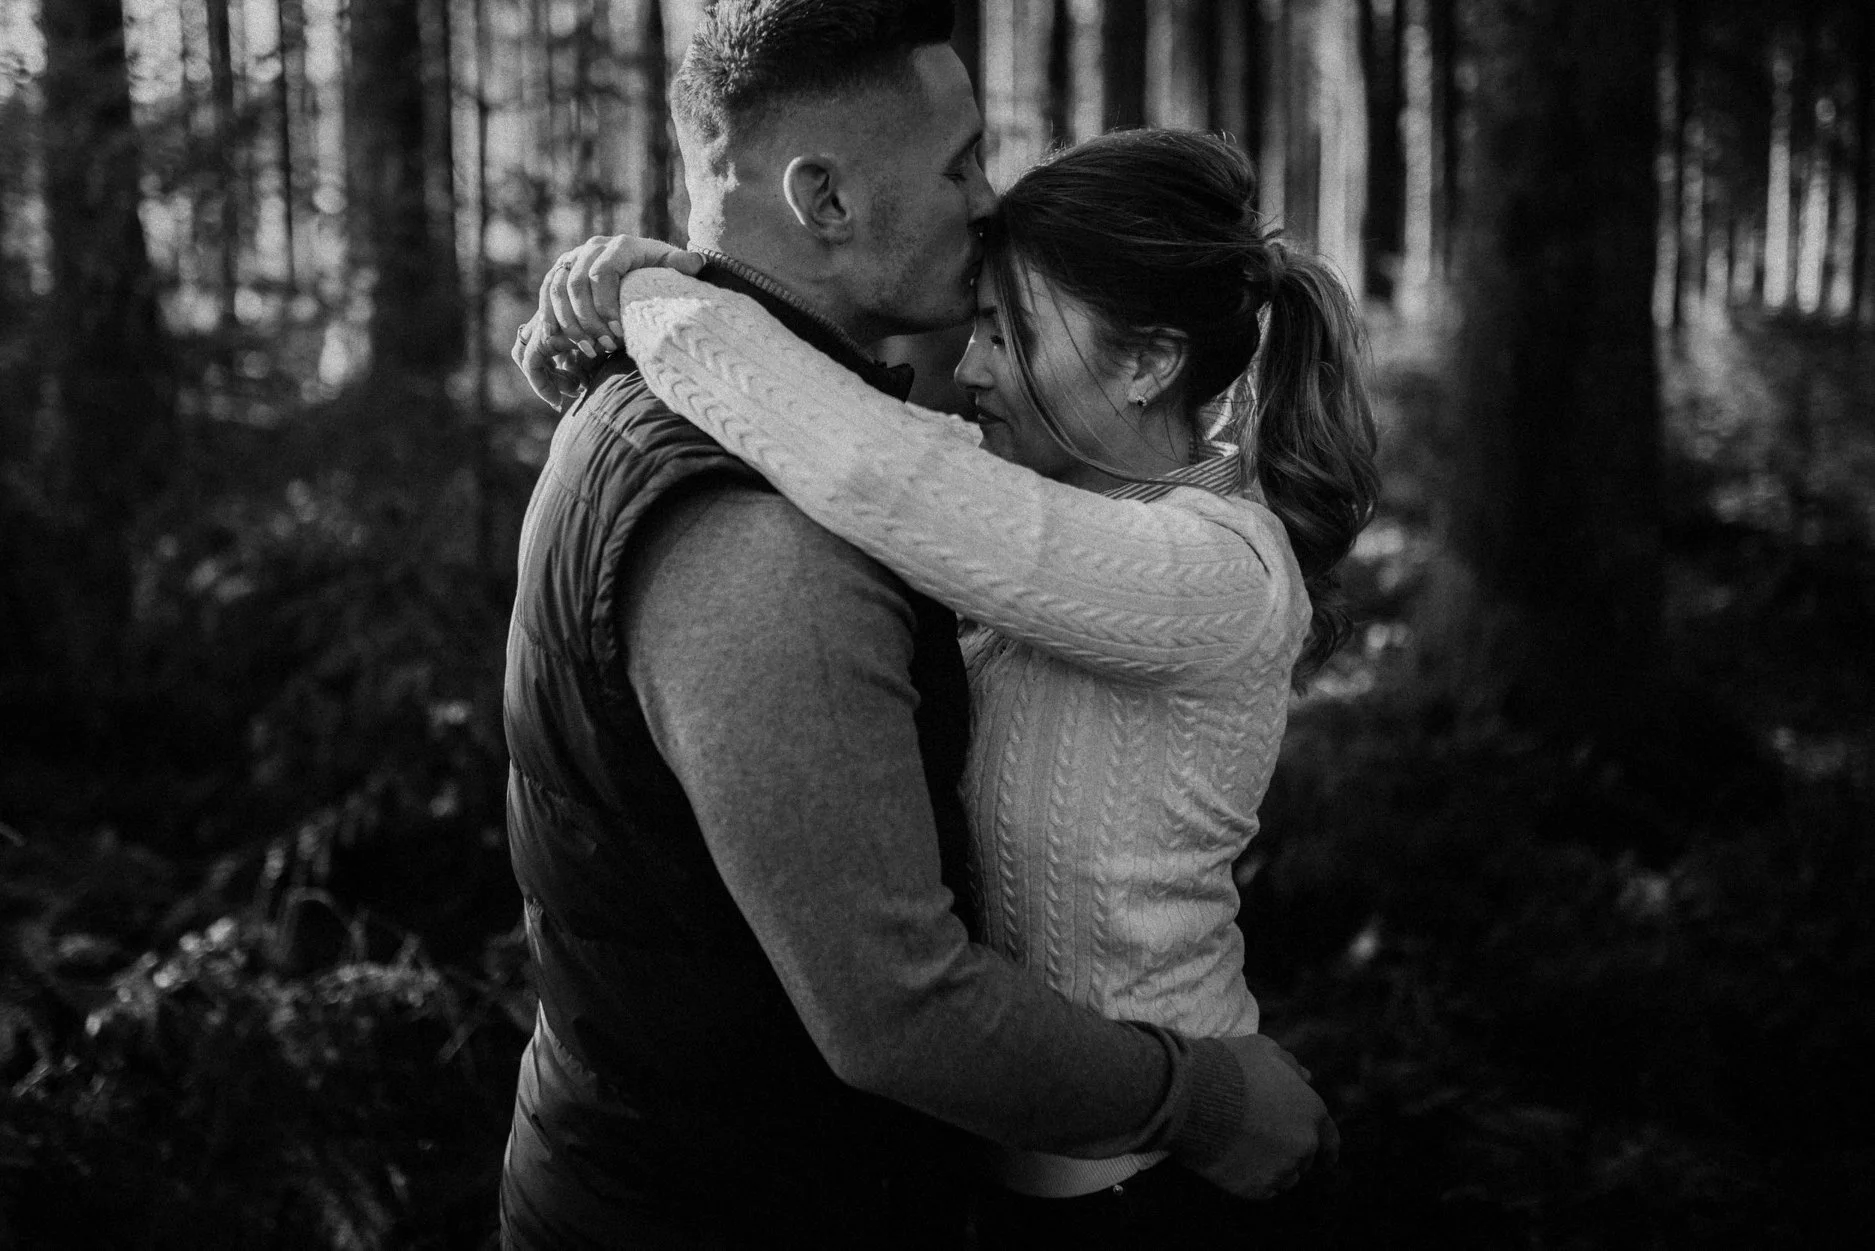
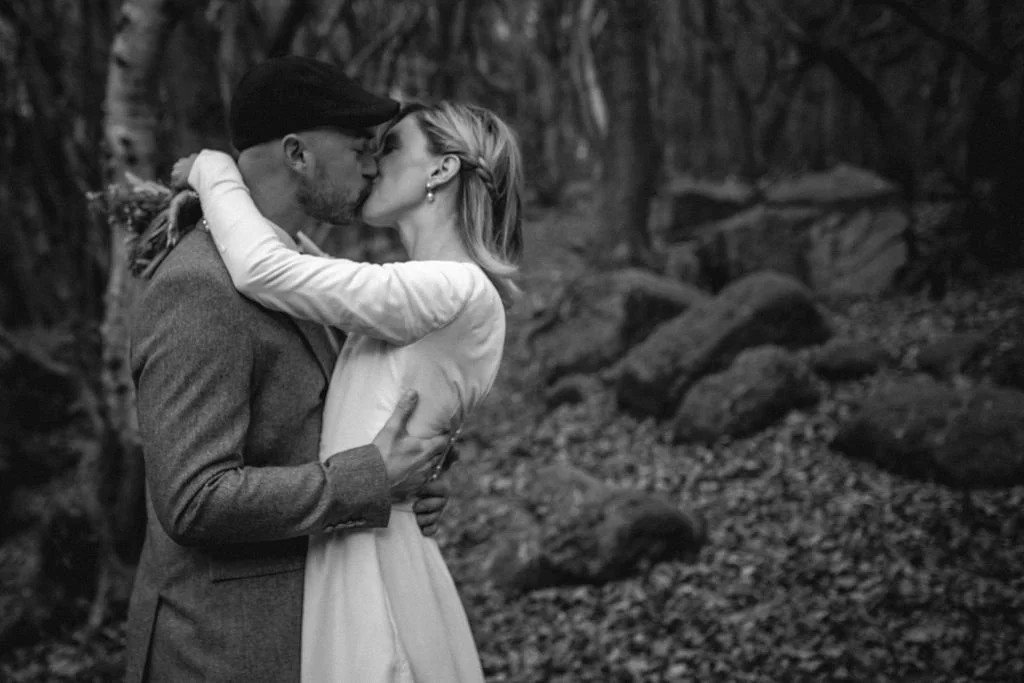
Mix things up in your shoots. Don’t be afraid to get in really tight and close with your couple.
I find with my 35mm shots if I push myself super tight with the coupes the impact and emotion multiplies tenfold. The couple will also laugh and smile if you joke with the fact you’re not quite close enough, and the resulting images are usually ones of joy and extreme intimacy.
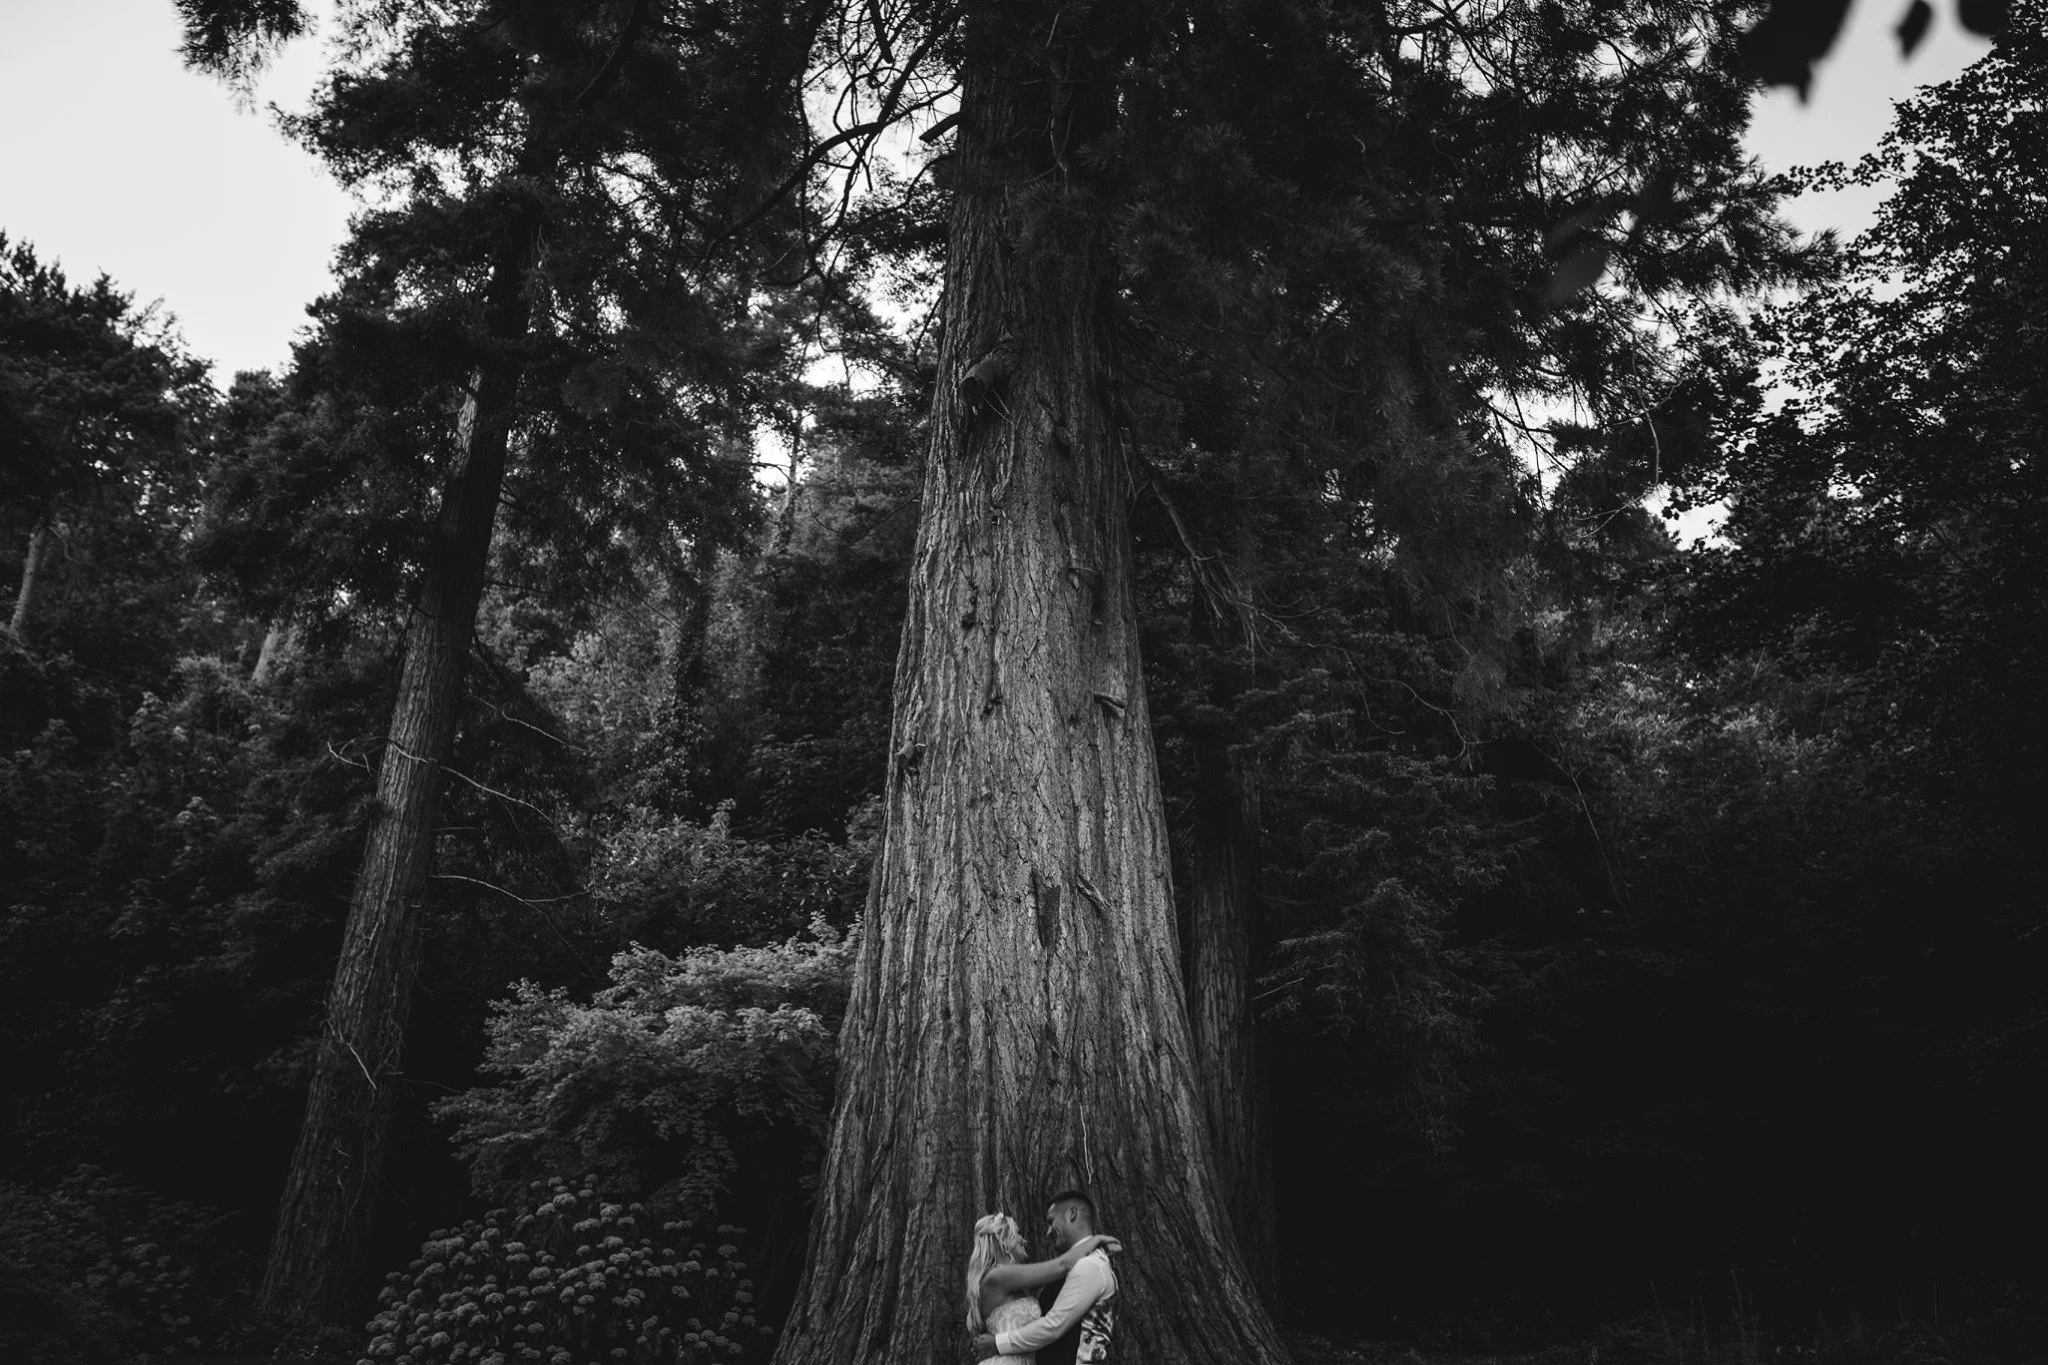
Tip No3
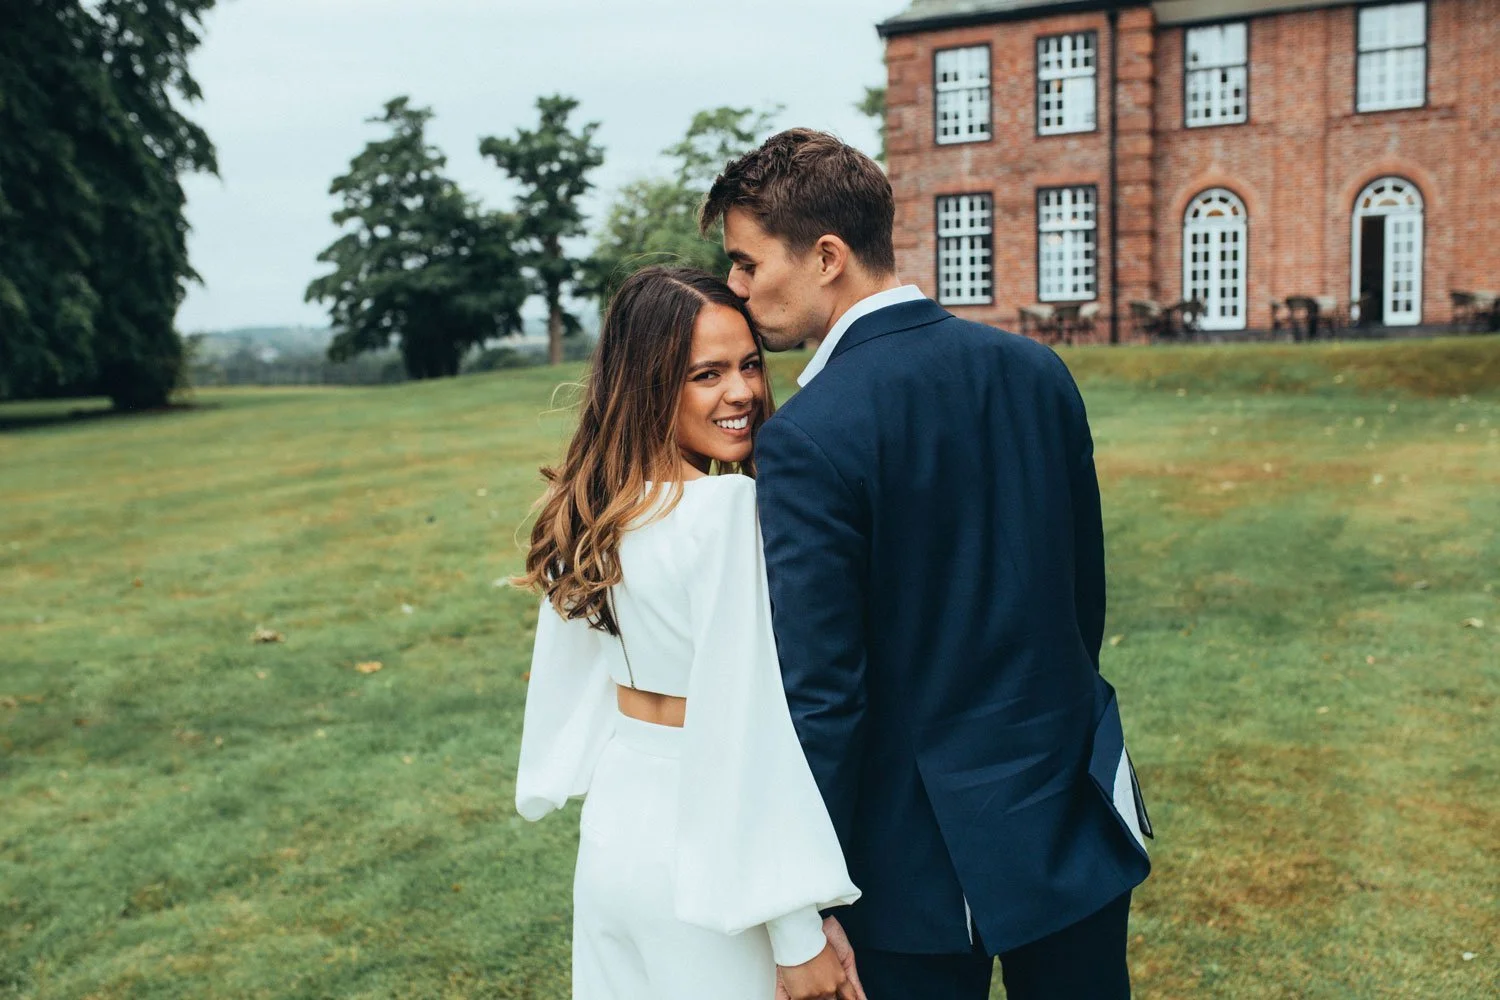
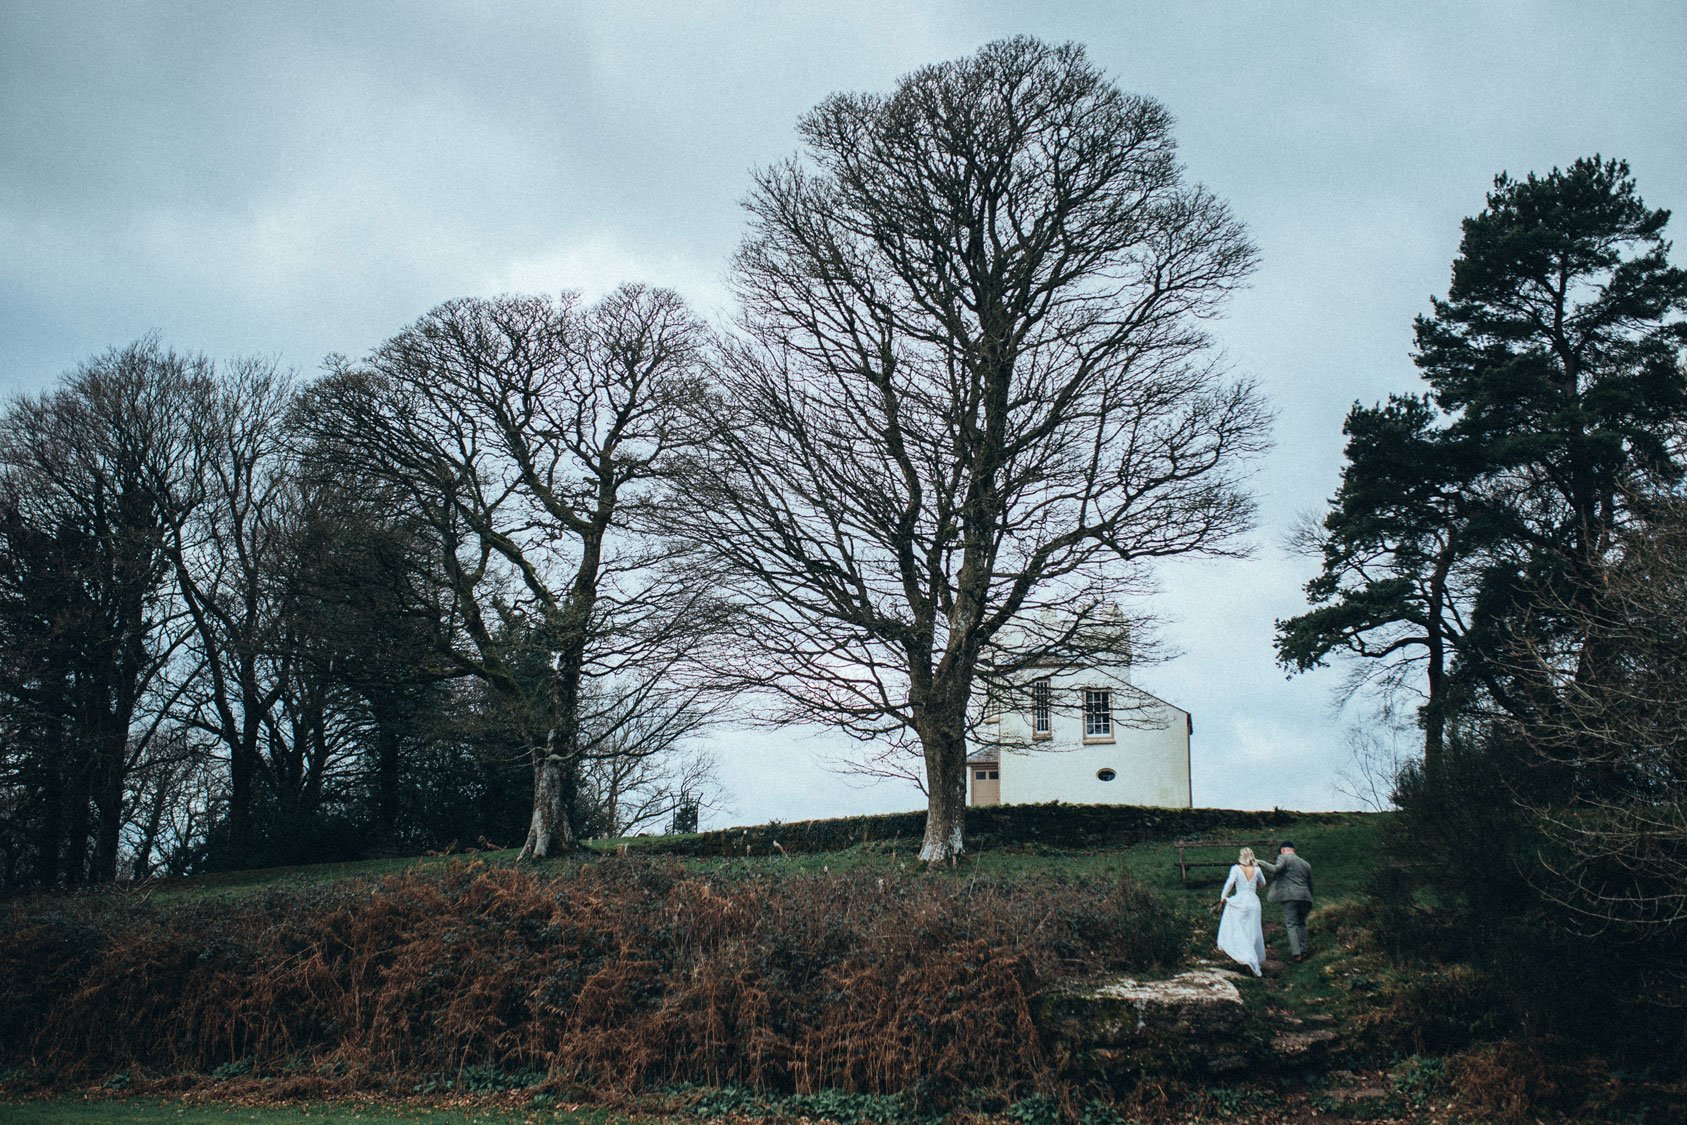
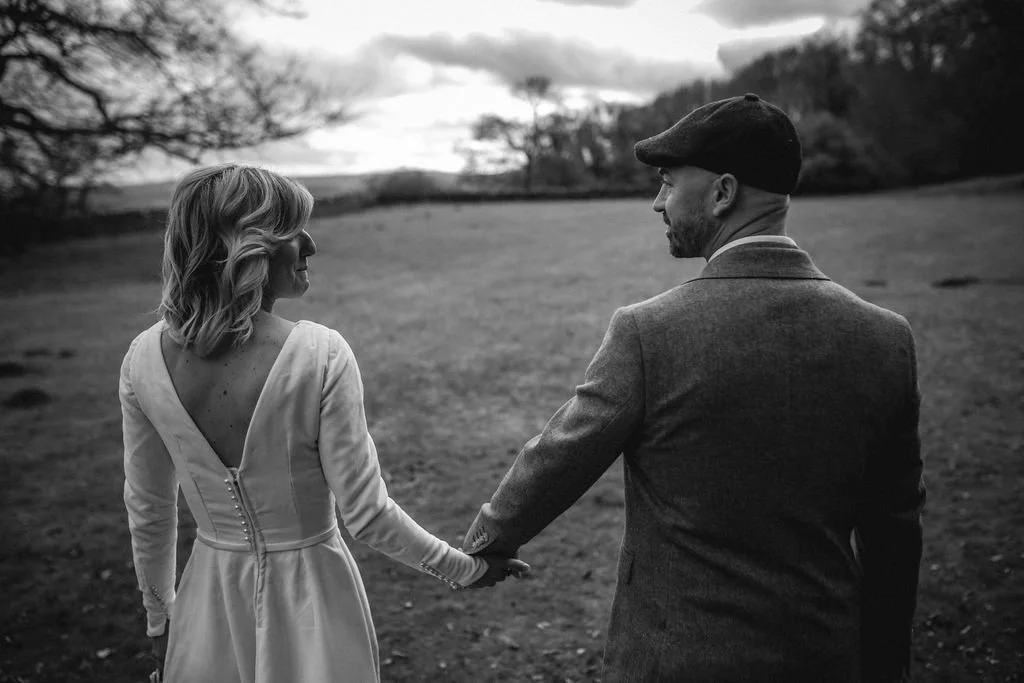
Dramatic compositions and off centre framing to add interest to your shots.
Often new photographers will get into the habit of focusing centrally and not really adding much more to the frame than looking down a barrel of a gun. To create more interesting compositions, focus on your couple first by half pressing the shutter, then re frame your shot to position them more aesthetically in the frame. There is no perfect rule to this, but with practice your use of the rule of thirds and leading lines will improve, and you’ll start to create some interesting shapes and compositions.
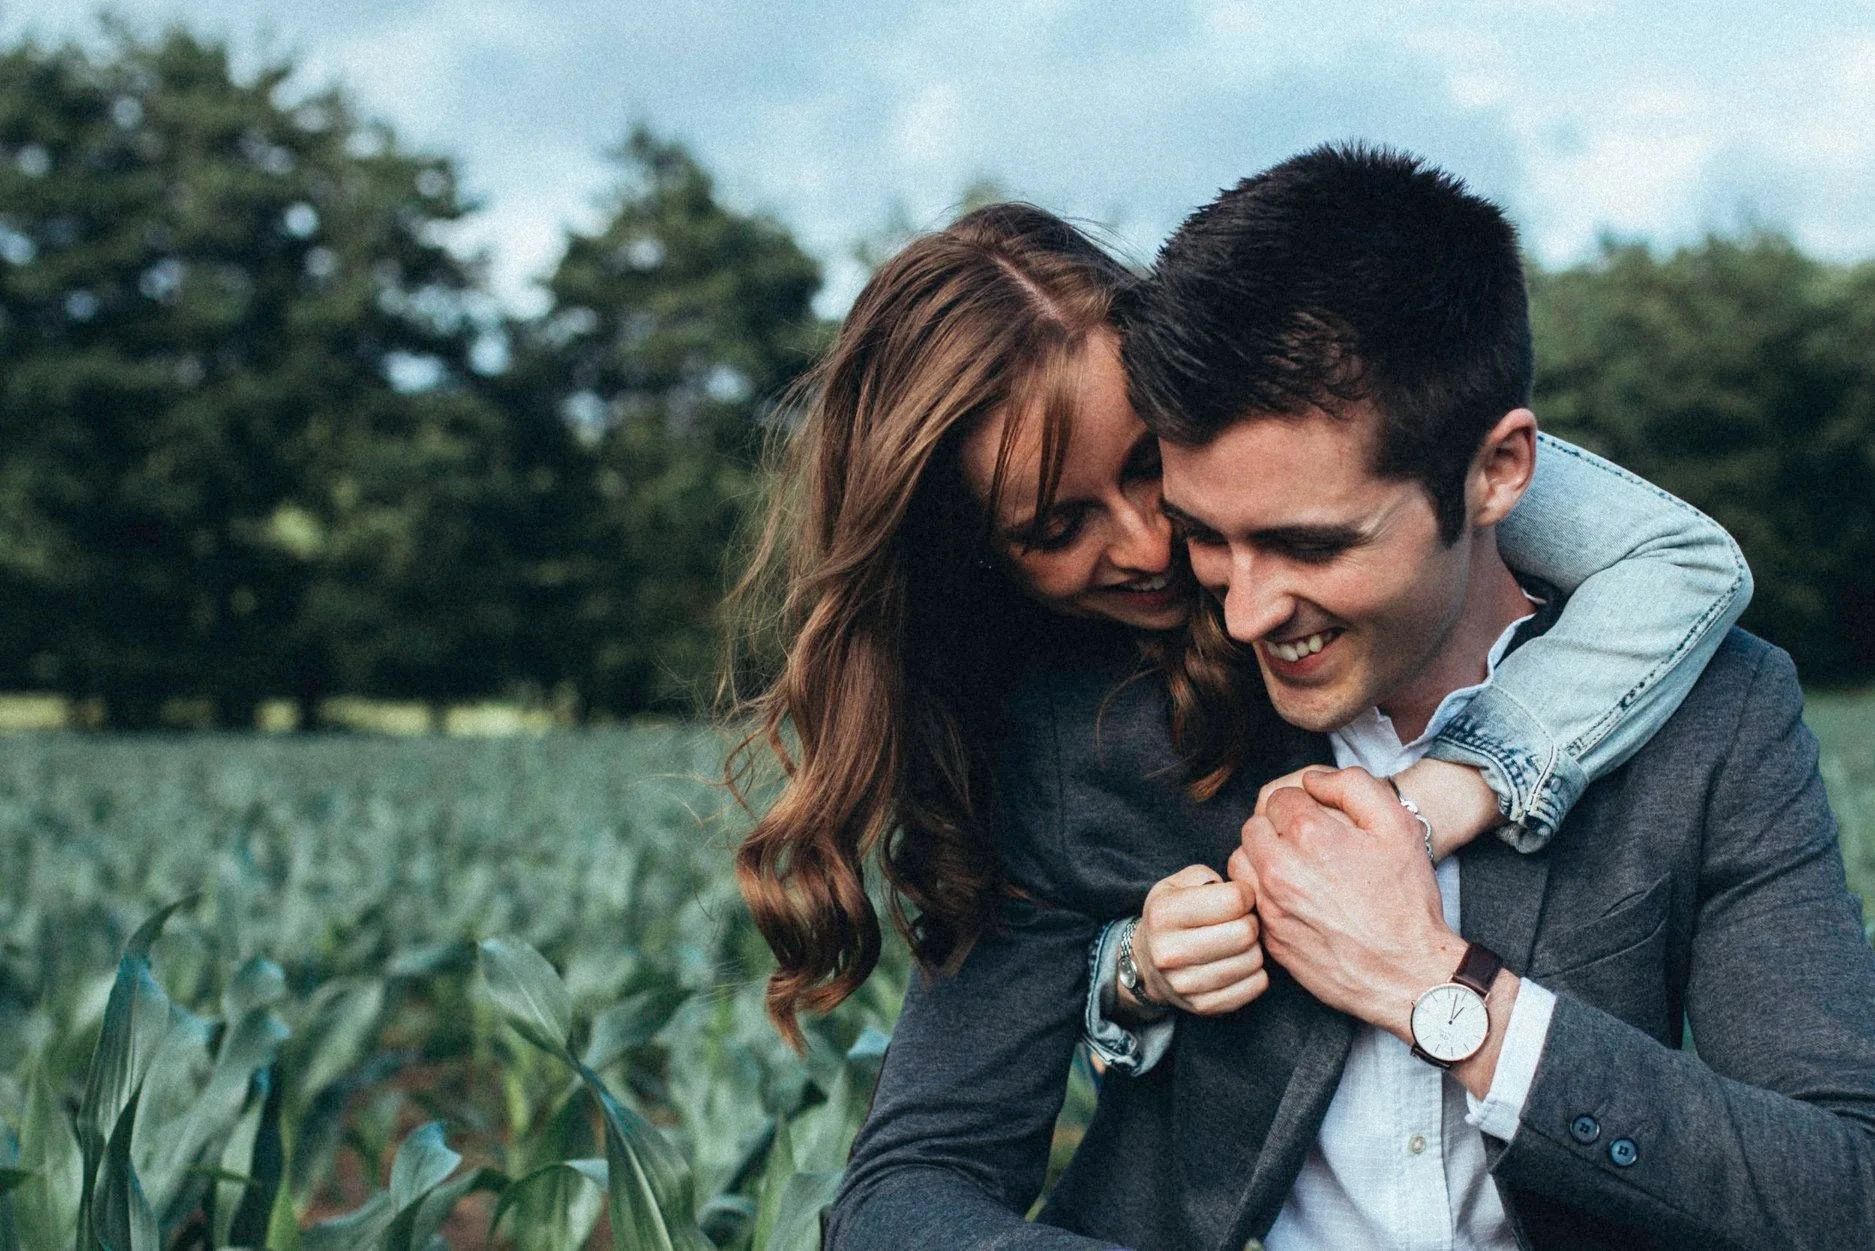
Tip No4
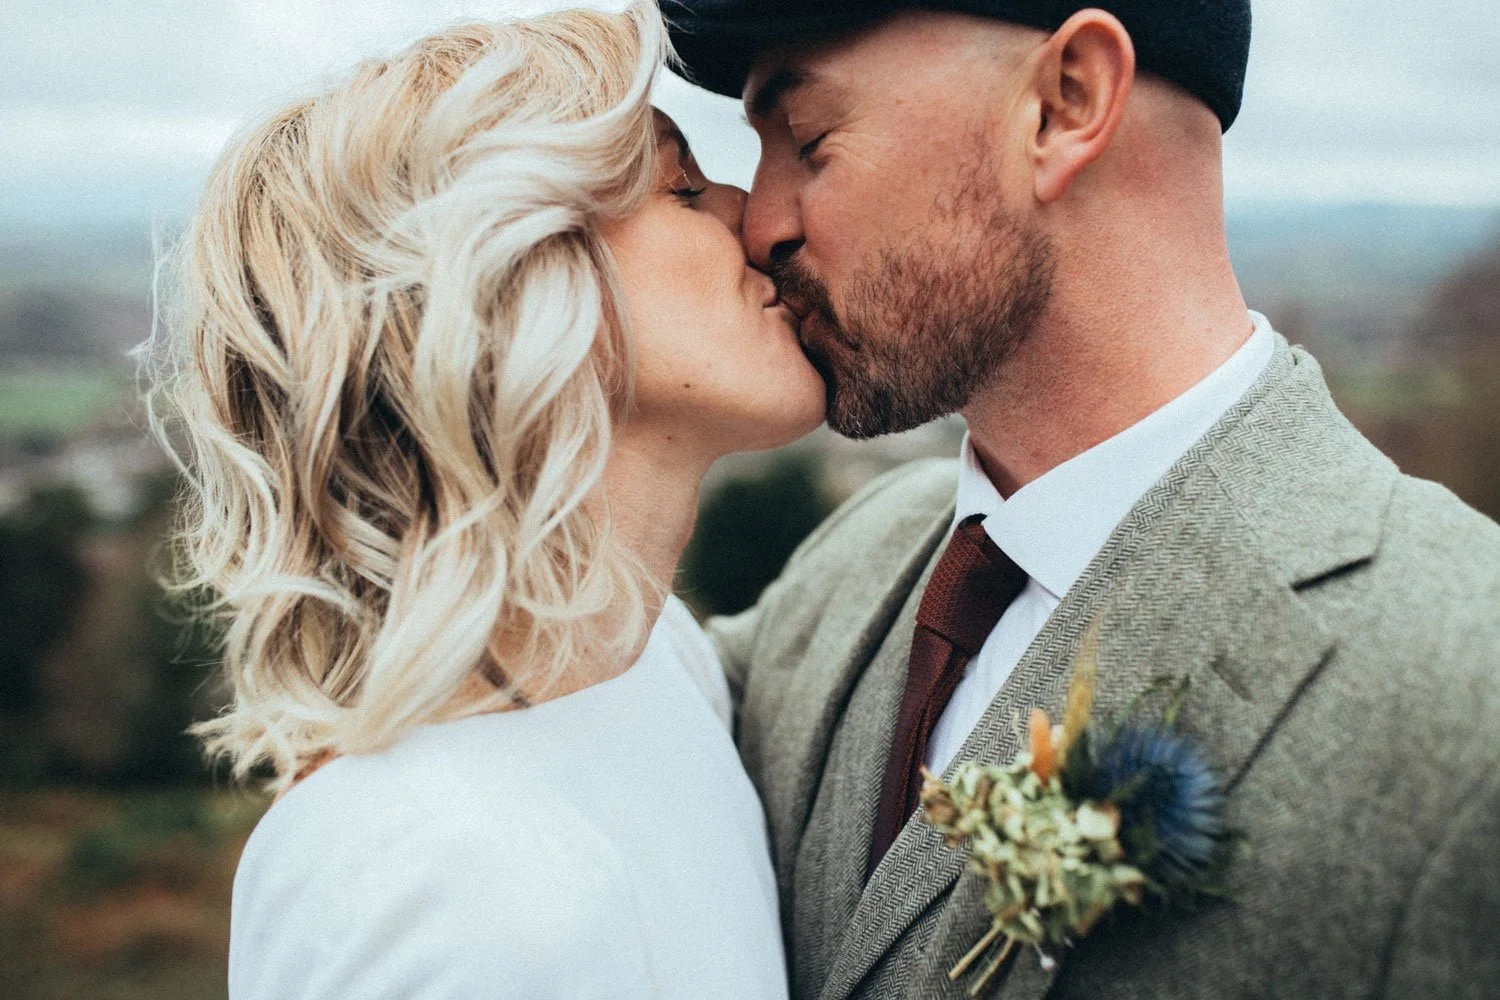
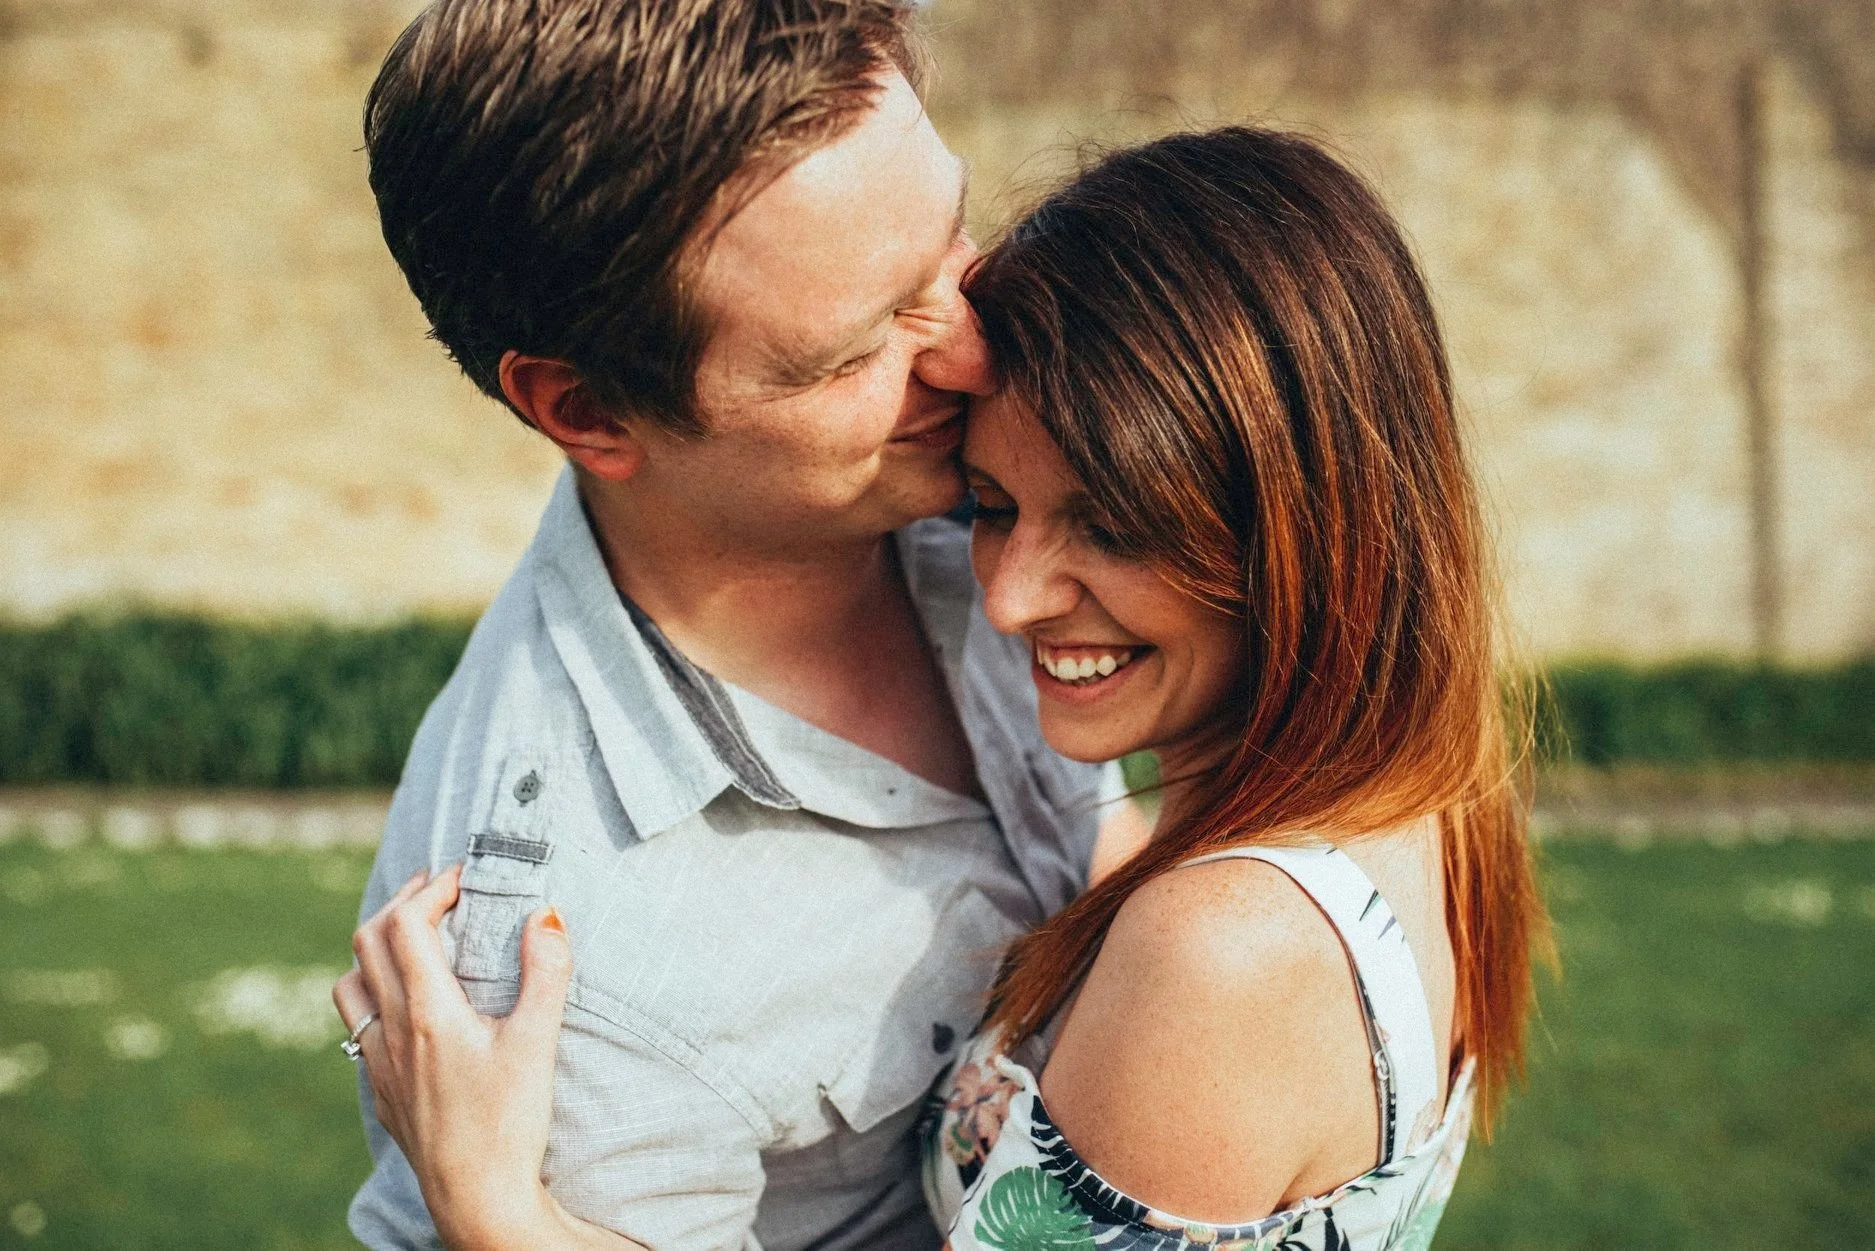
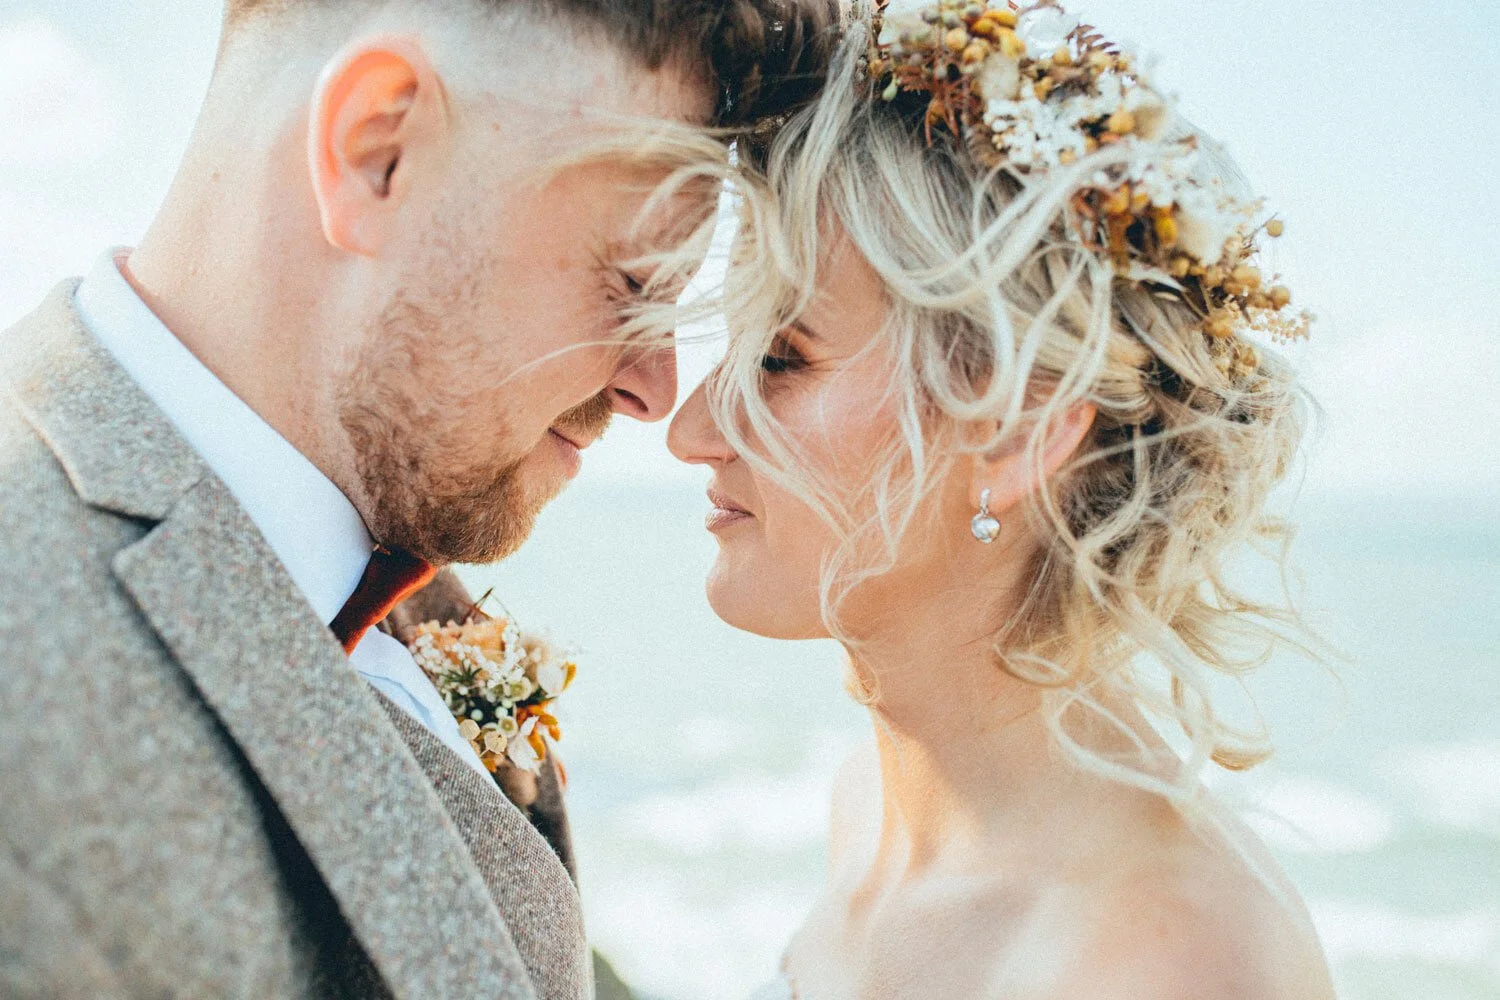
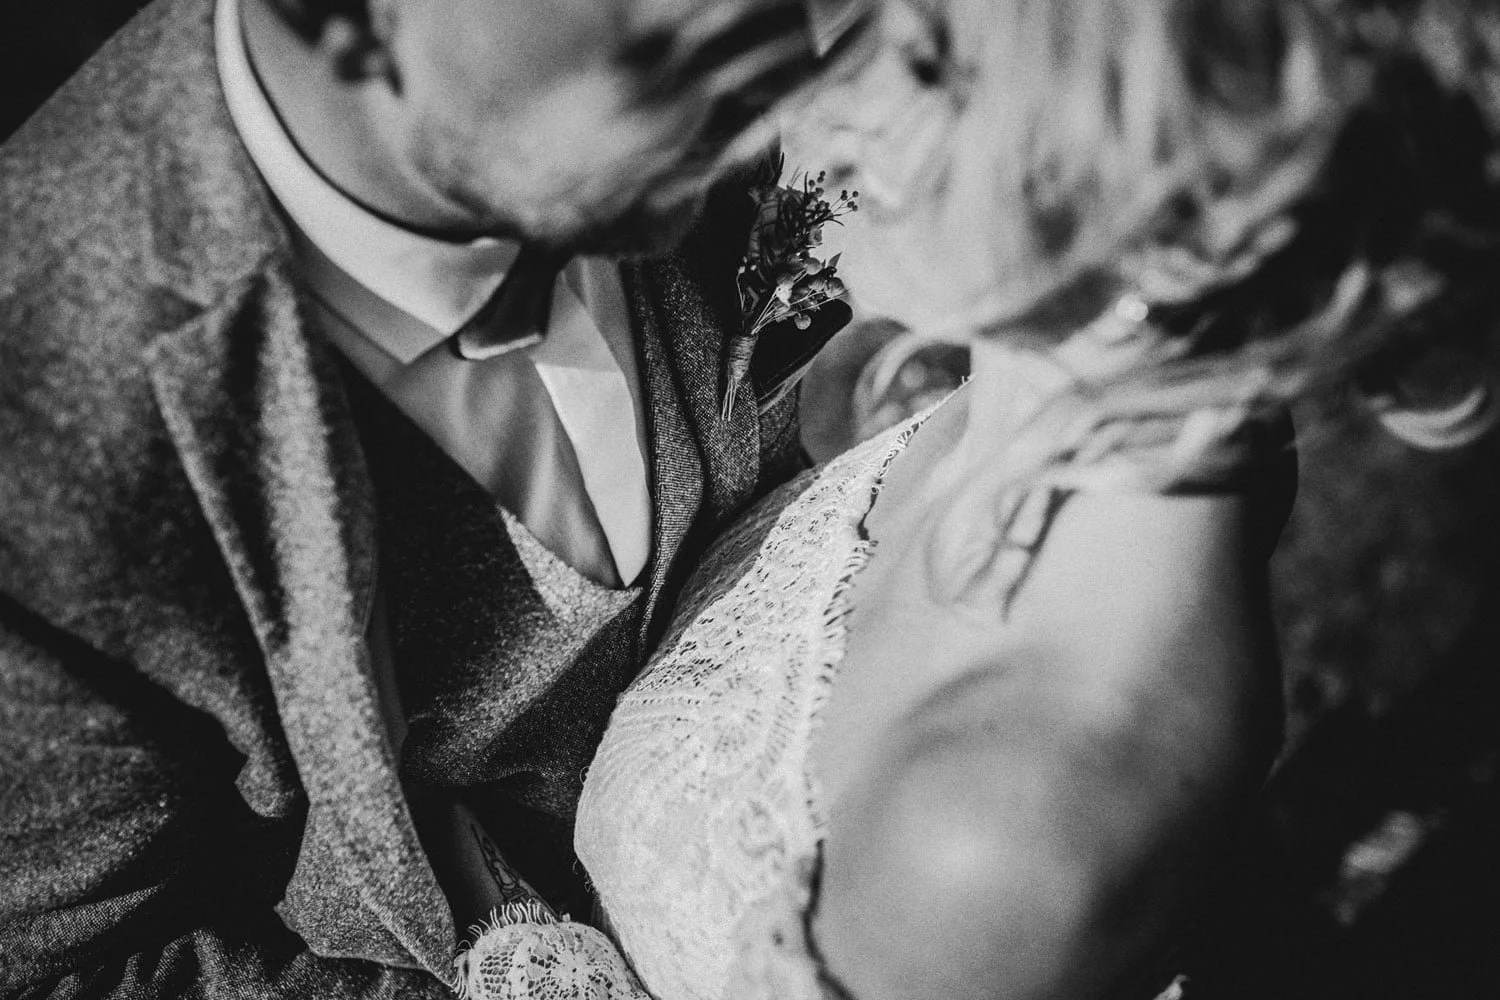
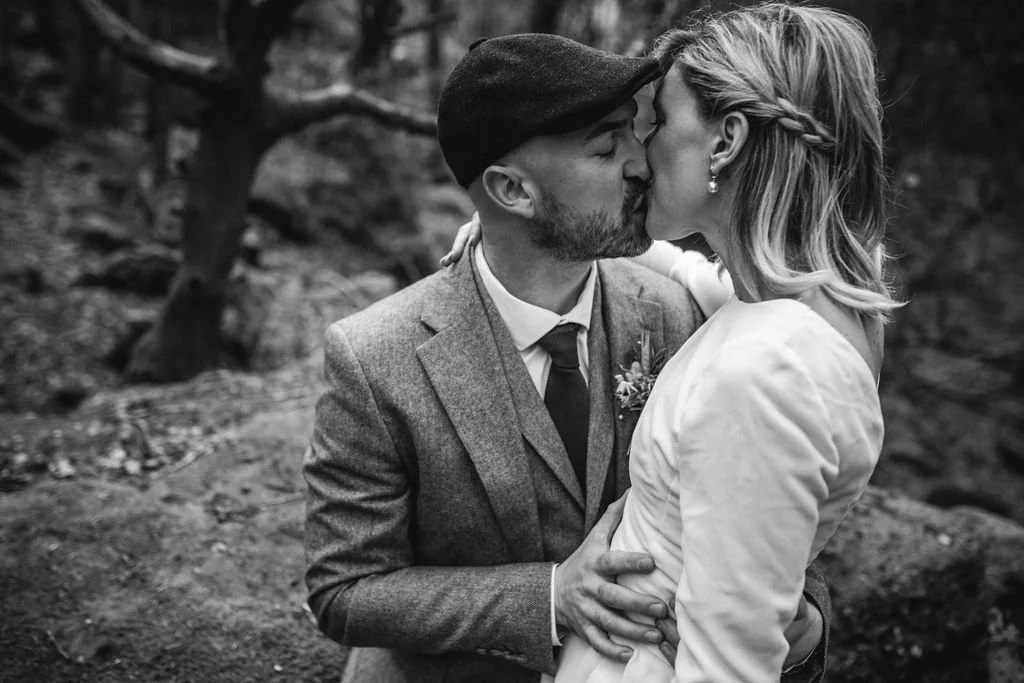
Try generating natural emotion through action cues within the pose, to completely natural action shots.
There are three stages I tend to go through to generate the right look and emotion in my images. Firstly I get my couple in a position I’m satisfied with. They are posed in a way I feel flatters and compliments their body shapes best, and my use of angle and lens choice also reflects that. Secondly I will give them a cue or something to do, this may be looking at each other, holding, asking each other a question, and then thirdly I will capture the resulting reaction. This is why I find it important to capture several frames once ‘the action’ is happening. ‘lean in for a kiss’, or ‘stop and embrace each other’, or ‘touch noses for me’.
The most pleasing shots are often before or after the action takes place, as this is when your couples are most relaxed and comfortable when releasing away from the ‘cue’. You can catch them acting completely natural for a split second. That’s the frame you want.
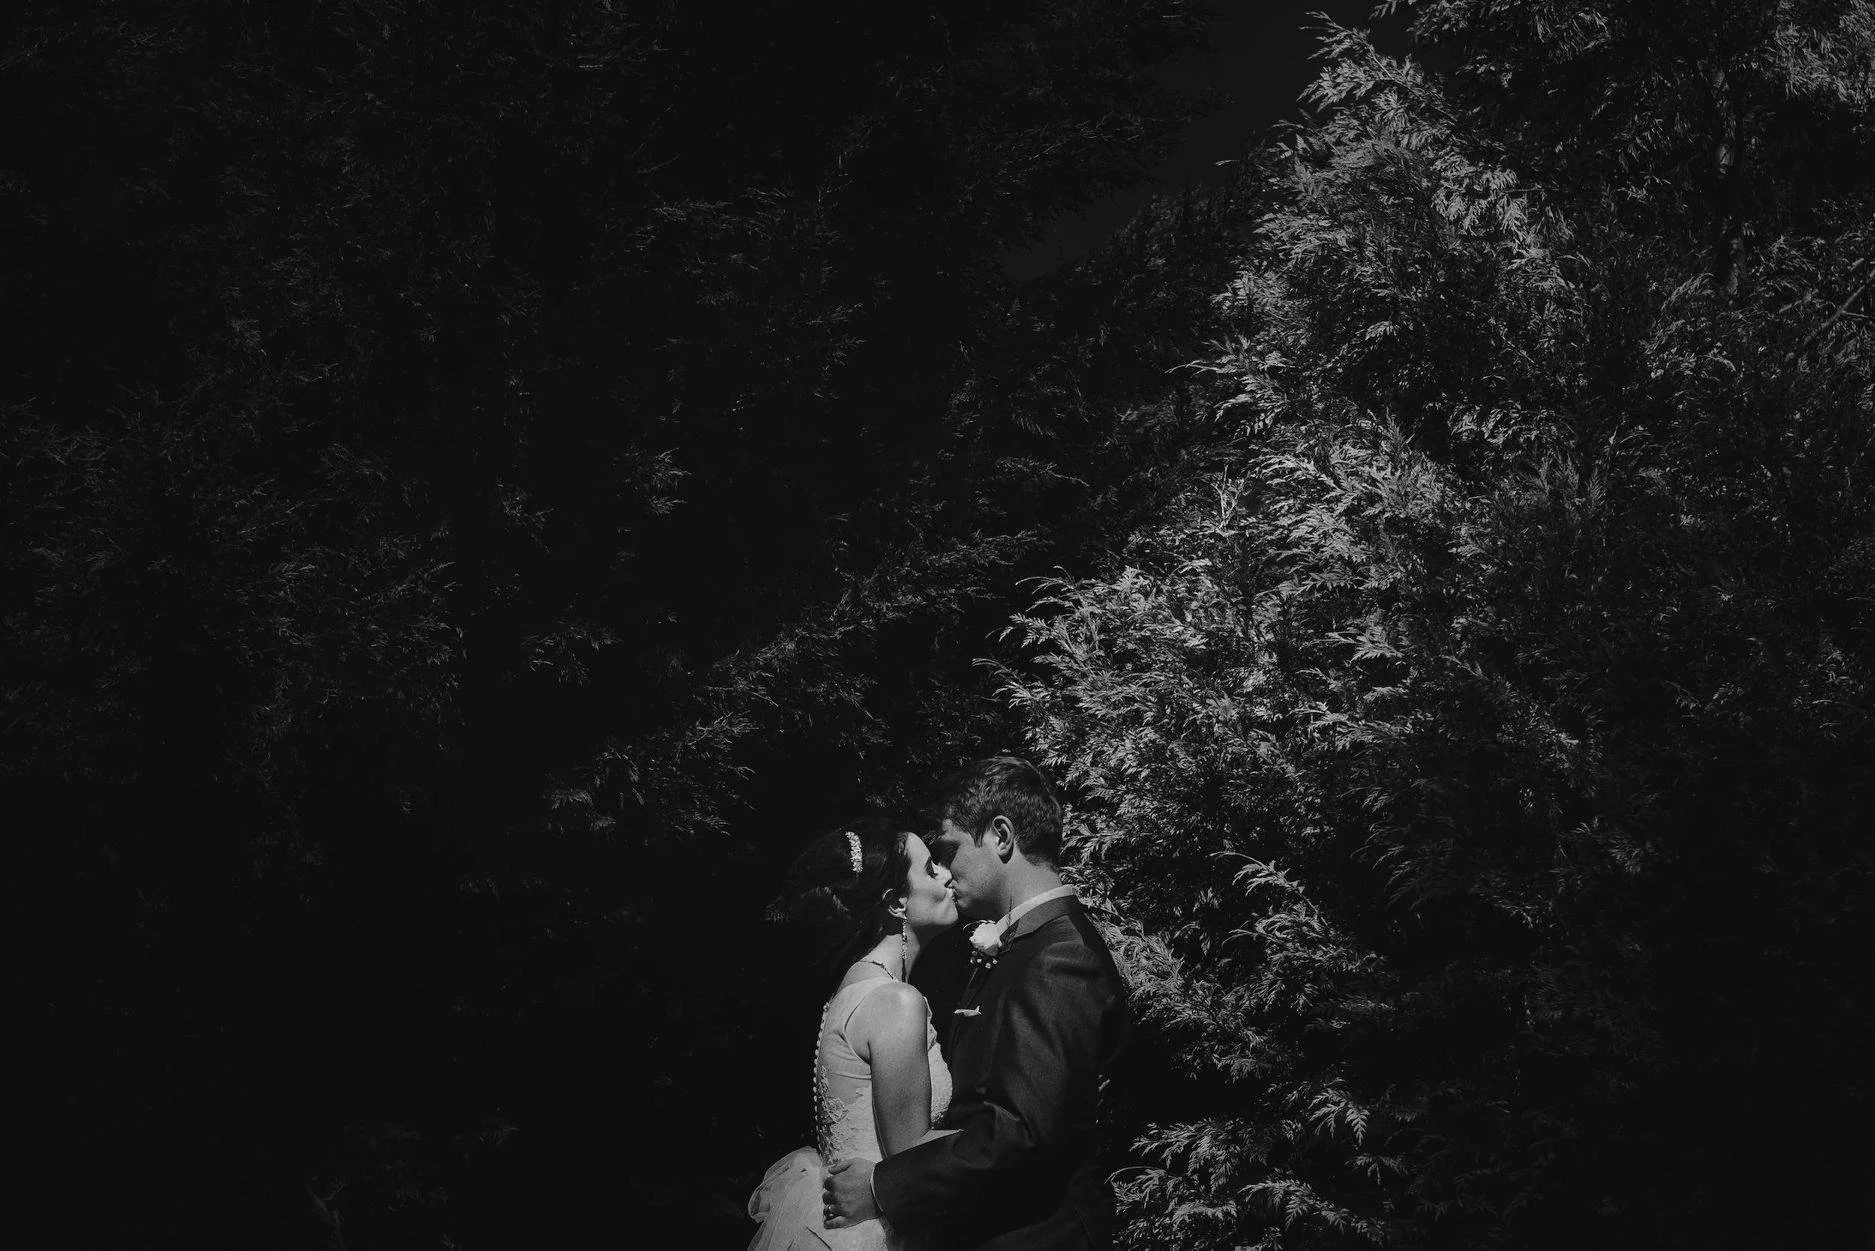
Tip No5
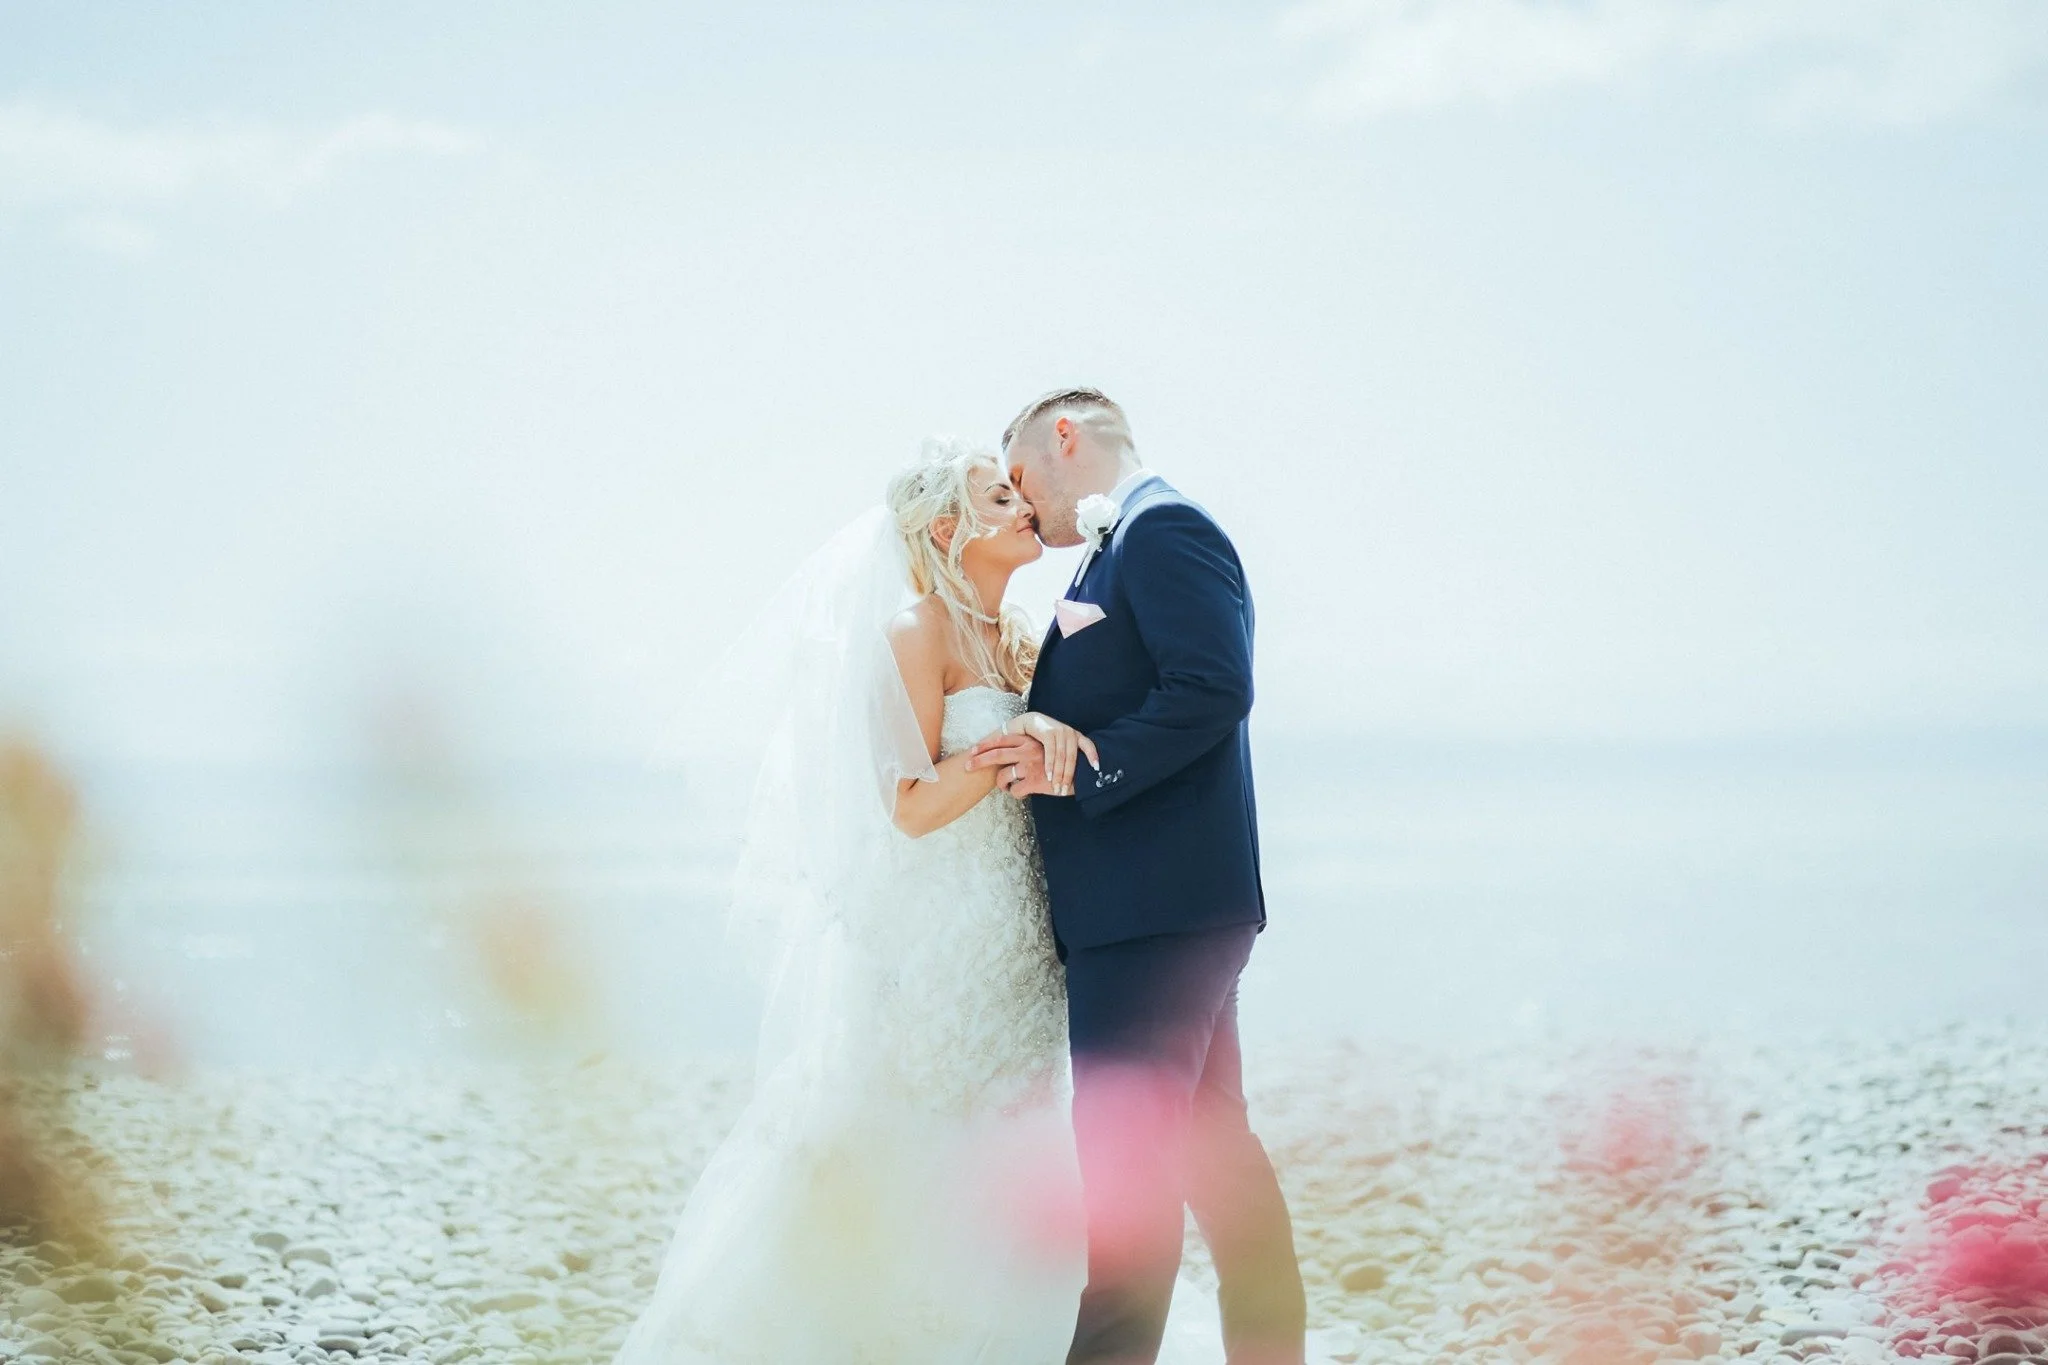
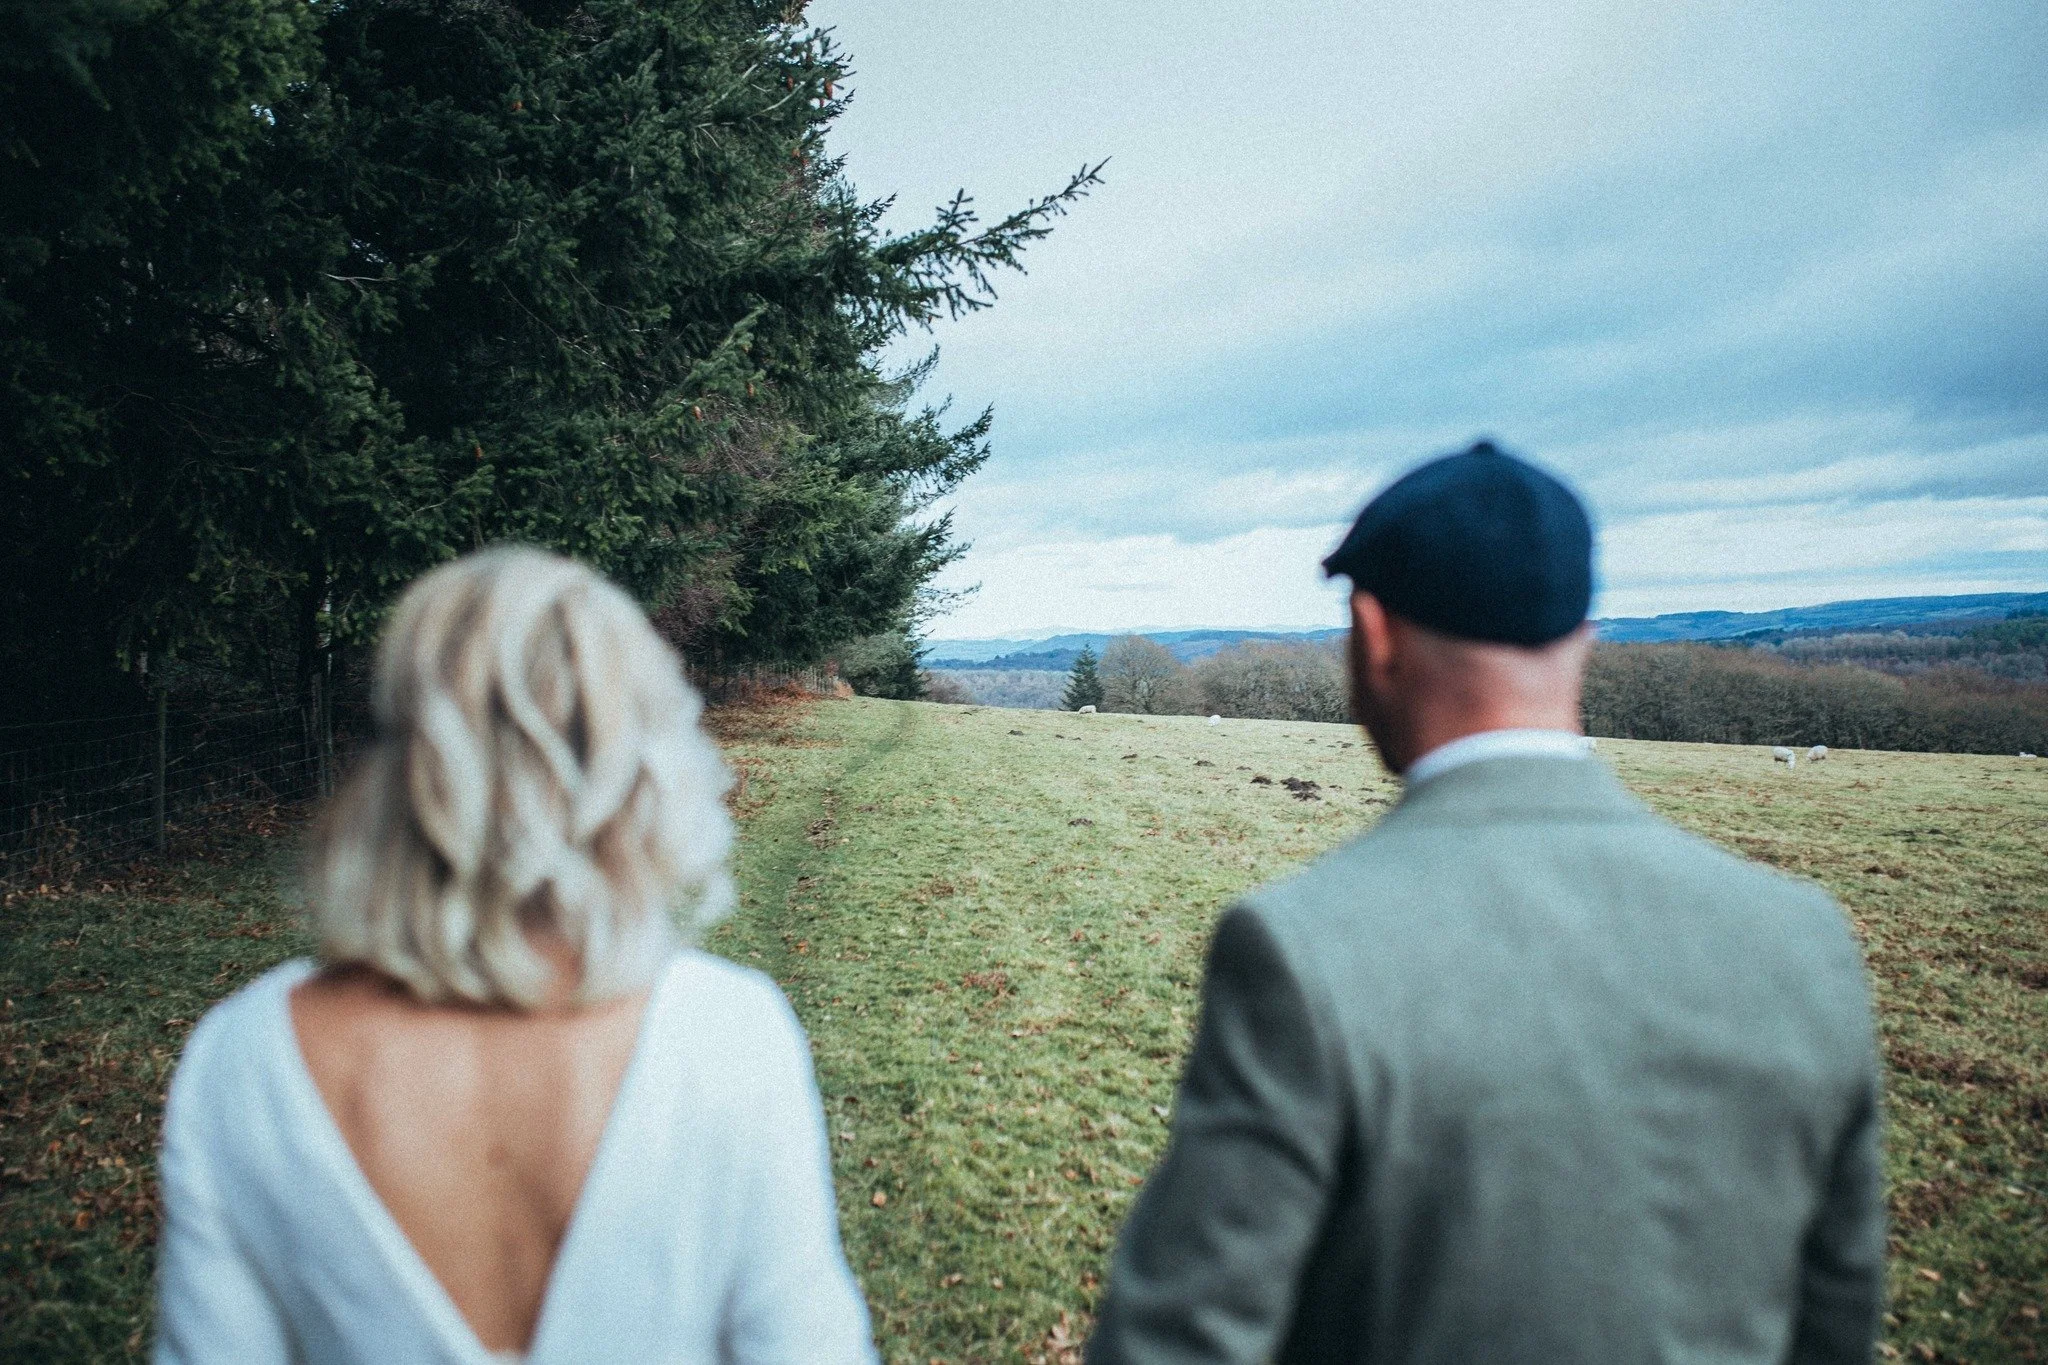
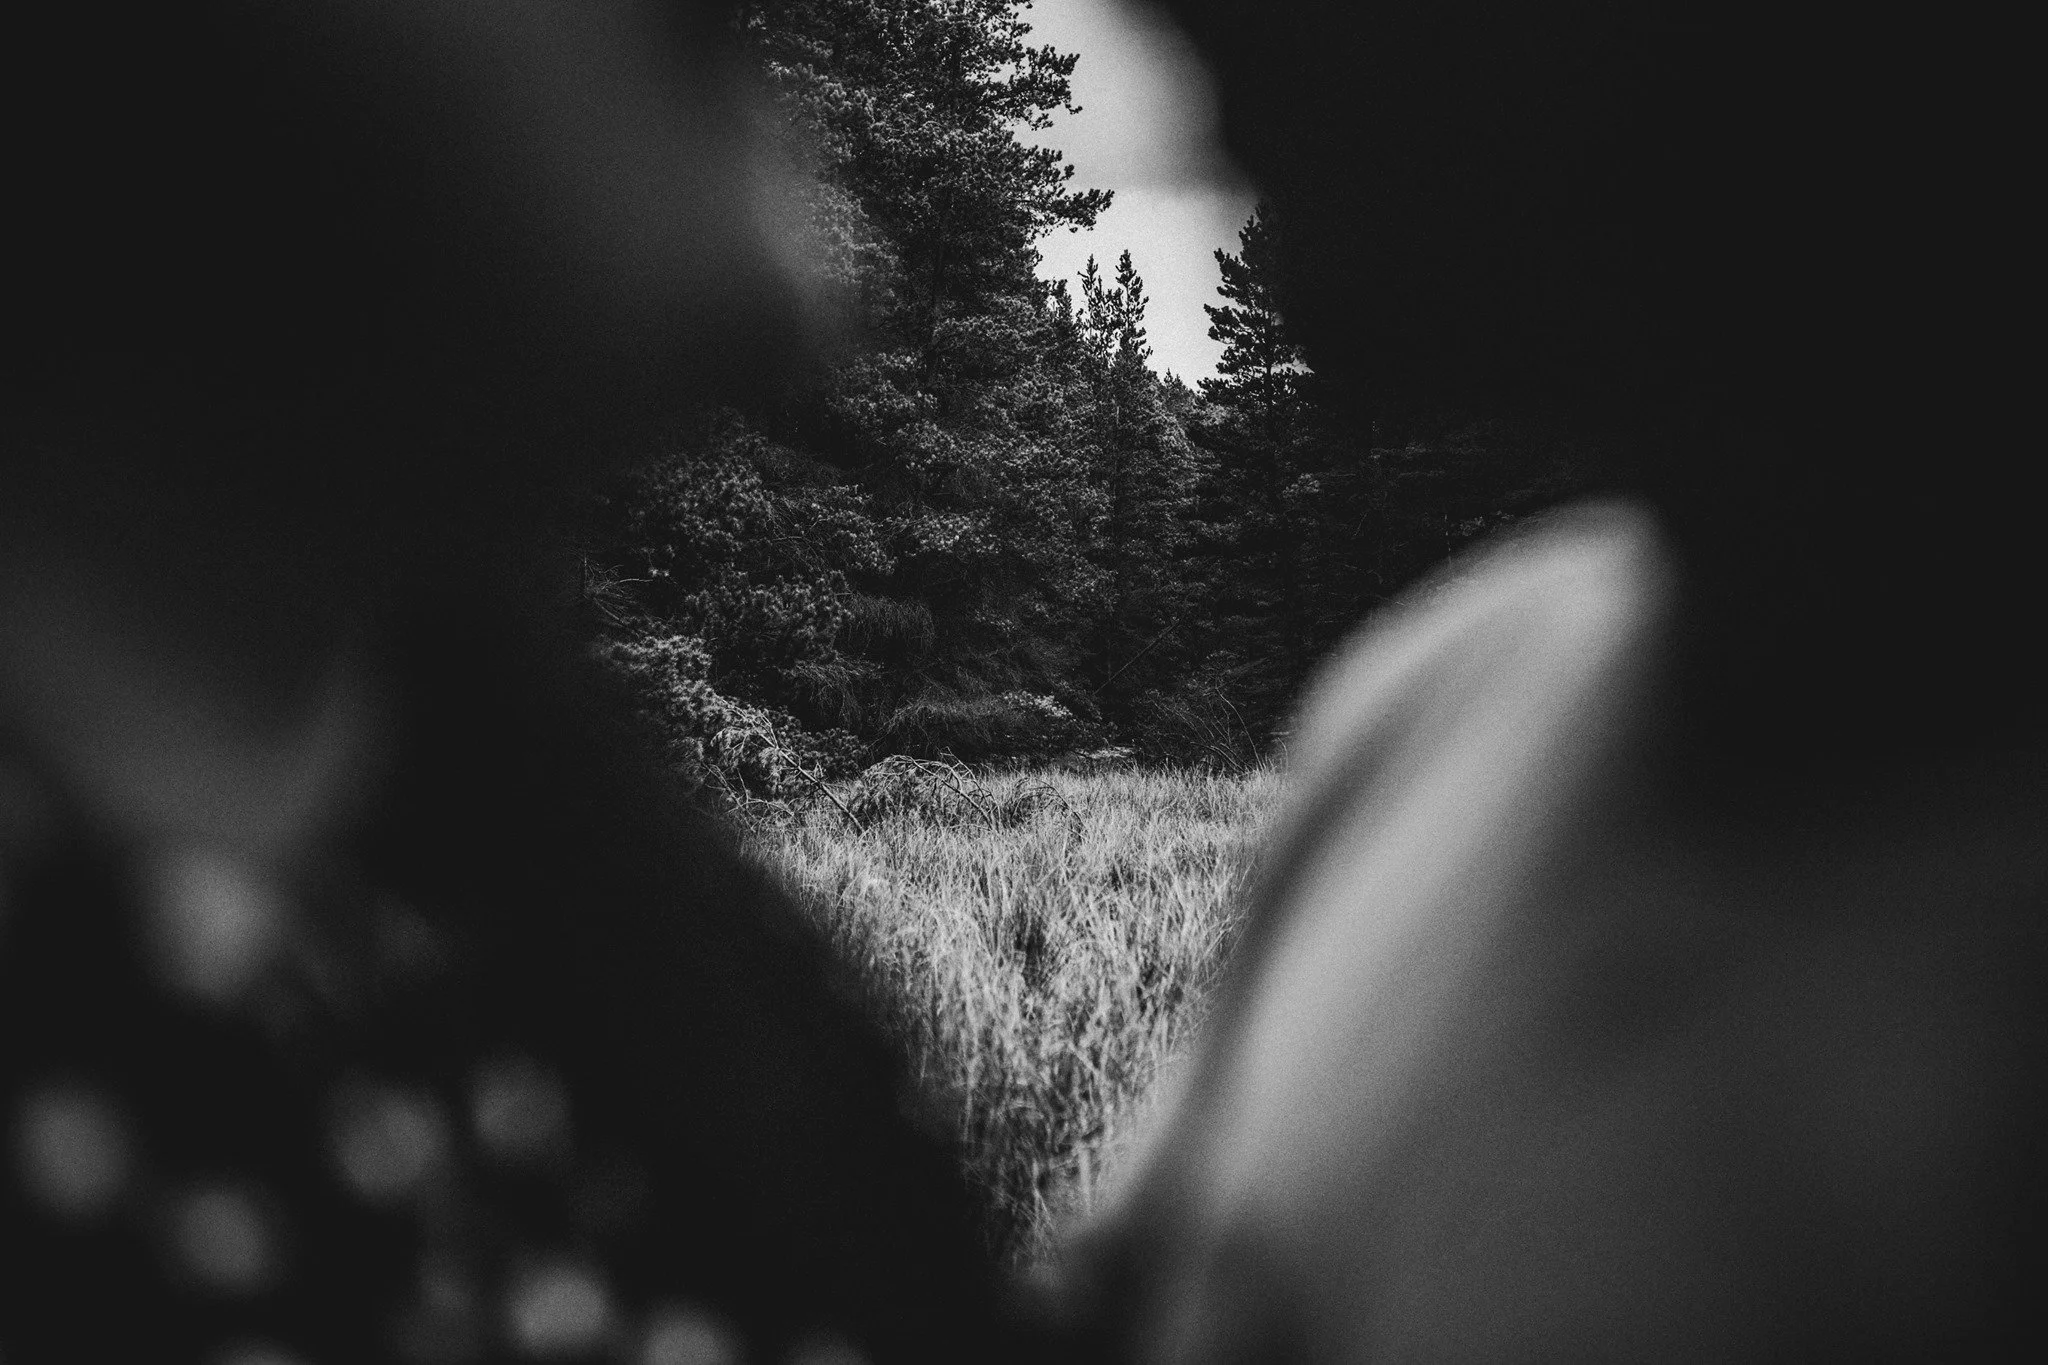
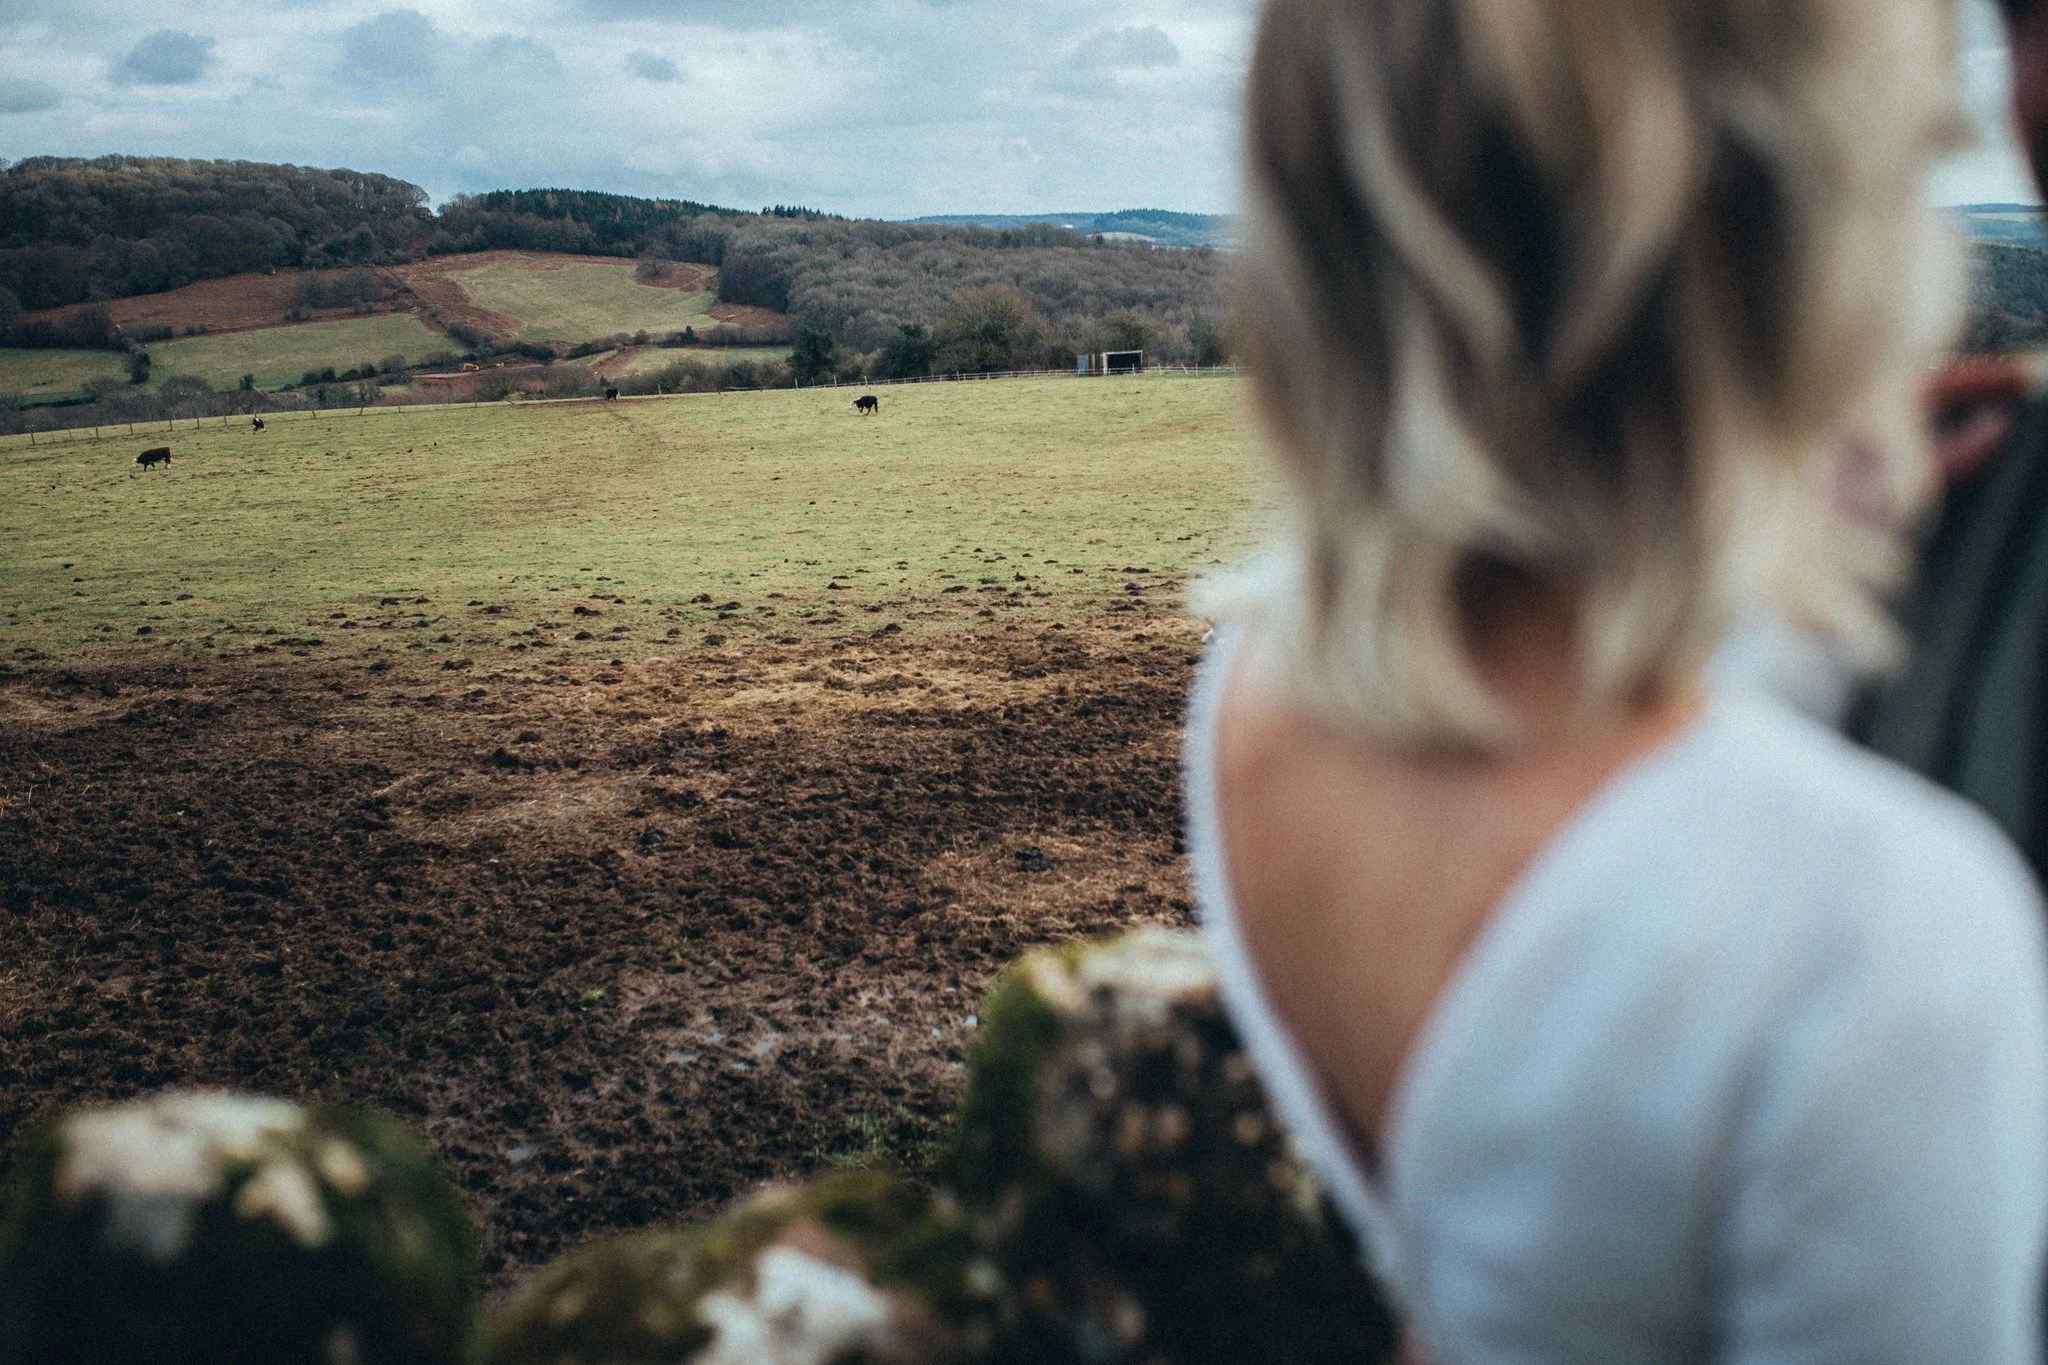
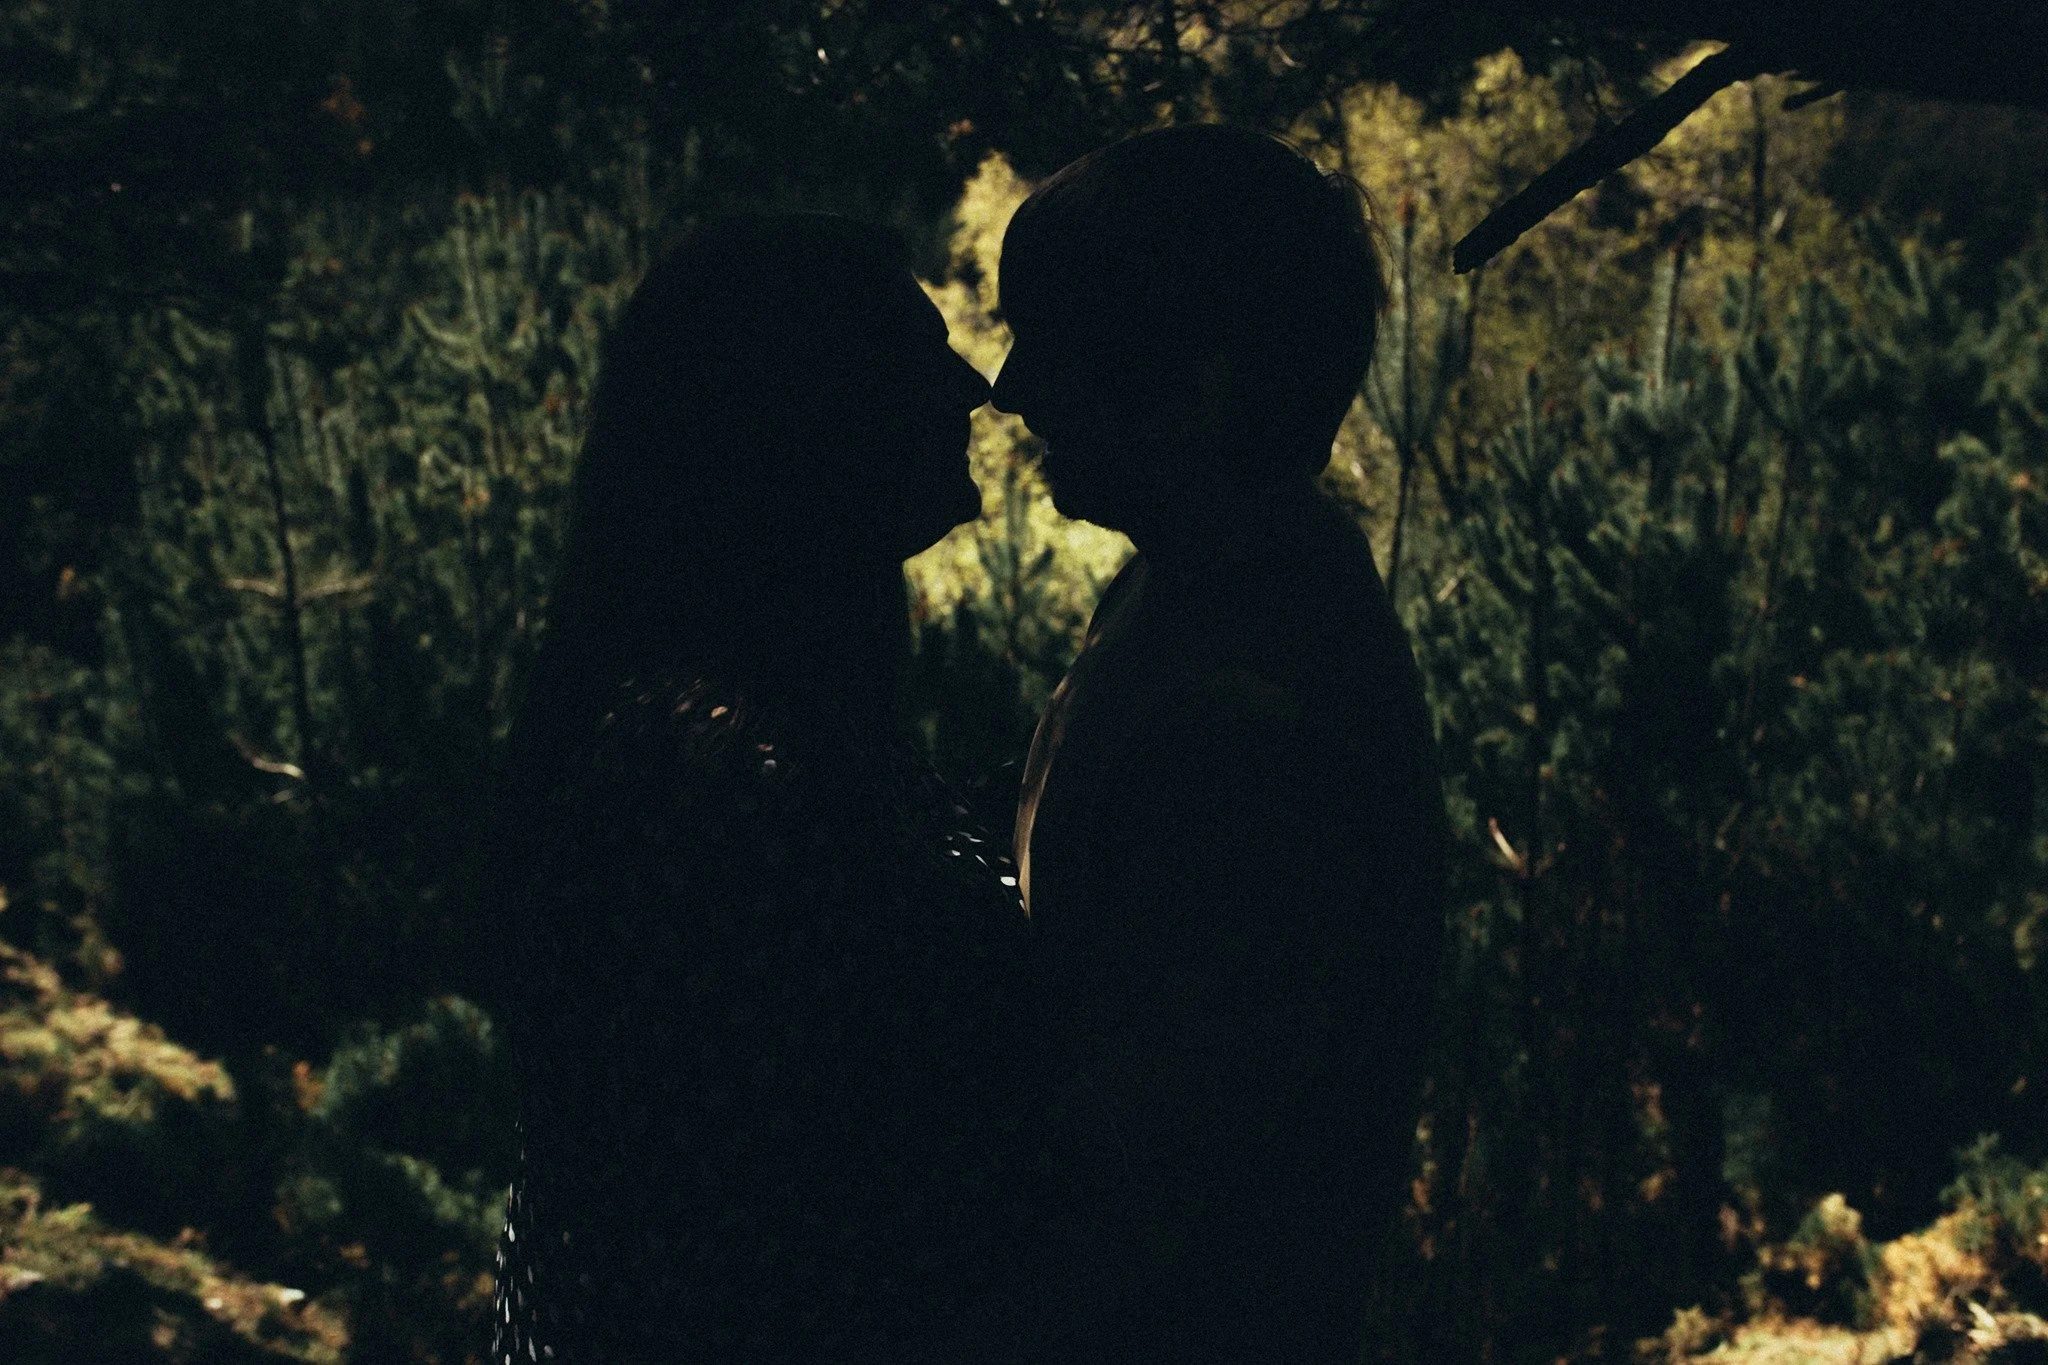
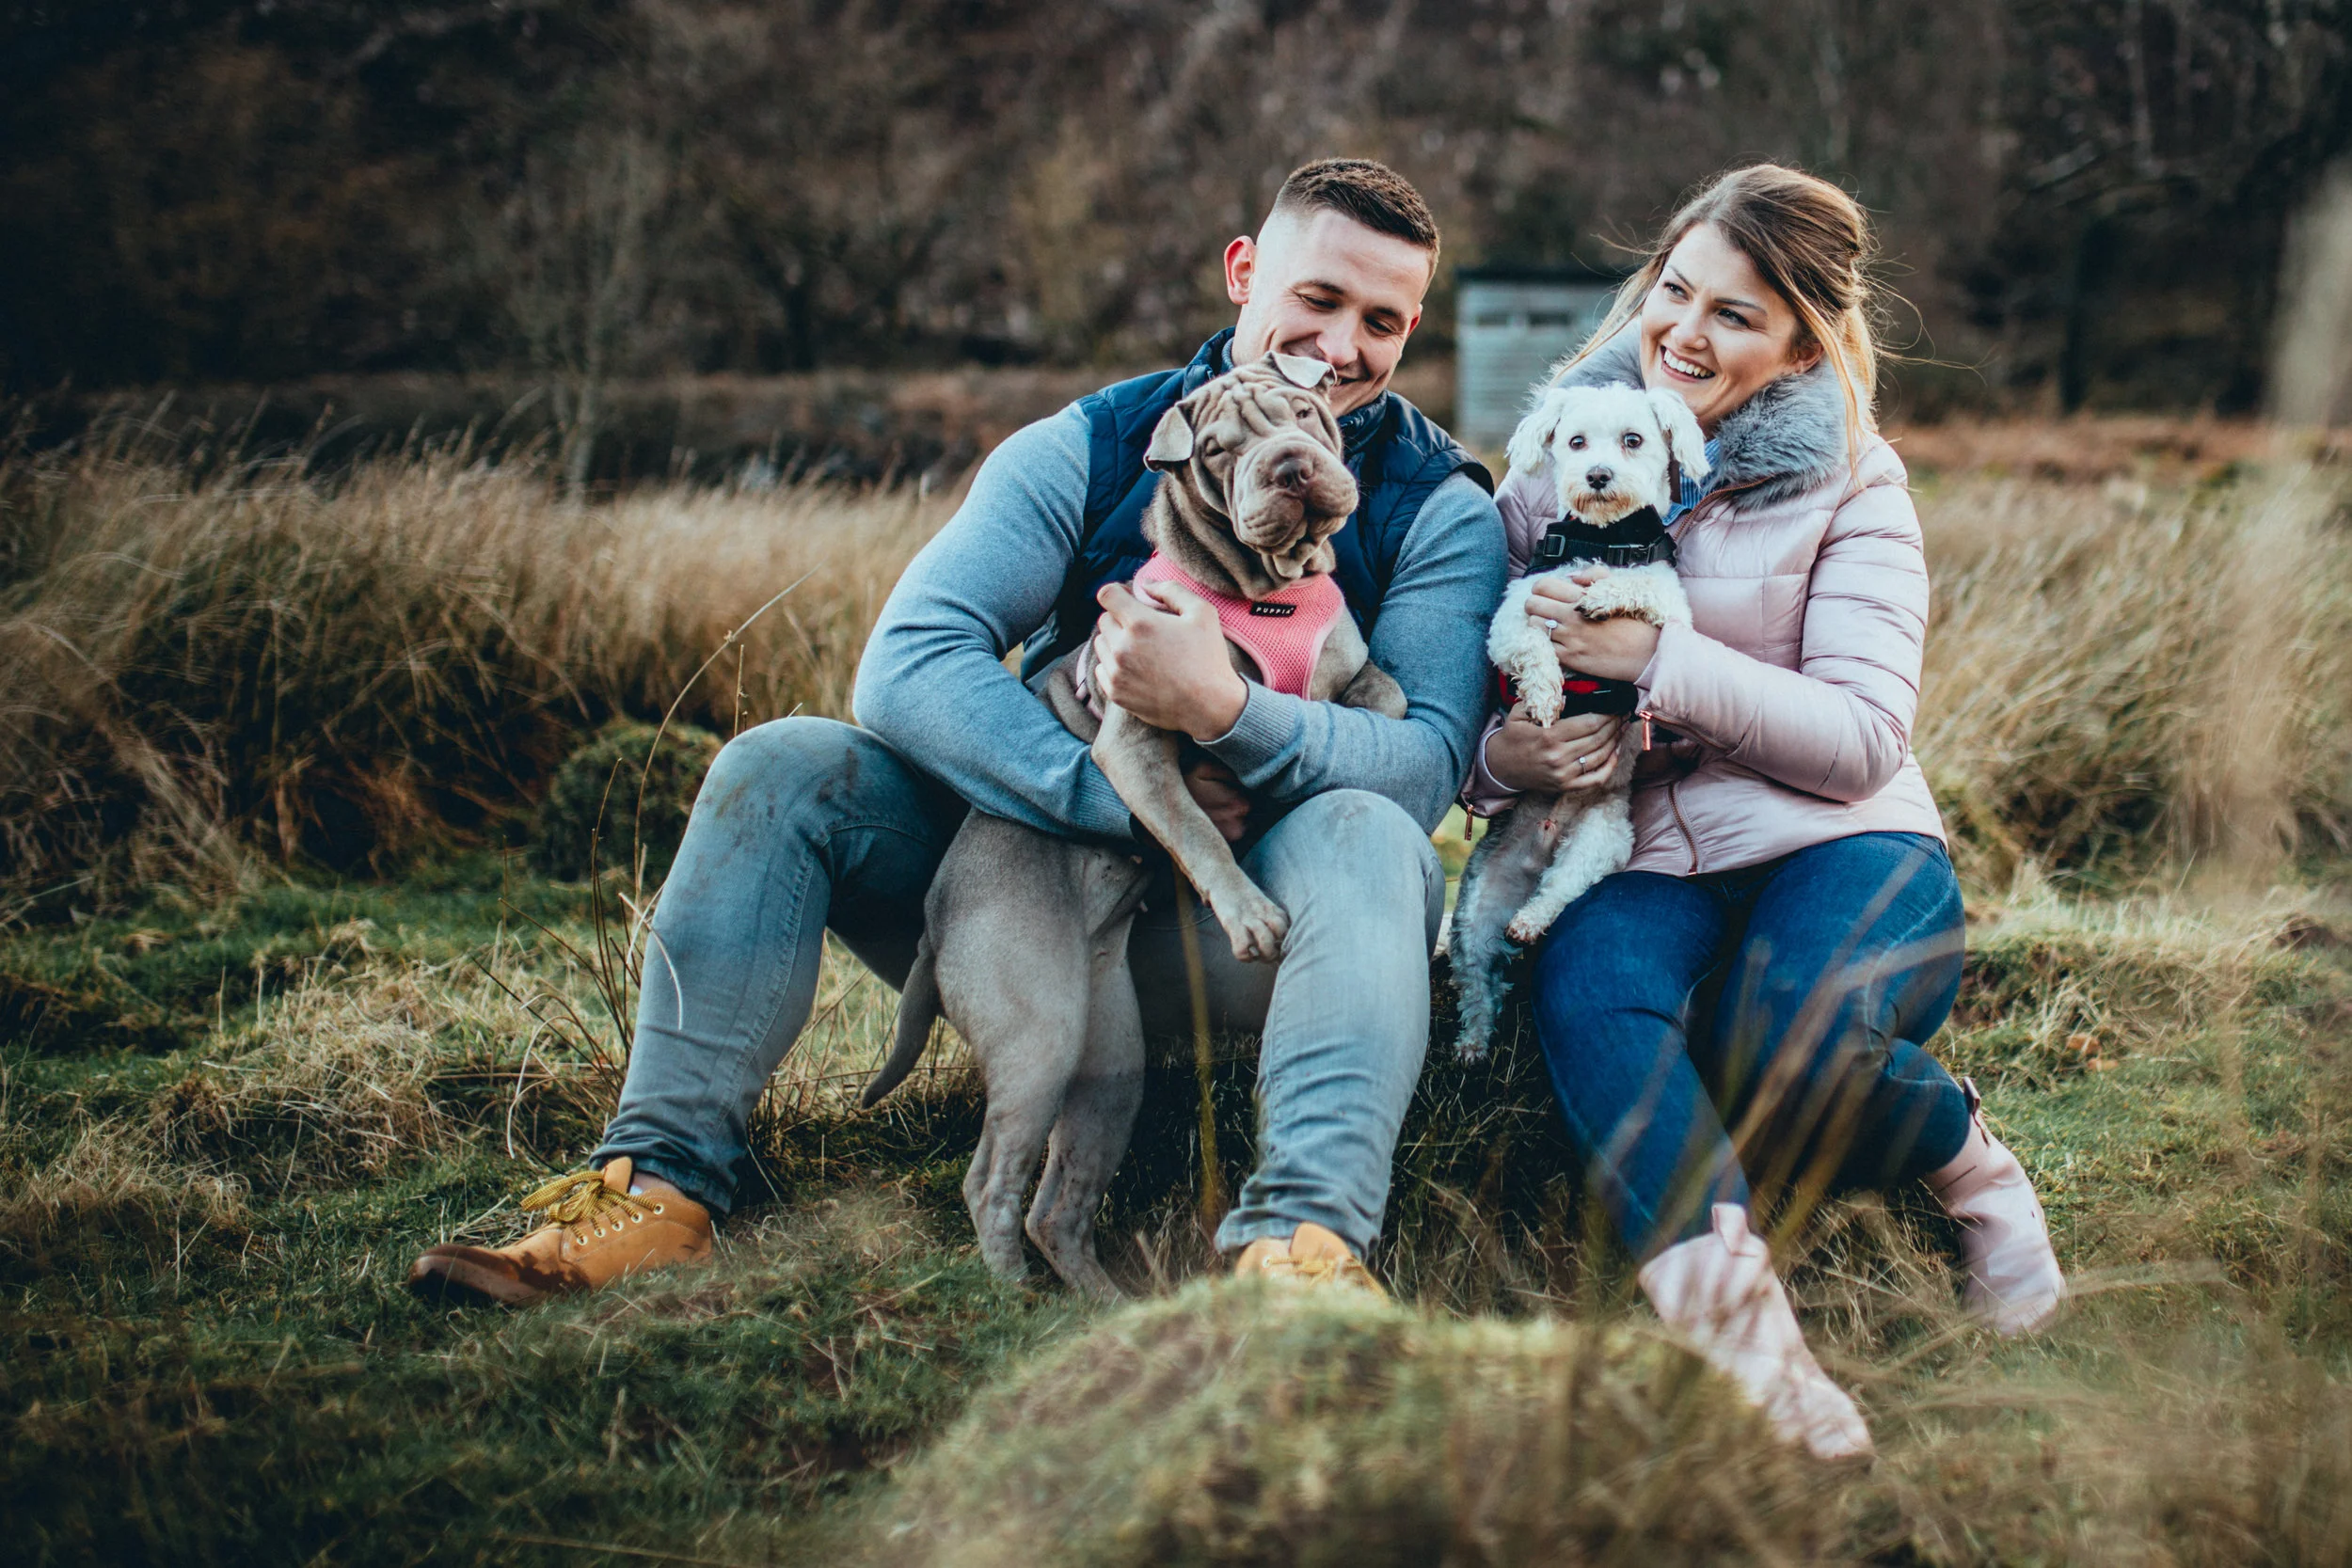
Play with defocus and create soft/out of focus images for effect and feel.
To add a variety of storytelling and a dynamic flow to your shoot, it’s often a good idea to capture some unique aspects of the scene in different ways. I tend to do this in two ways, firstly by capturing some details of the things around me through a mixture of close ups and wides, whilst also combining my couple in the shots through soft focusing.
Having my couple sit in the frame with the landscape or backdrop in sharp focus, often adds interest and a sense of place, and add a unique dimension to your shoot that will break up the more traditional poses.


Tip No6
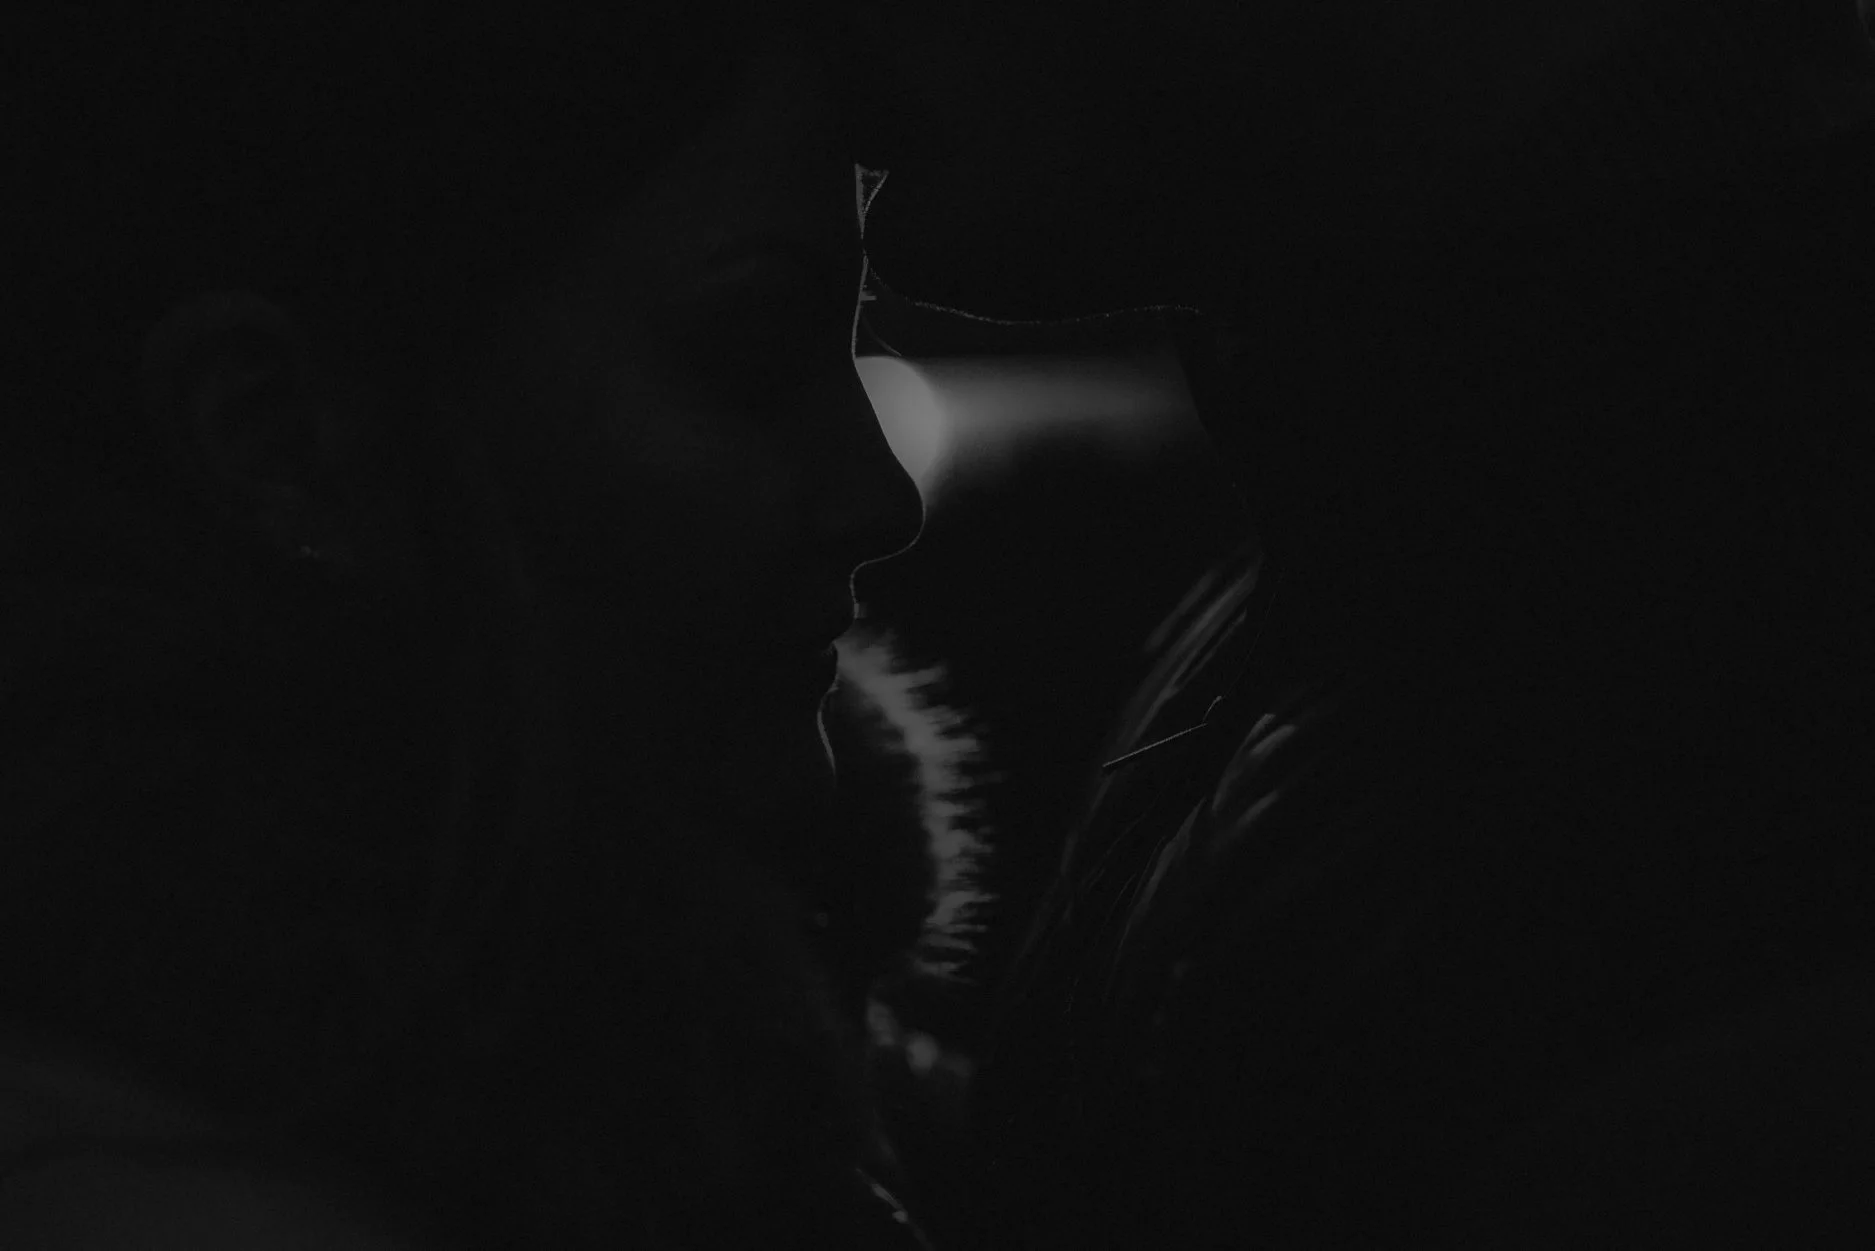
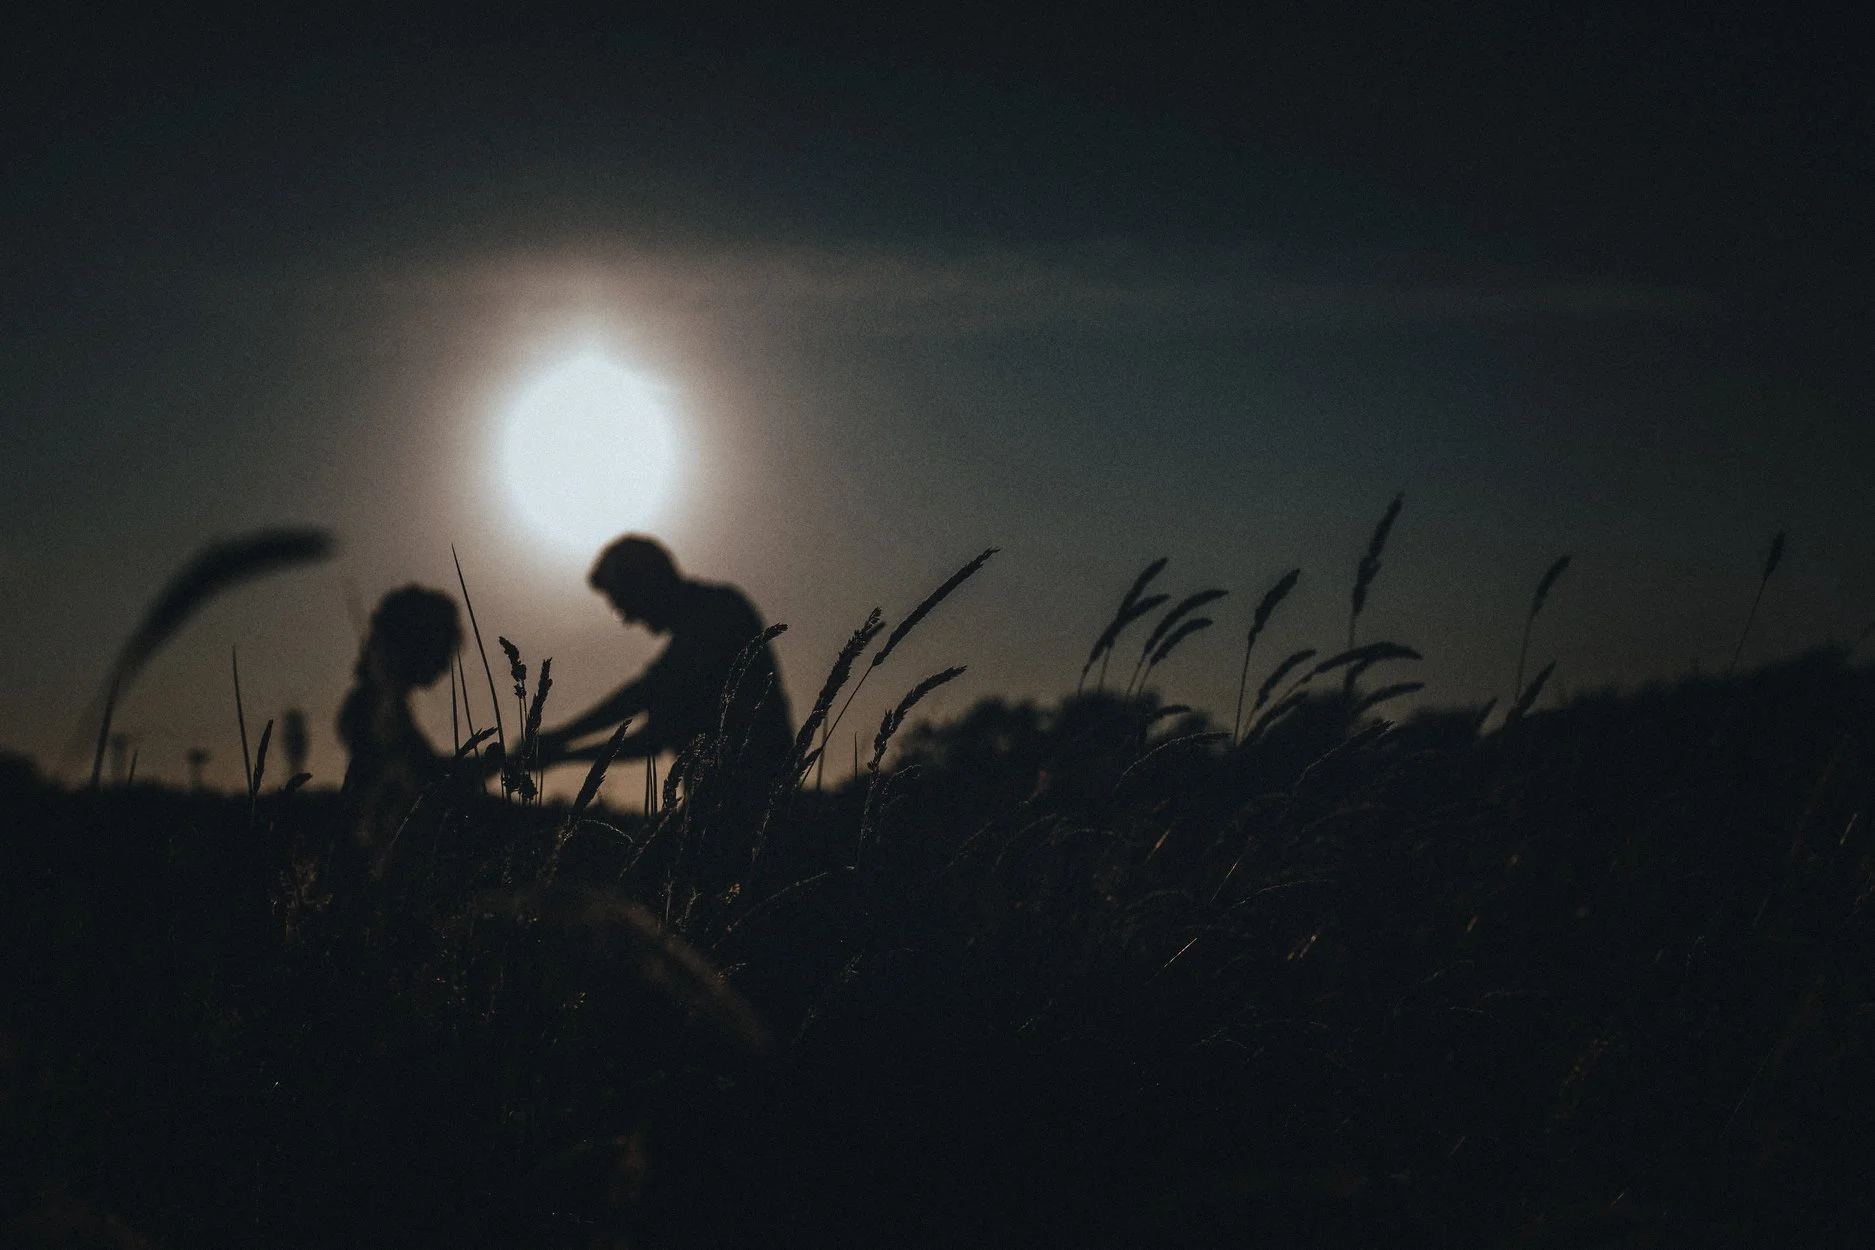
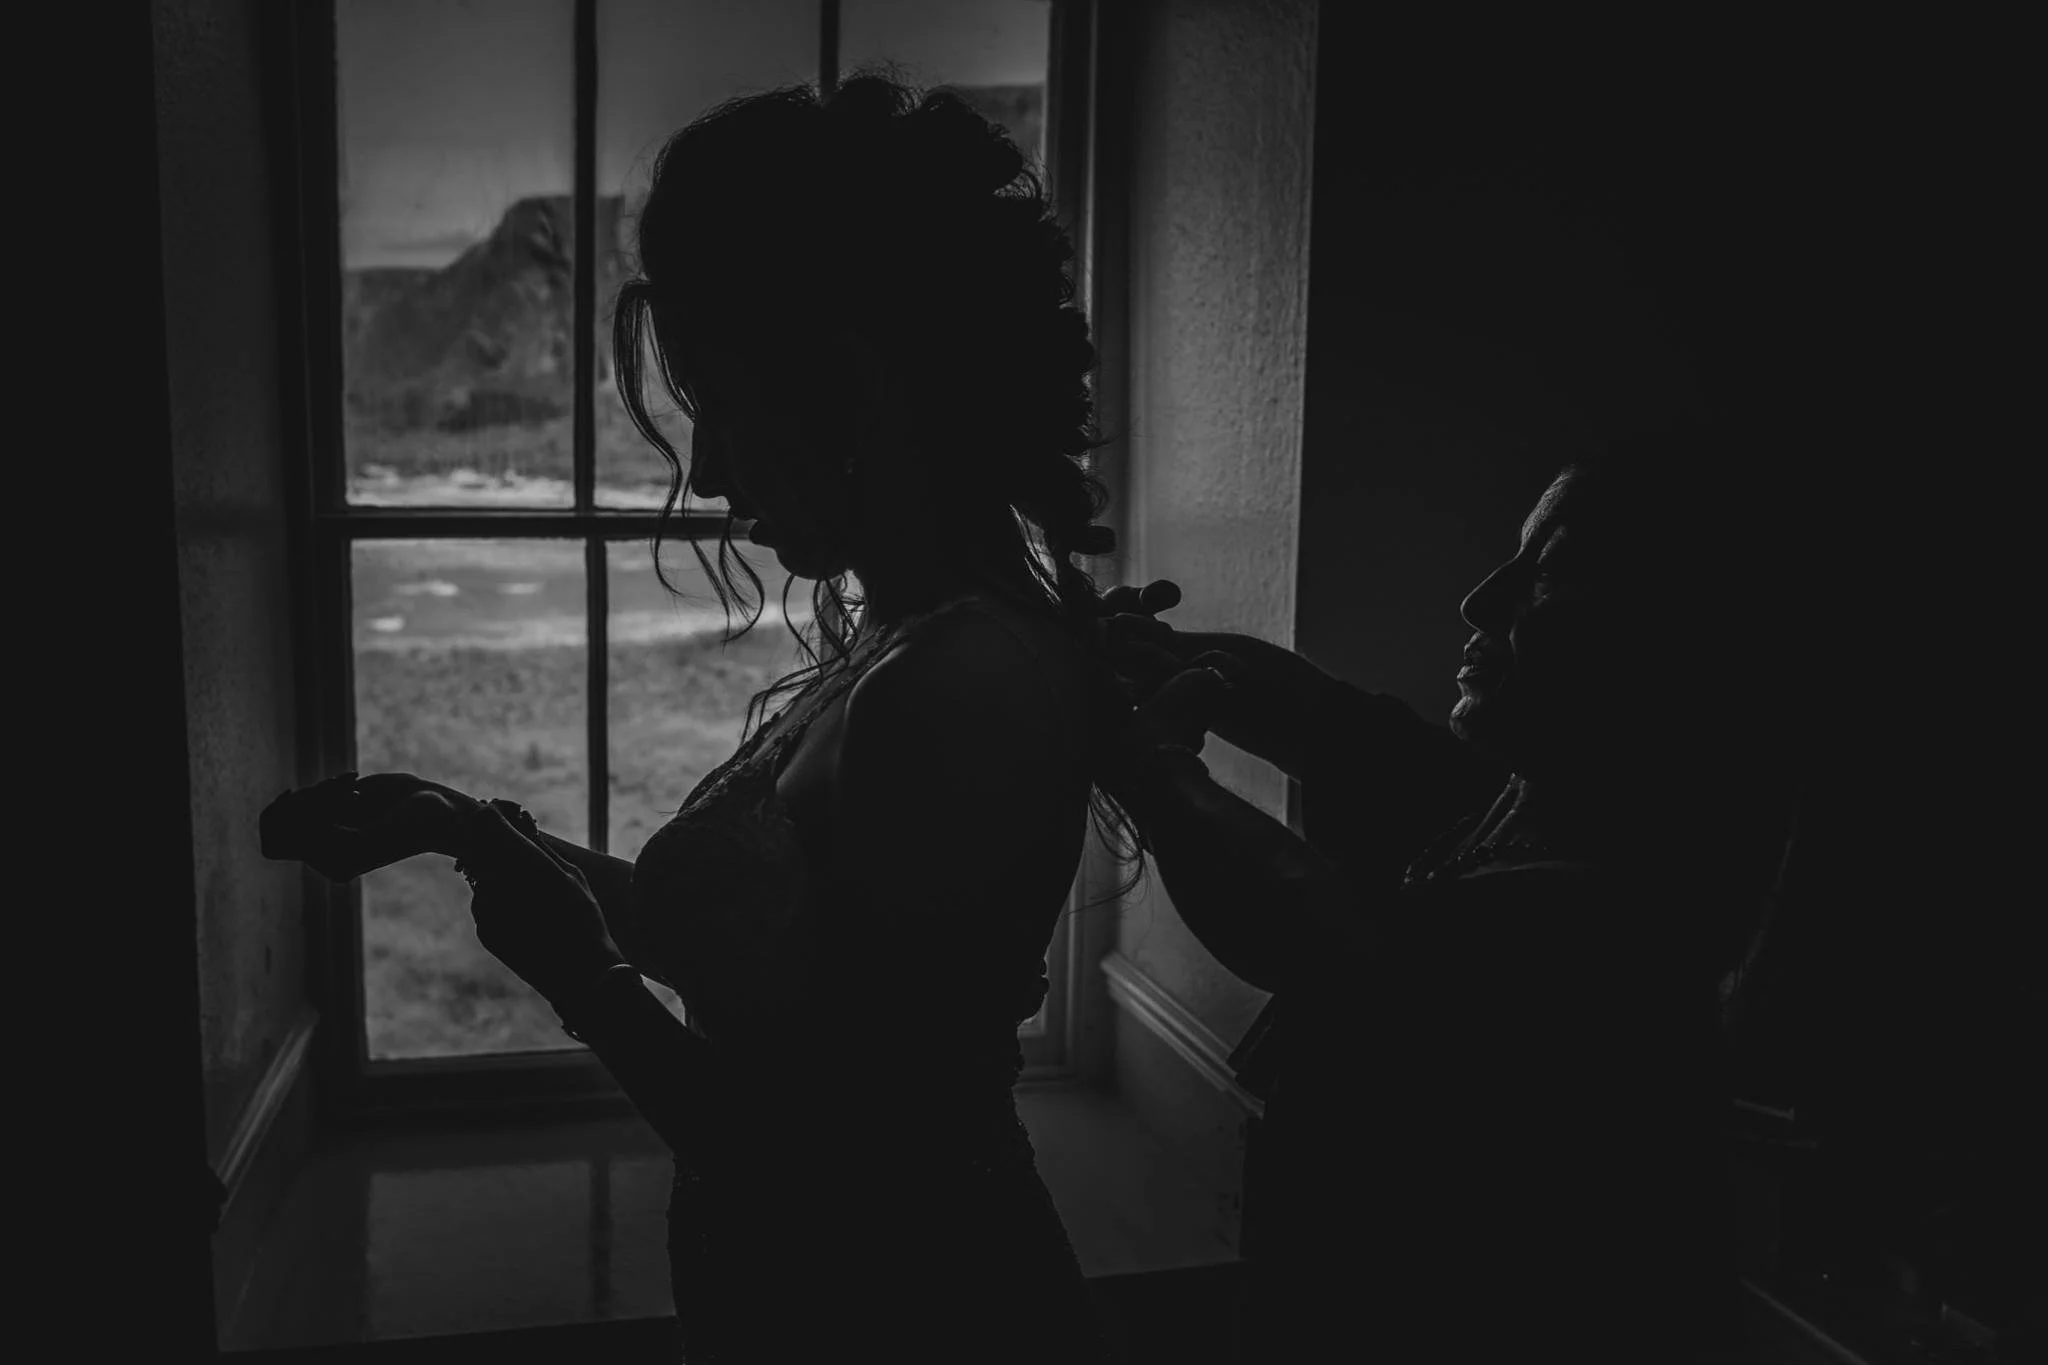
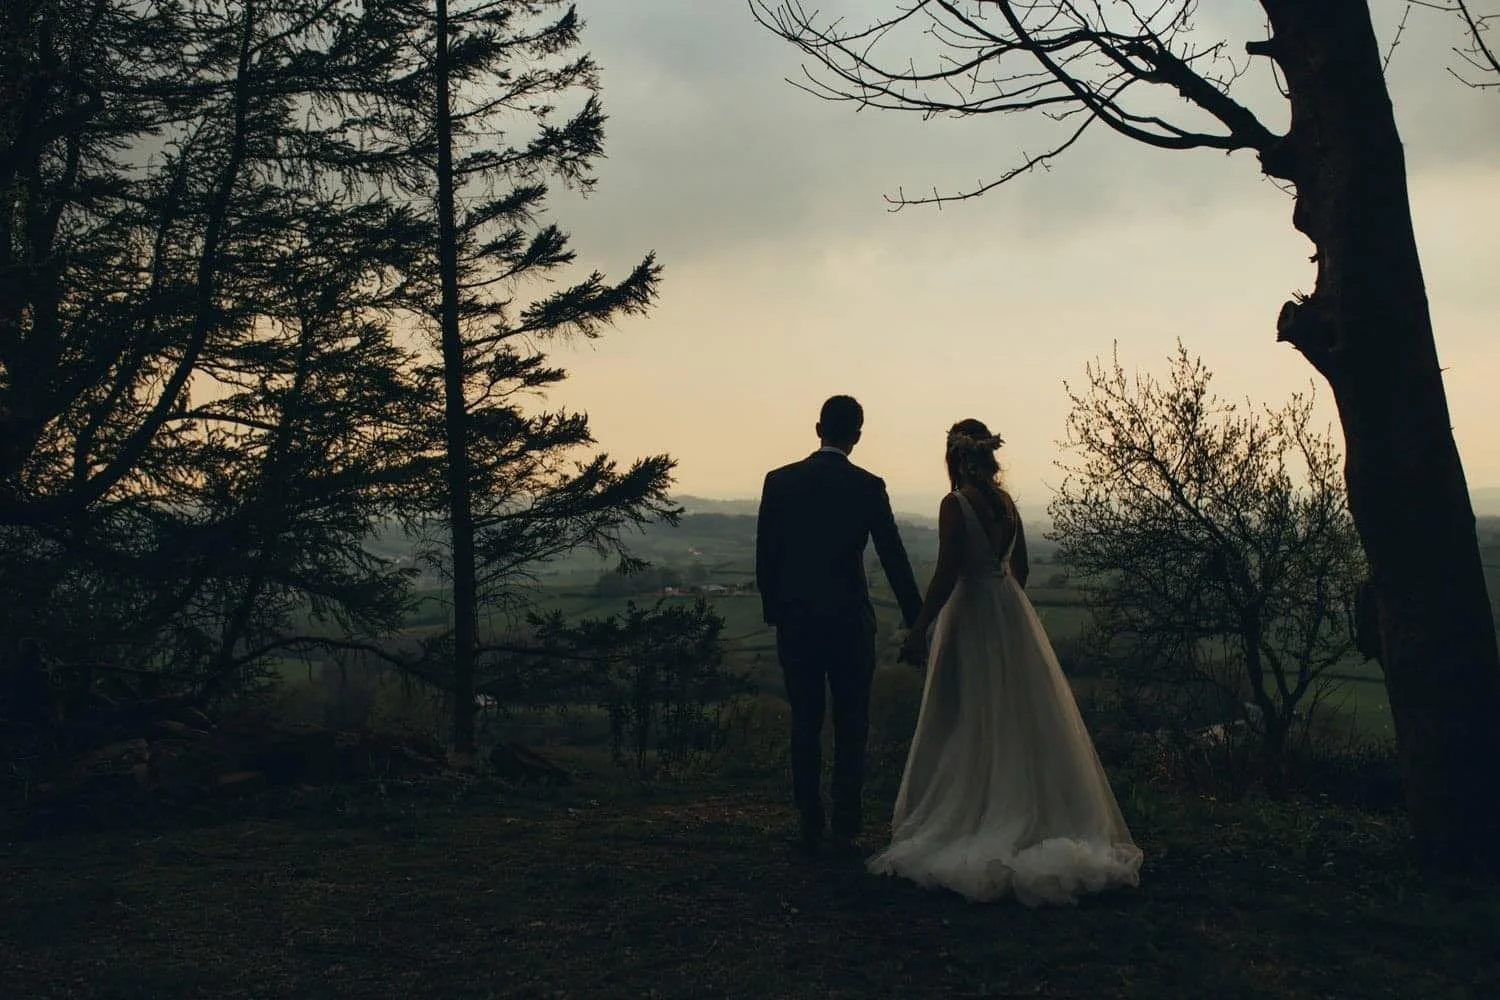
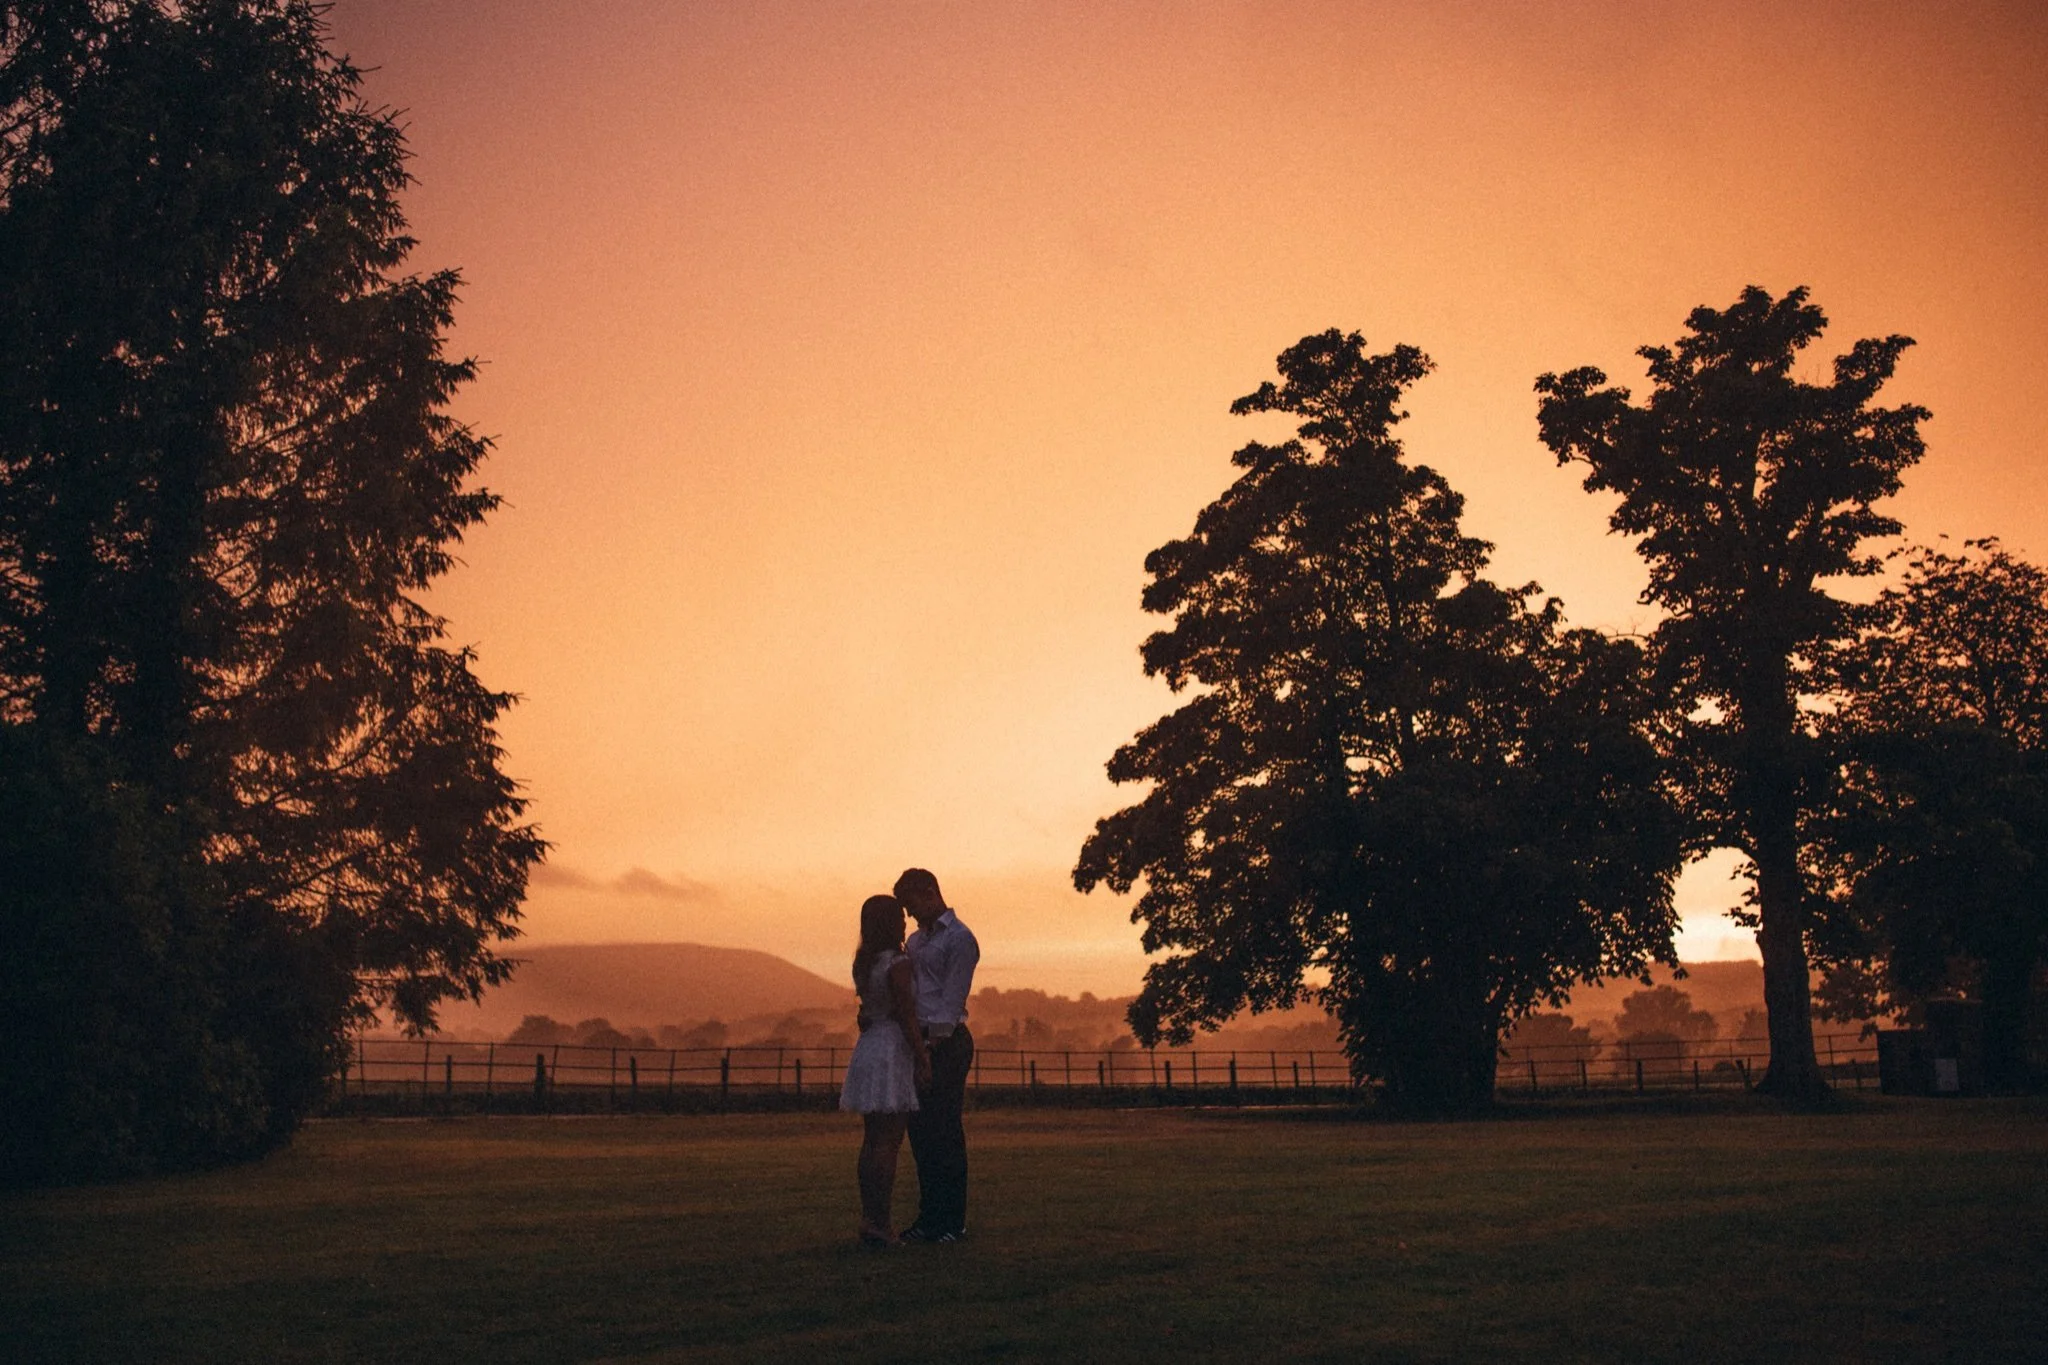
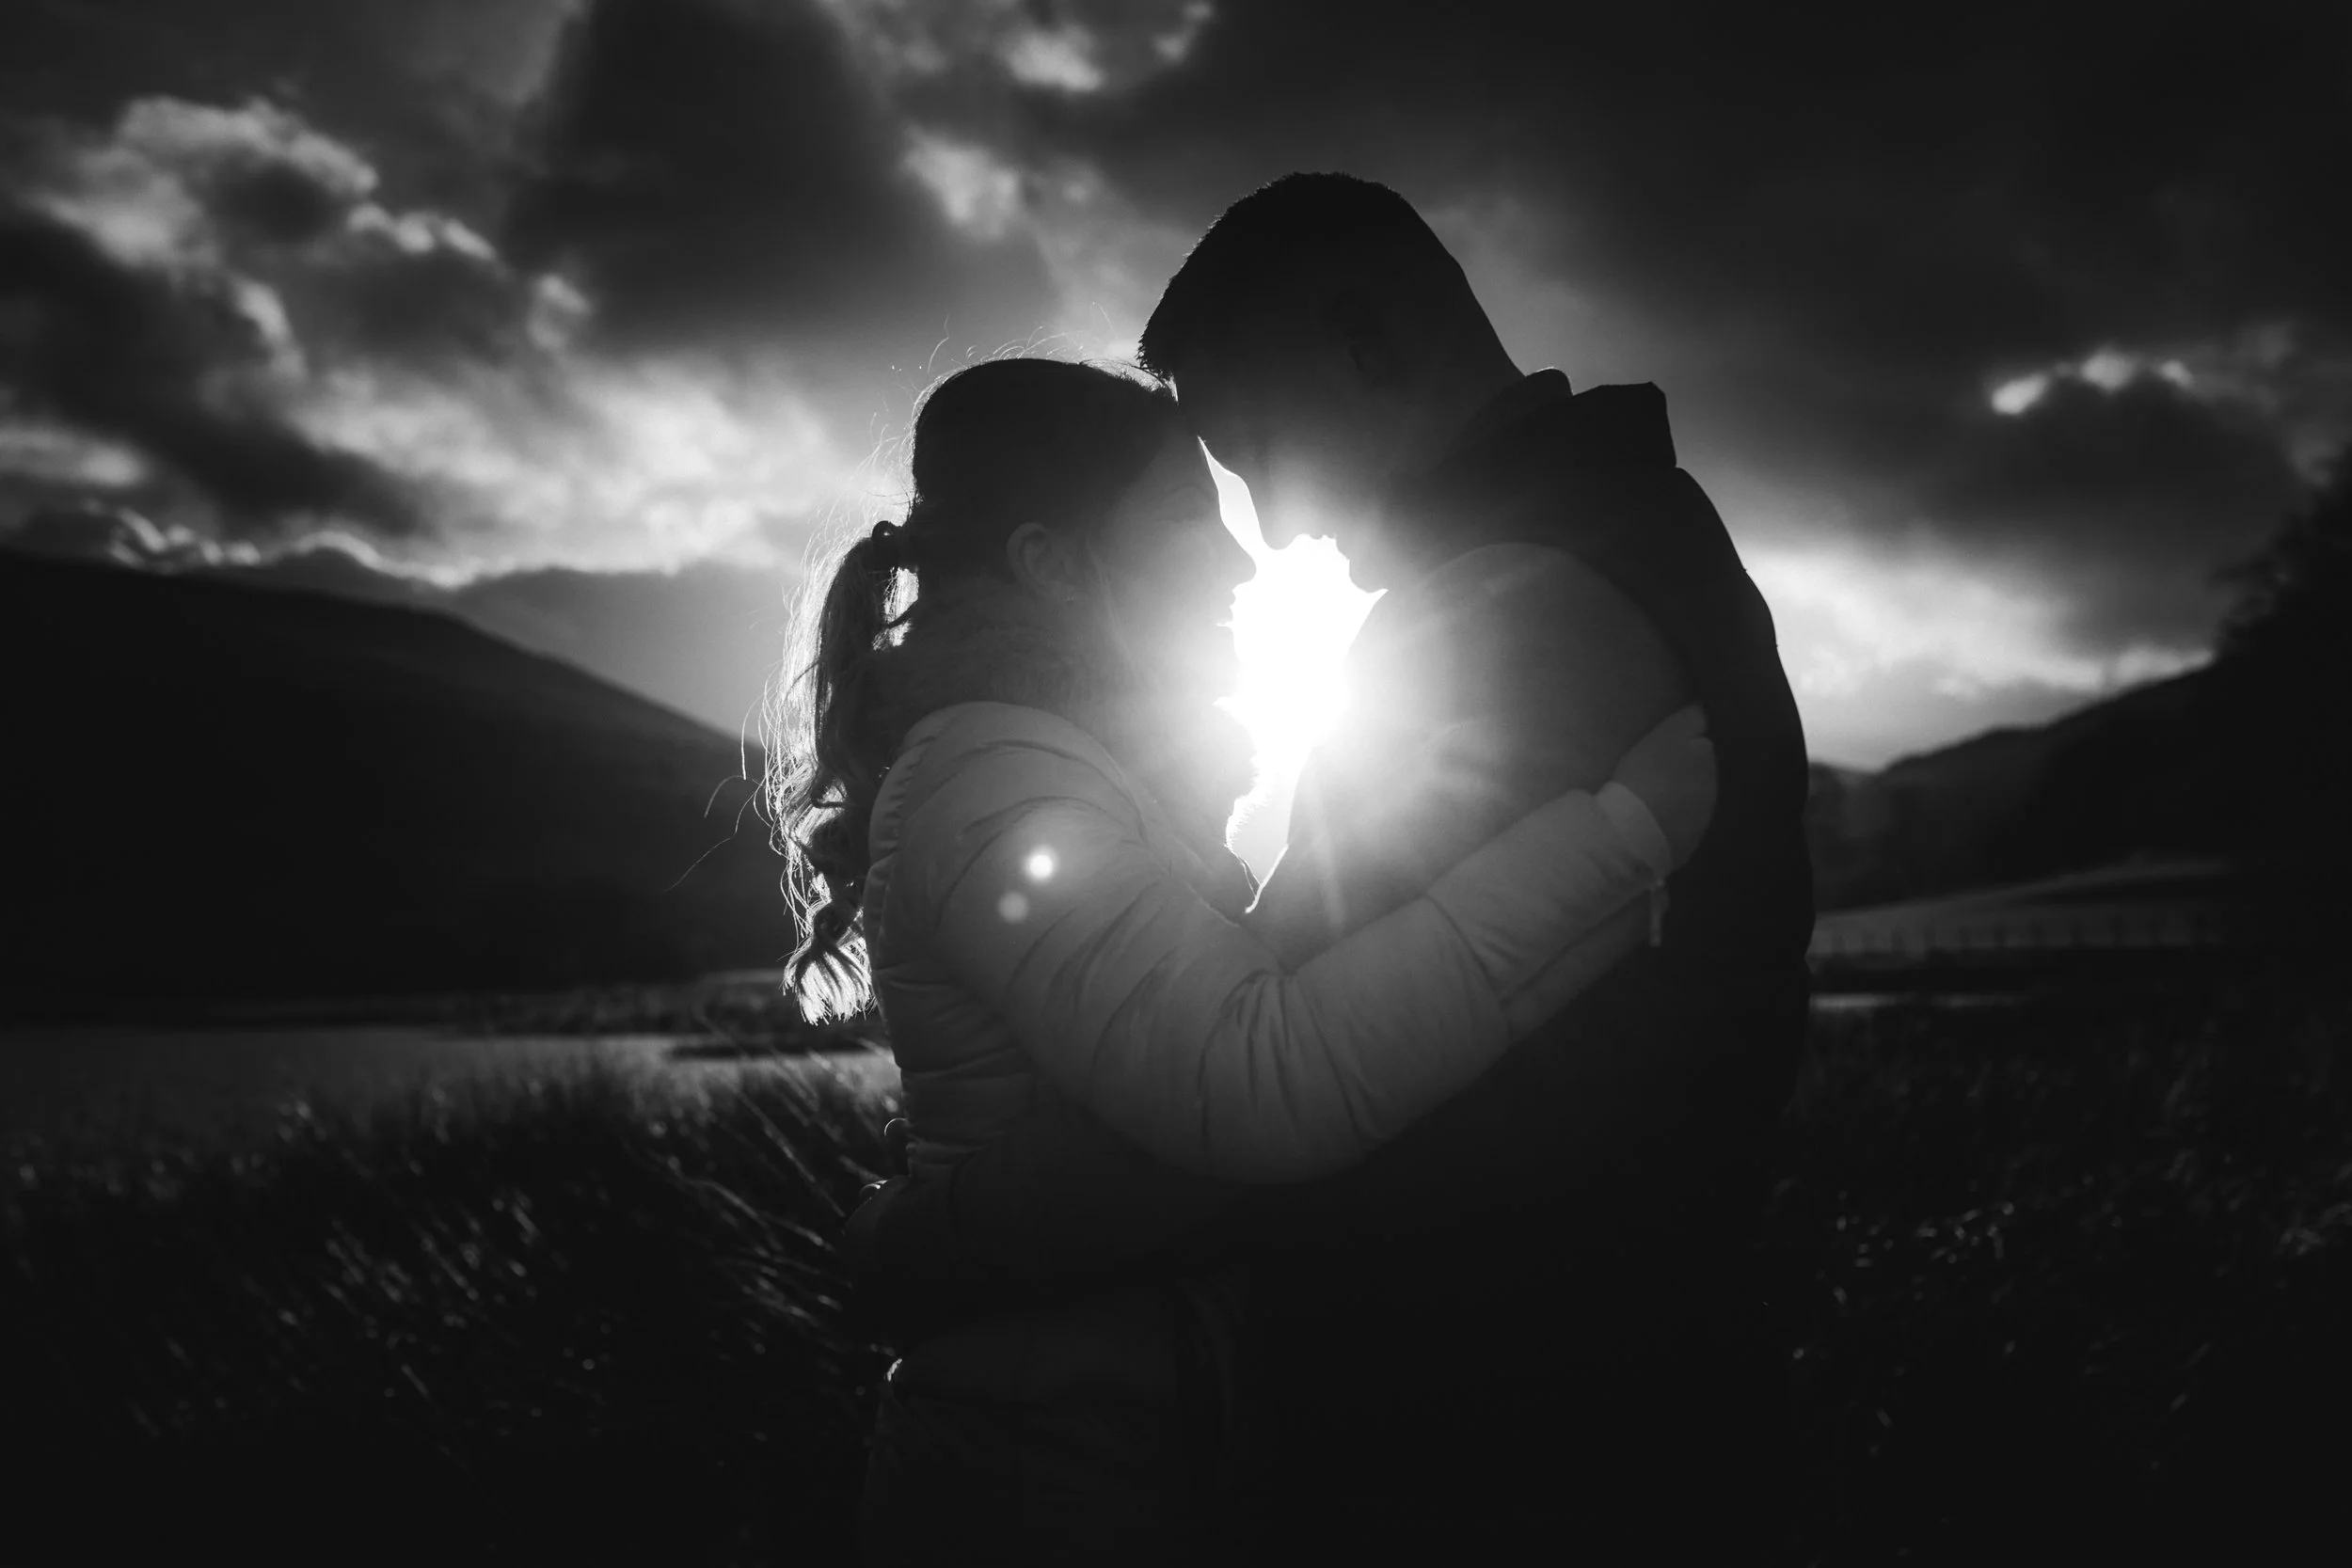
Experiment with manual camera settings.
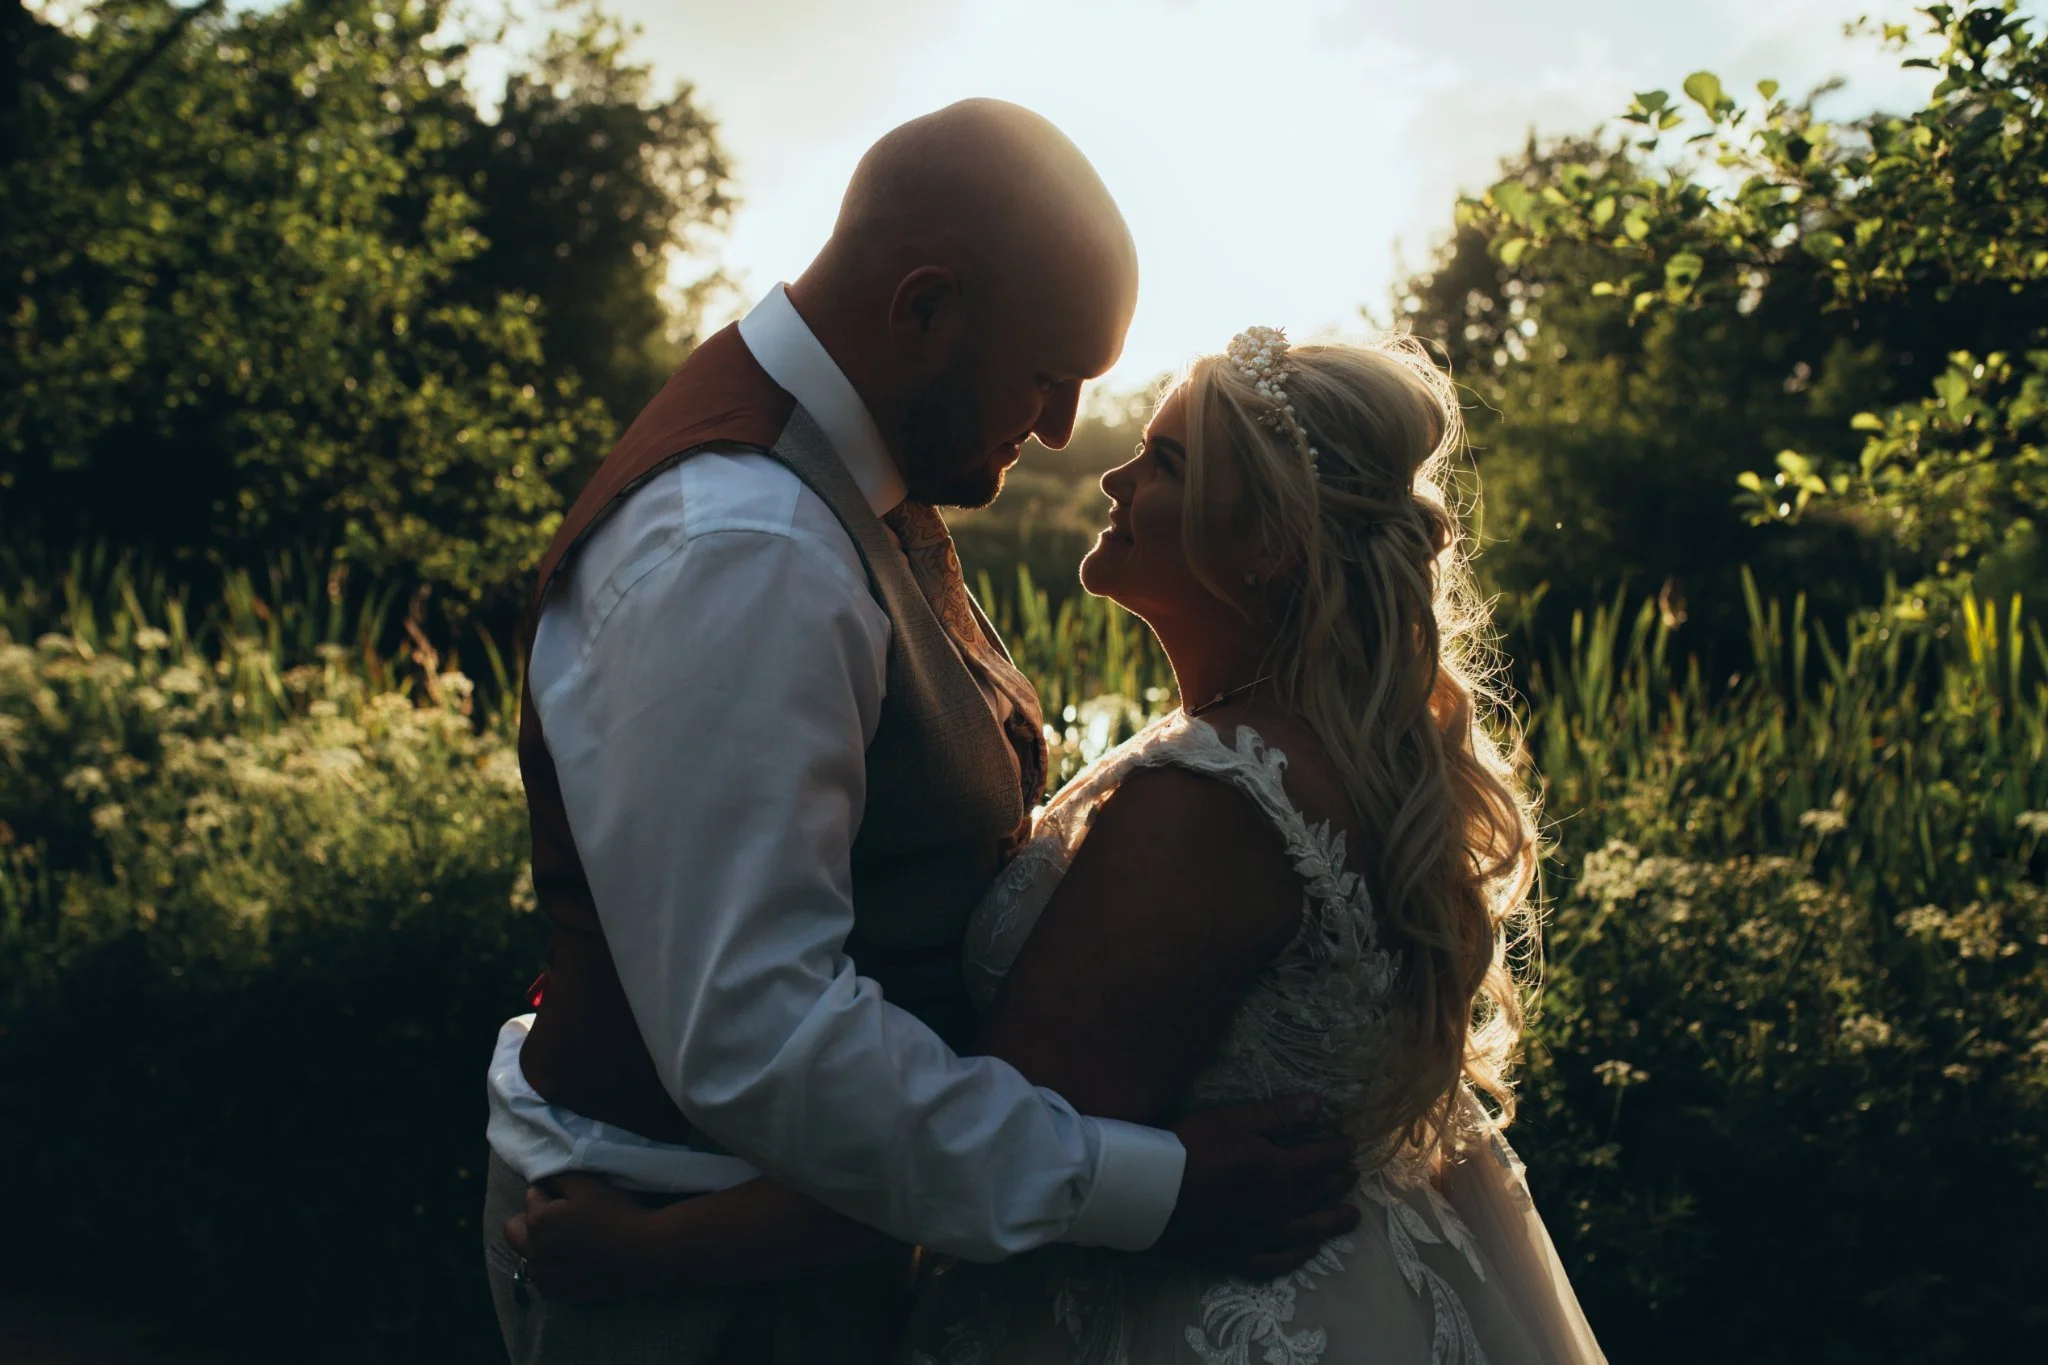
Dial up your shutter speed and lower the exposure for silhouettes of the couple against interesting backdrops, even in broad daylight. You can do this to play with light and shadow and to create interesting shapes. In reverse of this, slow the shutter down for sense of movement and emotion in your images.

With all of these techniques, once you master one, start to combine them.
Once you start to form relationships with the above techniques your images will have a completely different depth to them.
Top Tip Refreshers
Shoot through objects, refract light and create aesthetic flares.
Use a variety of angles, lenses, and focal lengths.
Create dramatic compositions using off centre framing.
Generate natural emotion through action cues and timing.
Play with defocus and create feeling in shots.
Experiment with manual camera settings.


Now, you may be wondering, how can I fit all this in in time, and how do I do it without stalling wondering where you are heading for your next shot?
This is where you plan, by choosing a location, scouting the area and creating a shot list.
You want to aim to be moving through all of these new opportunities spontaneously, and you can do this by finding a location for you to be able to experiment in as much as possible.
Choose a Location
Good opportunities for this involve urban/city areas, or varied rural landscapes.
If you’re in South Wales, I’ve listed a few ‘hotspot’ routes with huge amounts of variation that I’ve used successfully for this on several occasions.
Full contact sheet examples from each location can be found at the end of this guide.


Create a Plan for your Shoot
I’d always recommend getting to know your route beforehand, and creating a direction that you will be moving through during the shoot.
Visit the location and use your phone to take shots that you feel are aesthetically of interest of different backgrounds and put together some notes of what shots you want to capture in that space.
I did this recently for an intimate wedding in Monmouth where I was limited to about 20-30 minute sof time to create a unique series of images.
As pointed out above, I first scouted a location, planned the route, and photographed areas of interest while making notes in my phone.
You can see the before and after shots of the ‘scenes’ in direct comparison in the gallery below. To the left are my Iphone shots a week prior to the shoot, and the right are the final images from the shoot.


As you can see, the prior planning was important for this shoot, and these ‘stop points’ became crucial to me in this shoot to keep the shots momentum, the couple upbeat, and allowed me to layer up on all of the above techniques in quick and easy fashion as you can see below.
The technical aspects should remain mostly hidden from the couple, and the conversation and interaction will flow with efficient levels of planning. This will keep you relaxed, your couple relaxed, and the whole process will go as smoothly as possible.
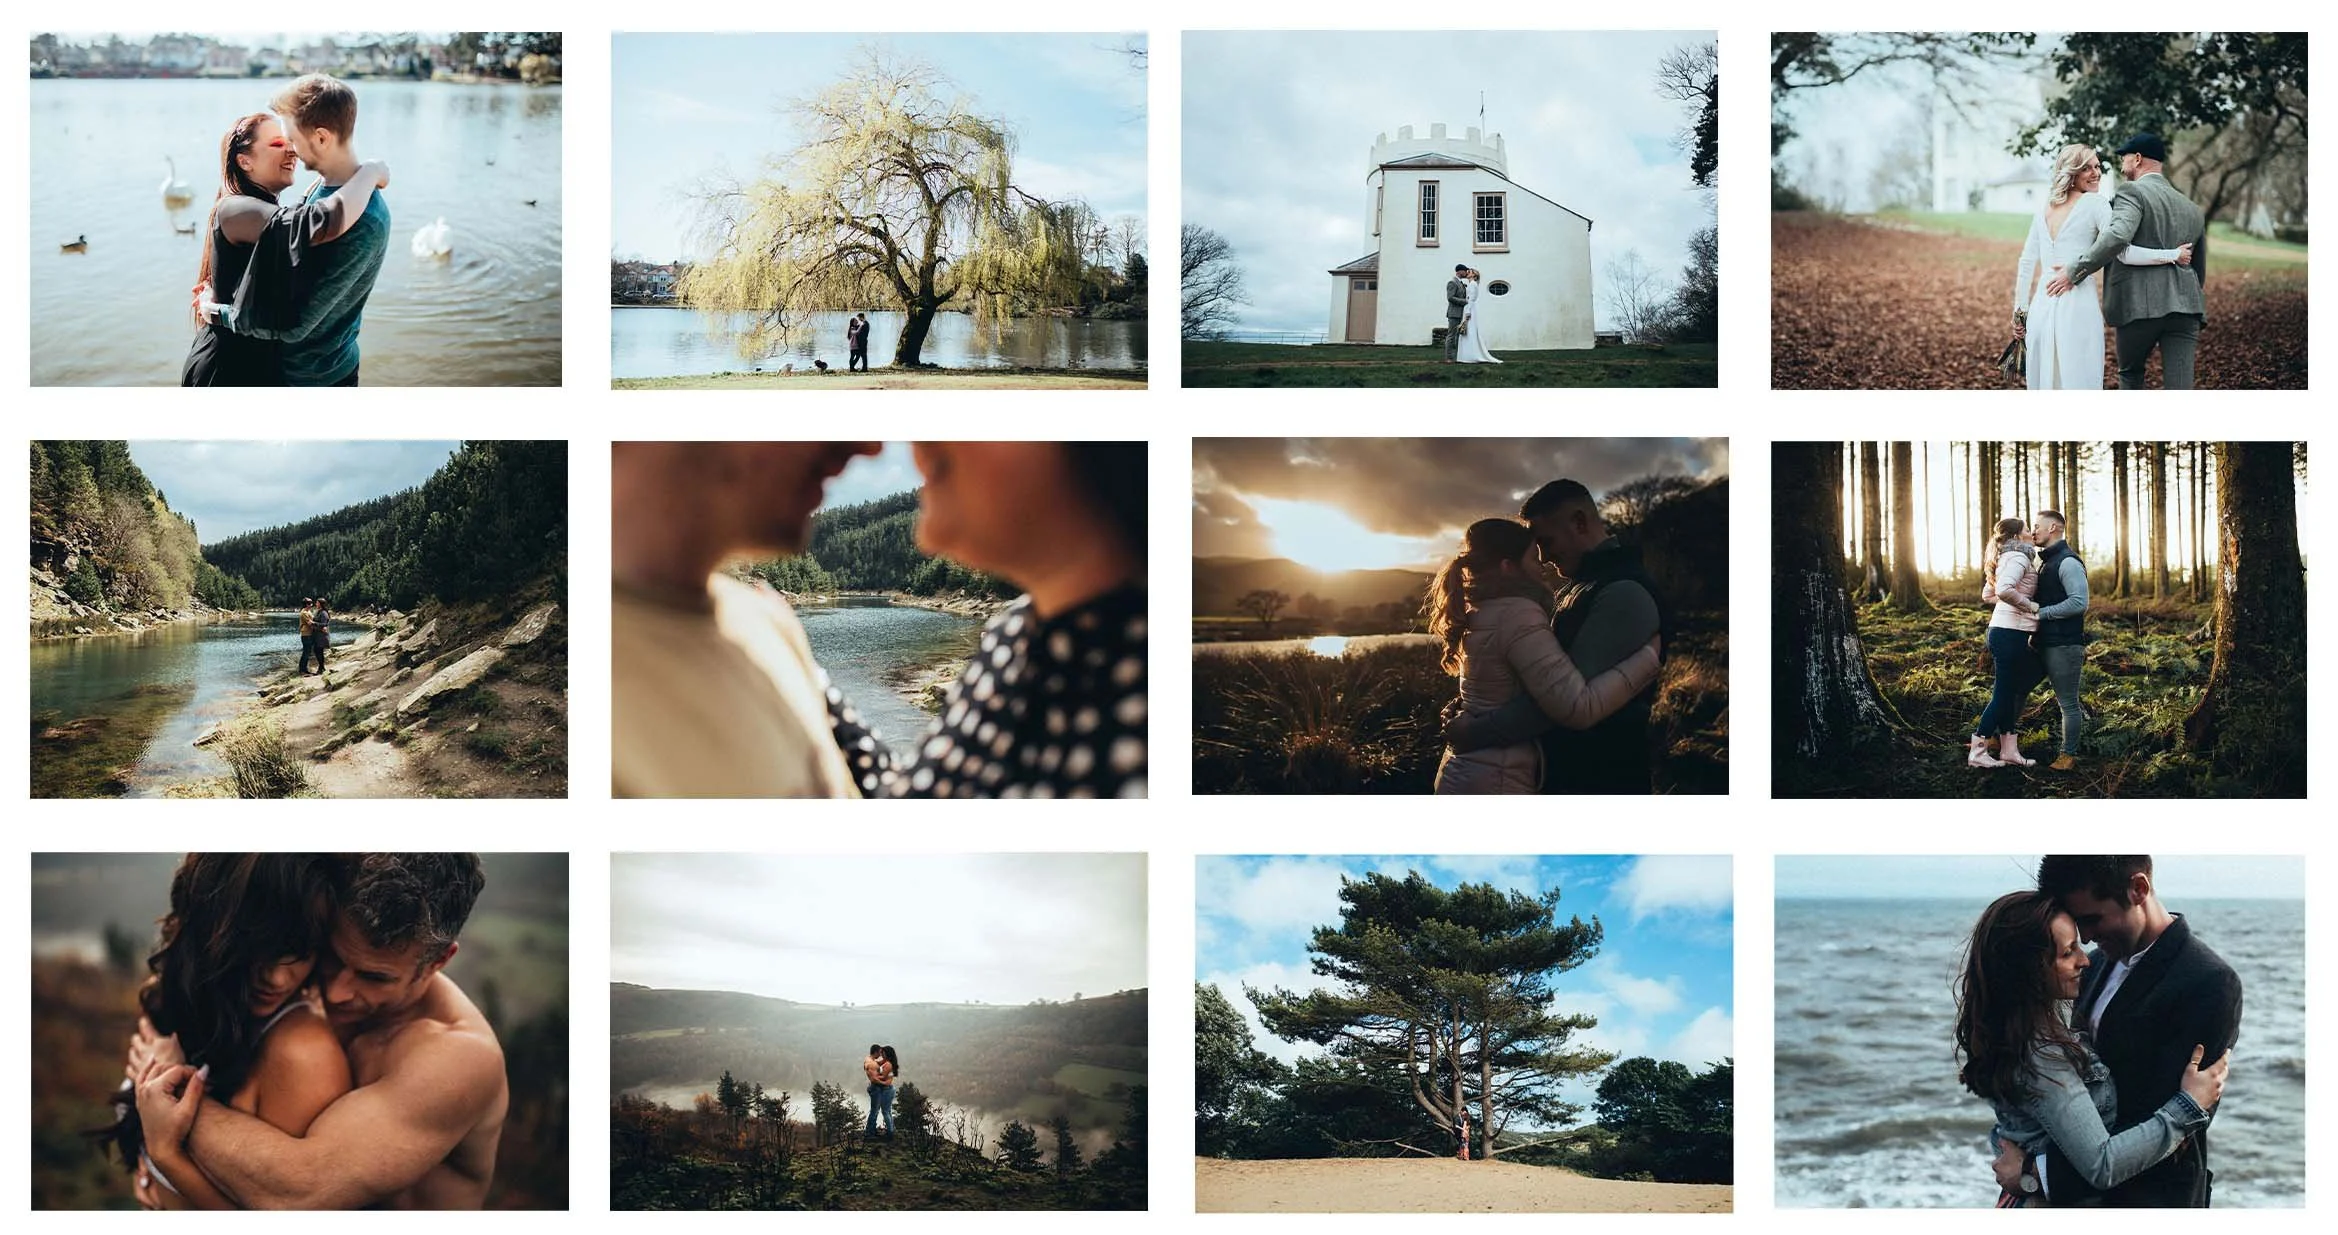
The following is a contact sheet of the whole shoot.


Notice within the contact sheet all of the techniques mentioned are implemented, which allow for the shoot to flow in a story like fashion and maintain viewer interest throughout.
There are a variety of posed couple shots of different angles and lengths, and within those the story is created through details such as the close ups of hands being held and feet walking across the terrain; creating a sense of motion, sense of place, and an emotional engagement.
To achieve the variety so quickly we hardly pause throughout. I am constantly moving in and out and around the couple and giving them little motion cues as I lead them on this route, which keeps the shots looking natural, upbeat and engaging.
There are a handful of dramatic wide shots with interesting compositions, and also something unique in the soft focus shots allowing the landscape to enter the shot and establish a sense of place, and I also utilised the leaves around me to create a few impacting bokeh shots.
The whole shoot in this particular location took place in a 20-30 minute window, and I would be aiming to achieve similar results in that time frame. It will set you up well for fulfilling your content needs on a wedding day, as this is sometimes all the time you will have to work with.
To summarise and achieve end results like this, before your shoot, write down your ideas, and bring a shot list with you that you want to capture.
Have an idea where you want to try these techniques on your planned route after your initial visit and correlate them with your phone captures.
These captures will form the basis for your ‘stop points’ and you can then begin to experiment with using the techniques above to fill in the gaps and create a beautiful story and varied set of images.


I truly hope some of this has been useful, and don’t hesitate to get in touch if you have any questions or want any photography related guidance.
Feel free to leave a comment below and share some tips of your own.
Joshua Rhys